Makeup Brushes 101, Part 2: Eye Brushes

img_1255

In this last series of brushes, I give you the lowdown on the eye brushes that you really must have.  When it comes to the eyes, smooth brushes should not move the skin the least.  As we get older, our skin surrounding the eyes tend to droop and you need a good brush that will apply powder or cream based shadows evenly.

One secret in testing a good brush is its effectivity in blending your product with the least amount of strokes.
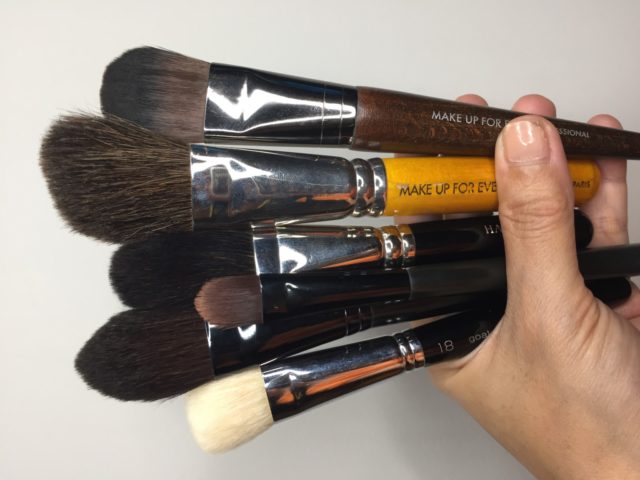
Eyeshadow brushes

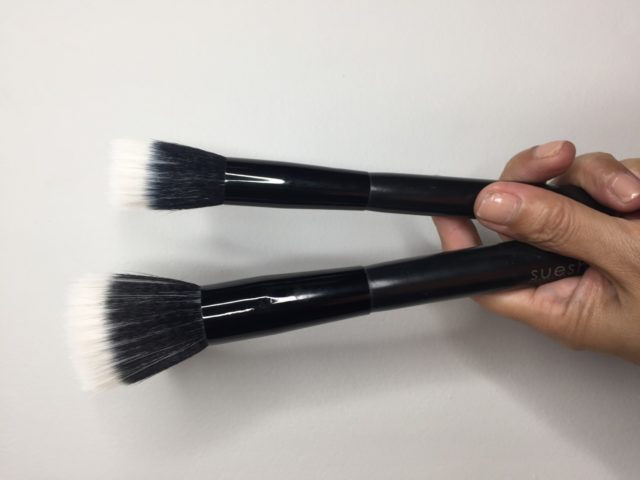
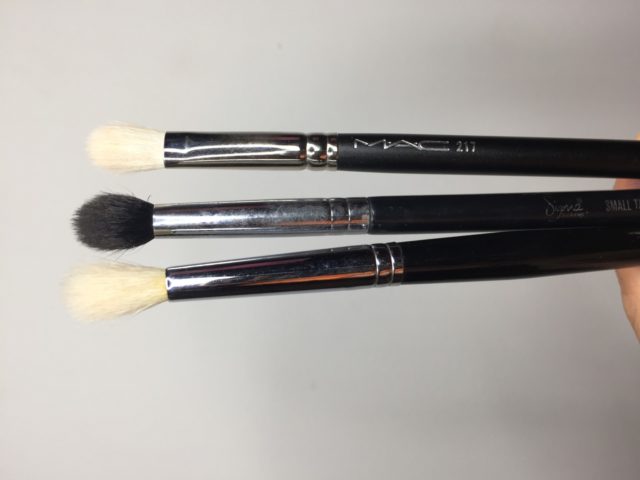
Eye Shadow Blending Brushes

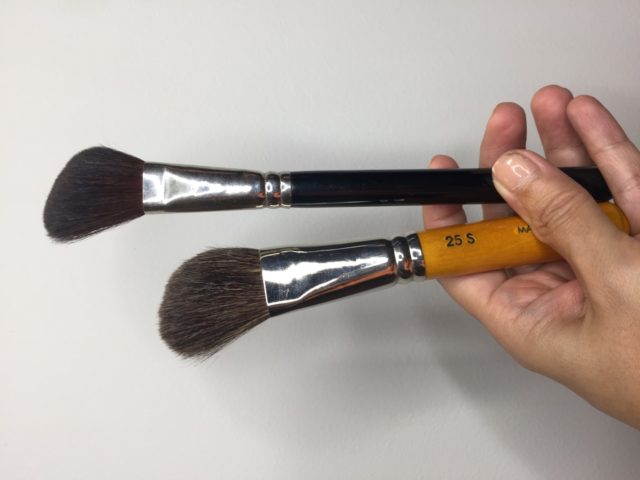
I began with one brush and now I have 4 of these.  This is my most used and loved brush.  I use this for cream based  shadows to create an eye shadow socket and to also blend the harsh lines on the eyelid when you use a dark color on the eye. It’s foolproof and this cleans up and softens the hard edges of your application.

I also use this to blend and buff in the concealer to give it an airbrush effect.  You can also use it apply a wash of color to the entire eye perfect for Asian eye shapes.

The pointed blending brushes are for more defined crease work, apply or blend powder along the lower lash line or wherever you want to apply any product in a precise or small detailed area.


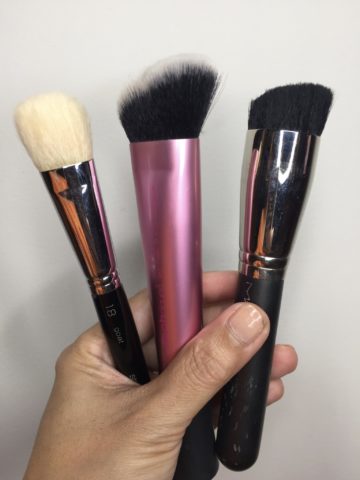
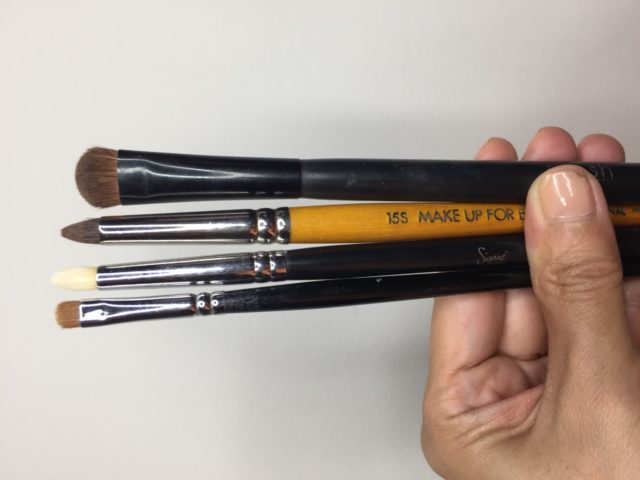
Oval or semi rounded Eye brush

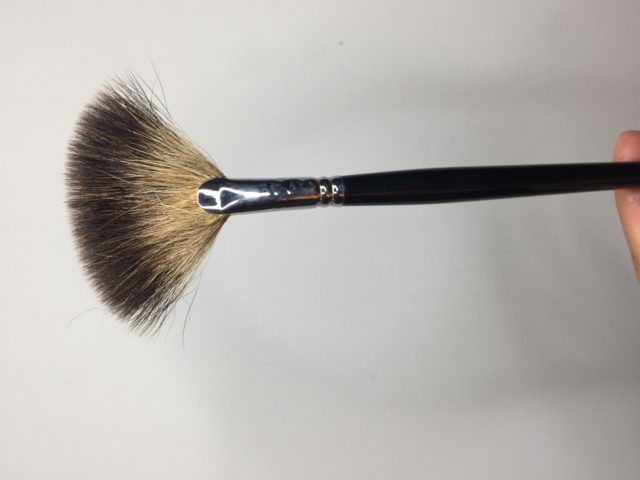
These are the brushes you pick up when you want to apply your first wash of color on the entire eye area.  They can also be used to blend.  Another tip is using this upside down when applying a dark color on the upper lash line to give it intensity and that smoky look.  Best for powdered products.

img_0409
The left brush is good for smaller lids while the one on the right is good or bigger eyes. Made of goat hair and squirrel hair.


Lash line Smudger

Best used for blending and smudging Kohl pencils or gel eyeliners on the upper and lower lash lines.  Best for a smokey look
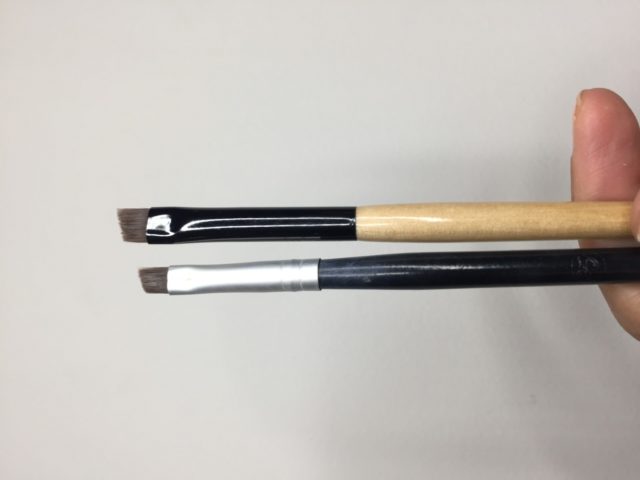
img_0410
The squarish looking one on the left is good for applying a dark color on the lower lash line and use the pointed ones for smudging the line you’ve created.  The brush on the right is good for also smoking out a Kohl liner on the upper and lower lash lines


Eyeliner Brushes

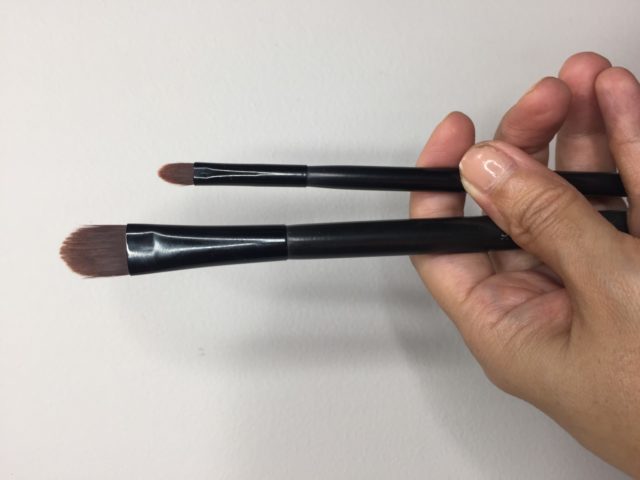
These are the only ones you need.  Best used for applying a medium to thick eyeliner a la Audrey Hepburn, while the bent eyeliner brush is for perfecting your cat eye and giving you the flick that everyone is crazy about.  I also use the brush on the left for the brows when I need to create hair like strands on the eyebrows and for point concealing in the areas of the face.
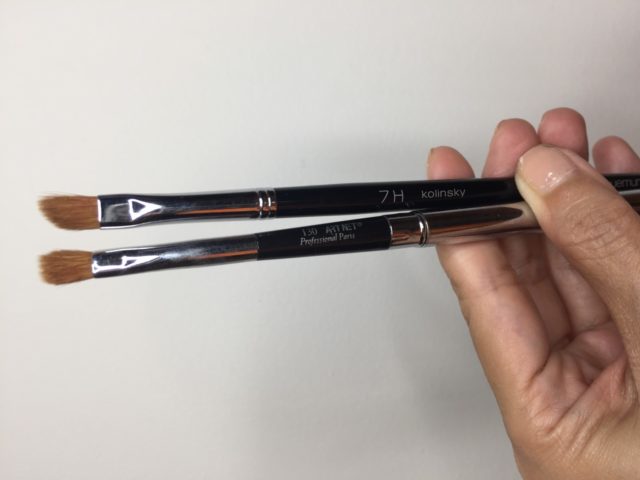
 

img_0412
My favourite eyeliner brush is the angled one (middle). I use this when I want to go for a thin line across my upper lash line.


Angled Brush

The Angled end is also used for gel eyeliners for a feline flick.  I use this for the eyebrows when I use a cream based eyebrow gel.  The fine angle is already your template for the right flick.  Use this also to perfect your red lipstick by dipping it in foundation and tracing along the outer edges to give it a sharp clean edge.


img_0414


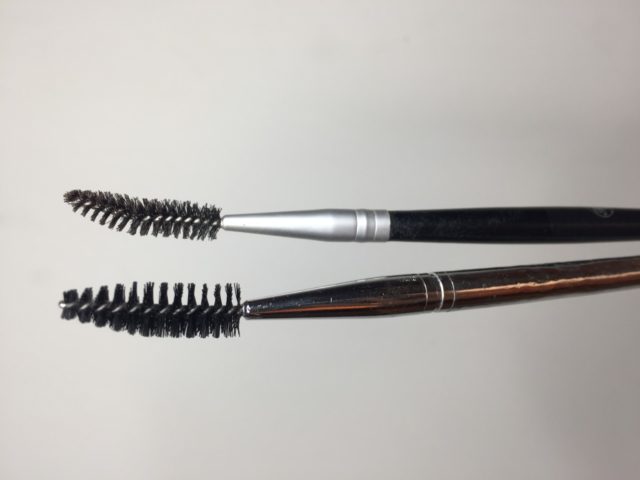
Brow Brush or Spoolie

Used for combing the eyebrows.  This also blends the shadow on your brows when applied too much.  By brushing and moving the color around, it diffuses the color for a more natural looking brow.


img_0417


Lip Brush

I know you can use the lipstick bullet directly on your lips but when applying a dark or strong color like red or hot pink, its best to use a lip brush for precision control.  Usually made of synthetic fibers, application will perfect the edges for that sharp edge.
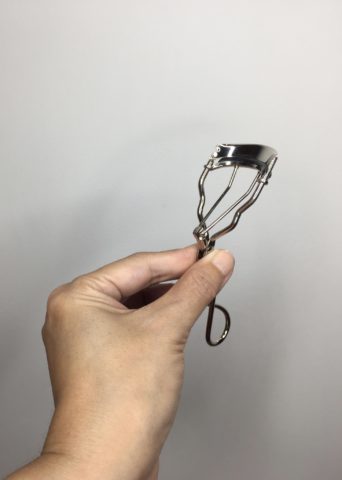
 

img_0419
I recently discovered this brush in Shu Uemura in Japan. The sword like shape is perfect for corners of the mouth. Both made of sable hair.


Eyelash Curler

You need to curl your lashes with this gadget.  Simply because it is a pushup bra for the lashes.  Need I say more?

img_0422
Hello Mr. Shu! Best for curling straight lashes.


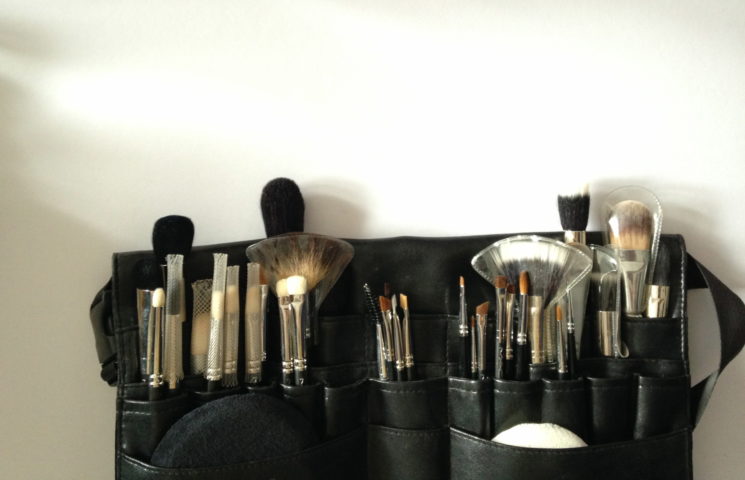
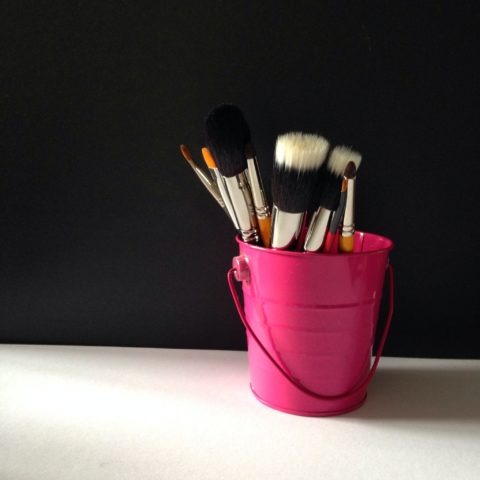
Now that you have the essential brush collection, store them in a clear container or jars then fill them with your brushes categorised under Face, Eyes and Lips or synthetic and natural hair.  You’ll have everything within reach.


img_1264

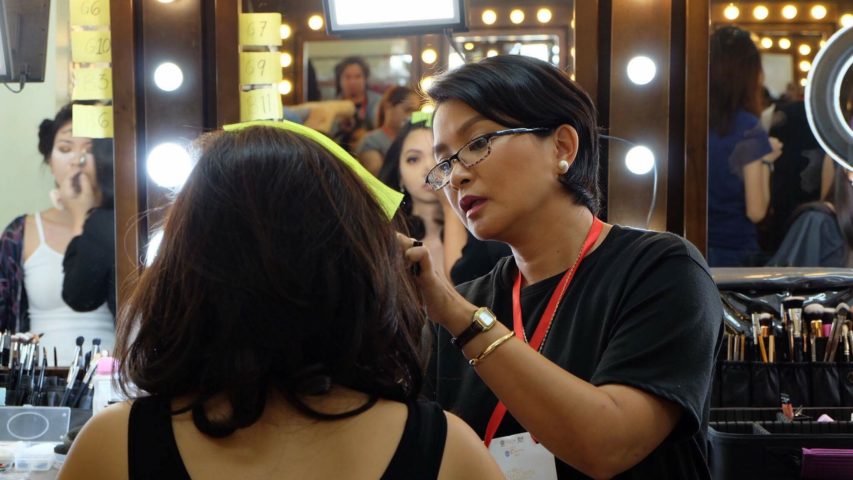
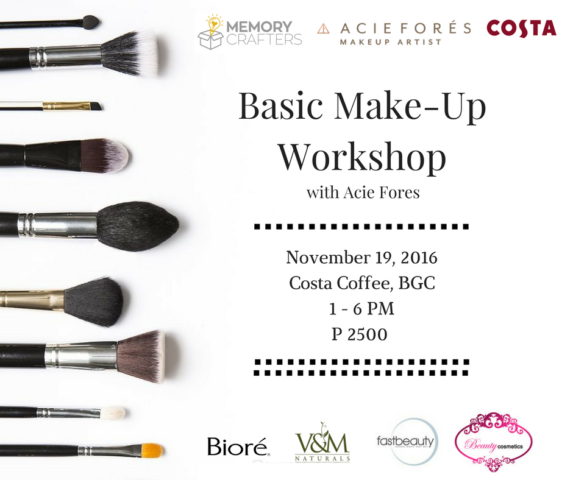
Want to get the full tutorial on how to use these brushes properly? Join my Basic Makeup Workshop this November 19 at Costa Coffee! You can still sign up here: Basic Makeup Workshop, Nov 19, with Memory Crafters at Costa Coffee

Makeup Workshop with Memory Crafters

IMG_9578

Are you a beginner in applying simple make-up? Having problems with basic skincare? Or do you want to learn professional techniques on how to achieve a flawless look?

For those who want to learn how to be confident in putting make-up from day to night, from basics to more, this workshop is DEFINITELY for you. This is event is highly recommended for cosmetic virgins!

In collaboration with Acie Fores, Basic Make-up Workshop is on the 19th of November, 2016. We have lined-up awesome brand partners to spruce up our workshop beauty kit and goodie bags!

Rate: Workshop Rate is P2500 inclusive of certificate, make-up (workshop) kit and freebies from our beloved sponsors: Biore, Fast Beauty, V&M Naturals, and Beauty Cosmetics supply. Check out the goodies to be given!

acie-fores-makeup-workshop

Register now: Basic Makeup Workshop NOV 19 at Costa Coffee

basic-make-up-workshop-3

Makeup Brushes 101, Part 1: Face Brushes

Our makeup kits are an assortment of odds and ends of application tools.  More often, our makeup is either out of fashion or to a makeup junkie, full of products as a result of a makeup addiction.    Depending on your skill level, and usage, my general rule is choose quality brushes.  When buying brushes, make sure it doesn’t scratch on your face.  It should be soft, smooth and leaves no excess brush hair on the face.  It shouldn’t push, pull and lift your skin, but rather glide and make it easier to get the look that you want effortlessly.

img_0403

The most important thing in getting your makeup on fleek is to have the right tools.  A small collection of the right beauty products suited for you is better to have, because the investment in possessing the right, quality  brushes is the more important aspect in a good makeup application.   They do half the battle for you so to speak.

One last thing, as we get older, we tend to use less fewer products on our face.  Getting the right look and making it last longer is all about simplicity.

Here is what you essentially need:

Face

Foundation Brush

A rounded end of a foundation brush made of synthetic nylon material is best used for a liquid or cream based foundation.  The bristles doesn’t absorb much product eliminating waste.  Look for a tight firm brush head.  Spread foundation from the centre of the face going outwards.  Tap or stipple foundation when you see brush streaks or use a sponge to remove unwanted lines.

img_0393
Synthetic Hair, look for a thick dense bristle head. This spreads out the foundation or product evenly.


Micro Fiber Foundation Brush

A Micro Fiber foundation brush makes liquid and powder foundation look flawless.  It is used to give you an airbrushed look.  The white hairs absorb the product while the darker portion helps buff, polish it in so no need for loading up with product.


img_0395
Called a Stippling brush, stipple the product onto the face for medium coverage. Swirl the white portion of the brush into the product and spread in a circling motion until you don’t see lines on the face.


Cream Foundation Brush

I added this to the list of essentials because I normally use cream or liquid foundations and I find that these are my favourite foundation brushes because it applies and buffs product on my face at the same time and it also gives me an airbrushed look.


img_0397
My favourite brush is the one on the left with the white hair. It’s a Shu Uemura one 18 made of goat hair. I am spoiled.


Powder/Blush Brush

A dome shape is what you need to look for when buying.  Made of animal hair, it is used for both powder and blush.  There are good ones made with synthetic fibres that mimic animal hair.  Just make sure it is not too big and too loosely held as this disperses the product too much.


img_0399
The brush 2nd from left is also used to contour your cheeks. These brushes should feel soft and silky and not give you scratches.


Fan Brush

It is good for removing messy eyelash fallout, it is used for applying highlighter to the cheekbone, centre of the forehead and the chin.

img_0400
The hairs in this brush is made of squirrel. I use this also for applying translucent powder on the face when I want a light dusting on my face.


Contour Brush

Look for one that is made of animal hair to get the most use of this brush.  It is meant to blend cream or liquid products for shading or contouring on the areas of the face.


img_0402
My go to brush is the one marked 25S by Makeup Forever. It sits perfectly underneath my cheekbone and gives me killer cheekbones.


Concealer Brush

For the application of liquid or cream based concealers specifically under the eyes.  It is usually made of synthetic fibres which do not absorb product.  It an also double as a lip brush depending on the size.

img_0401
On days you don’t want to use your fingers, these brushes blend your concealer like a dream. The smaller one may be used as a lip brush too.


A Beauty Blender Sponge

It looks egg shaped and best used when damp.  It doubles in size when wet.  I use this when I want to sheer out my foundation and blend out any edges of my makeup.

https://media1.popsugar-assets.com/files/thumbor/0Y-ywum978BR0rkEBg-HXboEgoM/fit-in/1024x1024/filters:format_auto-!!-:strip_icc-!!-/2015/10/19/809/n/1922153/8054f0ad_edit_img_image_2387621_1445216400_beauty-blenders/i/Beautyblender-Tips.jpg
I use the black coloured one. Its the next best thing to using your fingers. It blurs, blends and smooths any unwanted lines.  I can’t live without this.


What are your favourite face brushes?  Do you prefer synthetic ones or those with natural hair?  Let me know in the comments section below.