I’ve always believed in maximizing the use of your products whether its beauty products or items you have in the kitchen or cupboard. Now that we’re in the middle of another lockdown, we are staying indoors and getting to know every nook and cranny of our homes and doing a Marie Kondo in our garages, pantries and bedrooms.
For this tutorial, I’ve discovered a lot of makeup eye palettes, highlighting, contouring and bronzing products hiding in my drawers, some of them barely used or still brand new. I honestly don’t need new makeup. I decided to show you how you can mix them in your daily makeup routine while creating a beautiful classy look.
Tips and Tricks
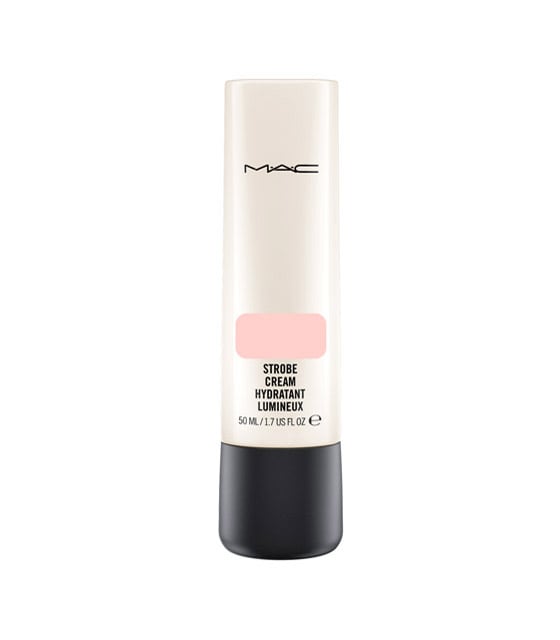
For the face, mix a teaspoon size of your favorite luminizer or highlighter, in this case, I used MAC Strobe Creamwith a cream foundation like Naturactor in the shade Ochre or 152. This method also thins out a heavier consistency of foundation. Do not mix a luminizer with a very dewy foundation as this can look too greasy on the face. If you mix a highlighter with a matte or Demi matte foundation the result will be satin like and not over the top.
Cream or liquid Foundations are best suited to mix your luminizer with. Choose a matte or Demi matte foundation to give you a satin glowing finish.This has a pinky silver color that’s great with mixing with your favorite foundation. Not too warm or white, this is the perfect universal color.
2). I love layering cream and liquid products with their powder versions. This method makes your makeup last longer. I use the contour shade as a base for my eyelid crease and nose line. The lighter shade can also be used as a base for the eye shadow on the lid.
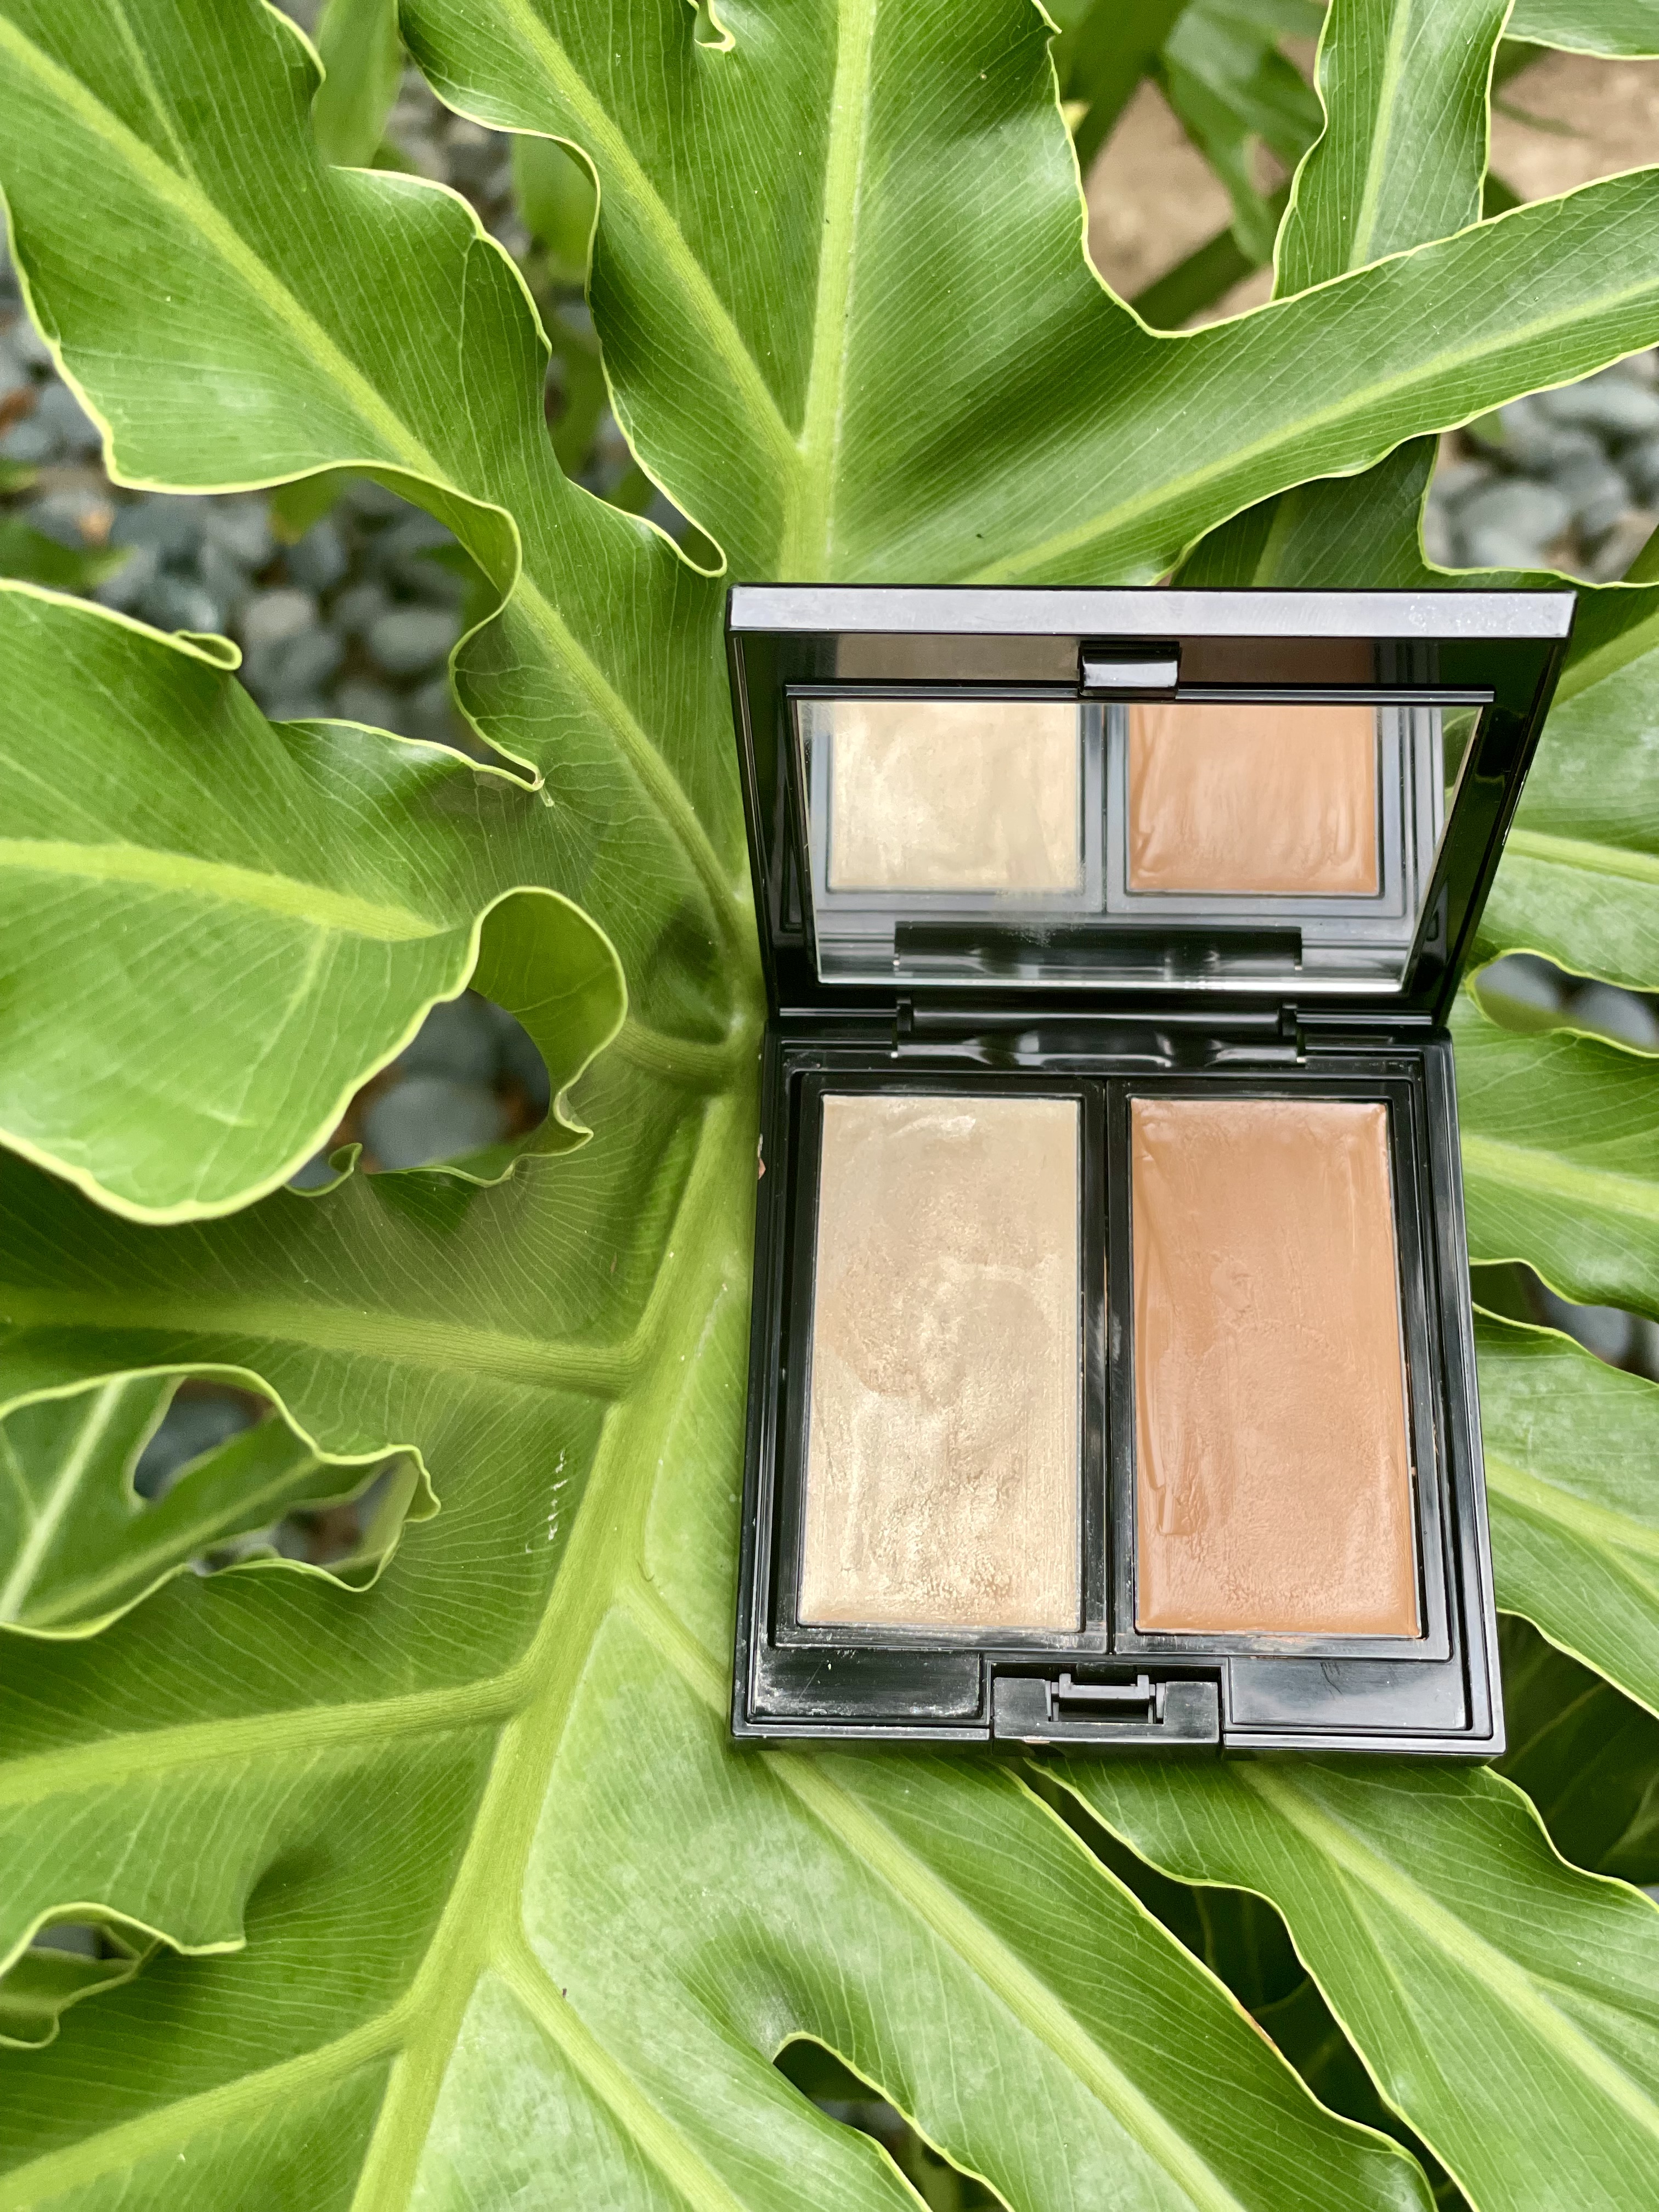
This is the best dupe for Tom Ford’s Contour cream palette! Addiction in shade Gold Reflection 02, is a universal contour shade for light to medium skin tones.
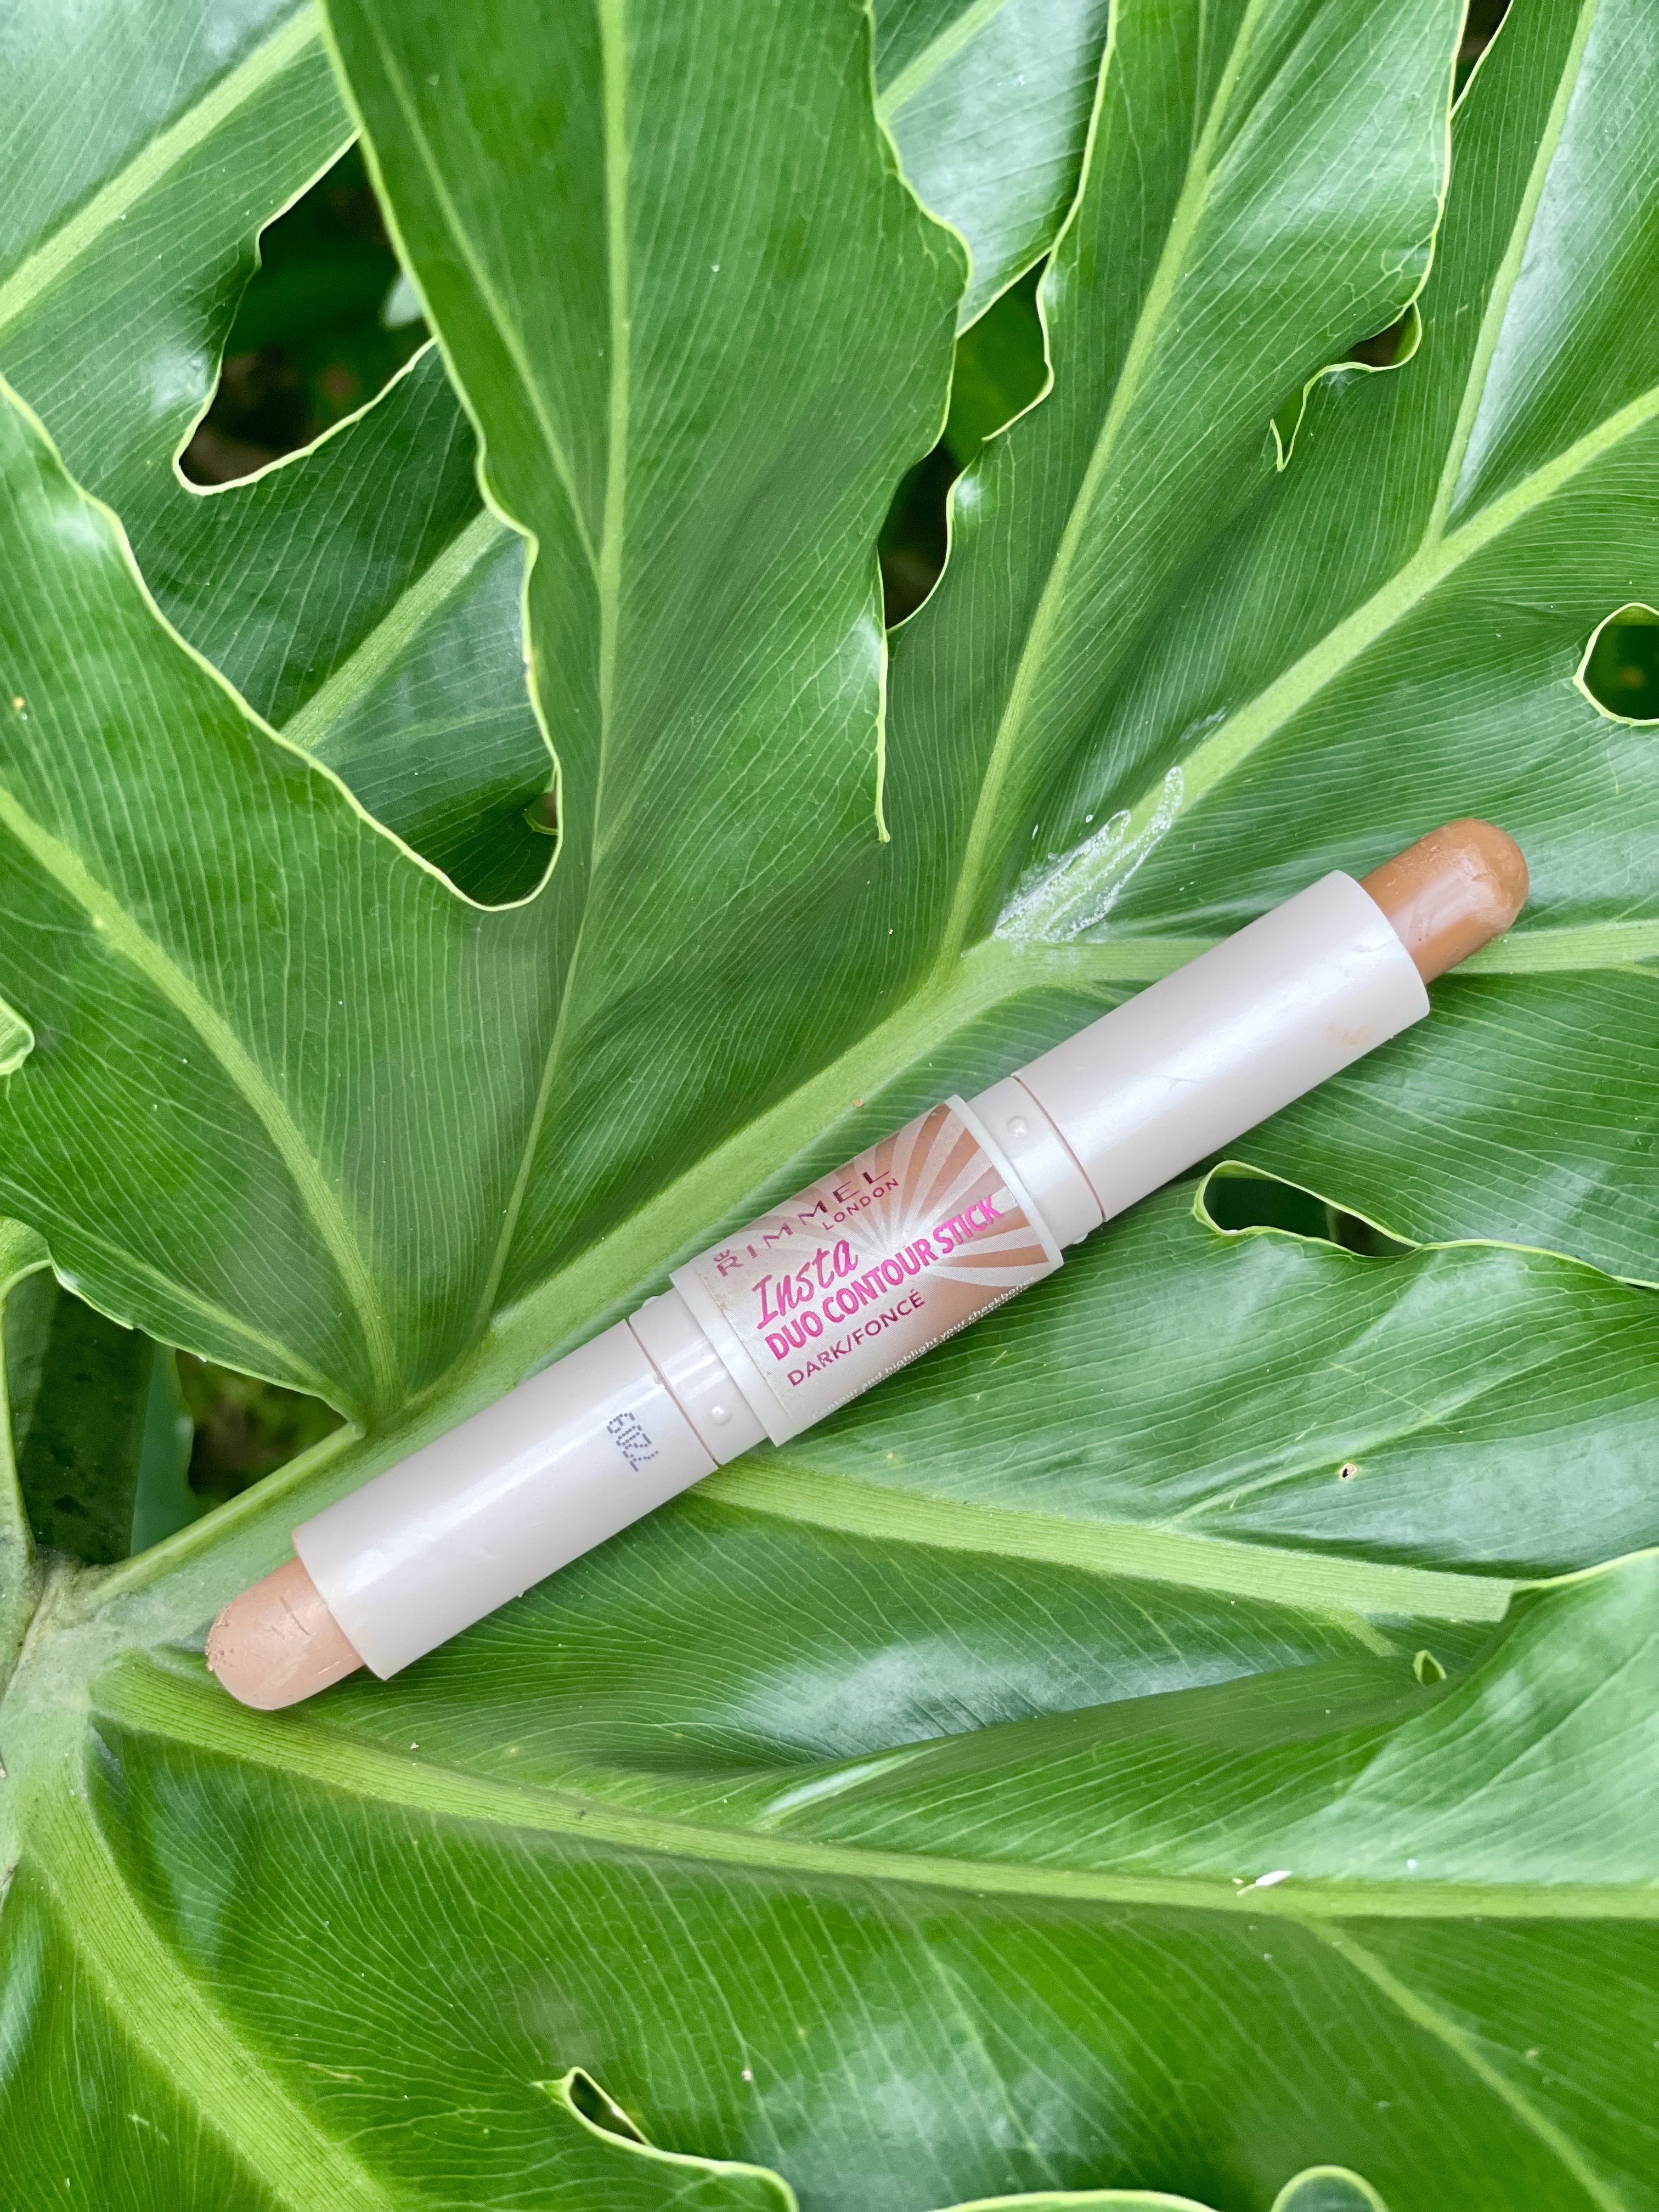
This is another affordable alternative, made by Rimmel, its so portable, and easy to apply! Insta Duo Contour Stick in Dark
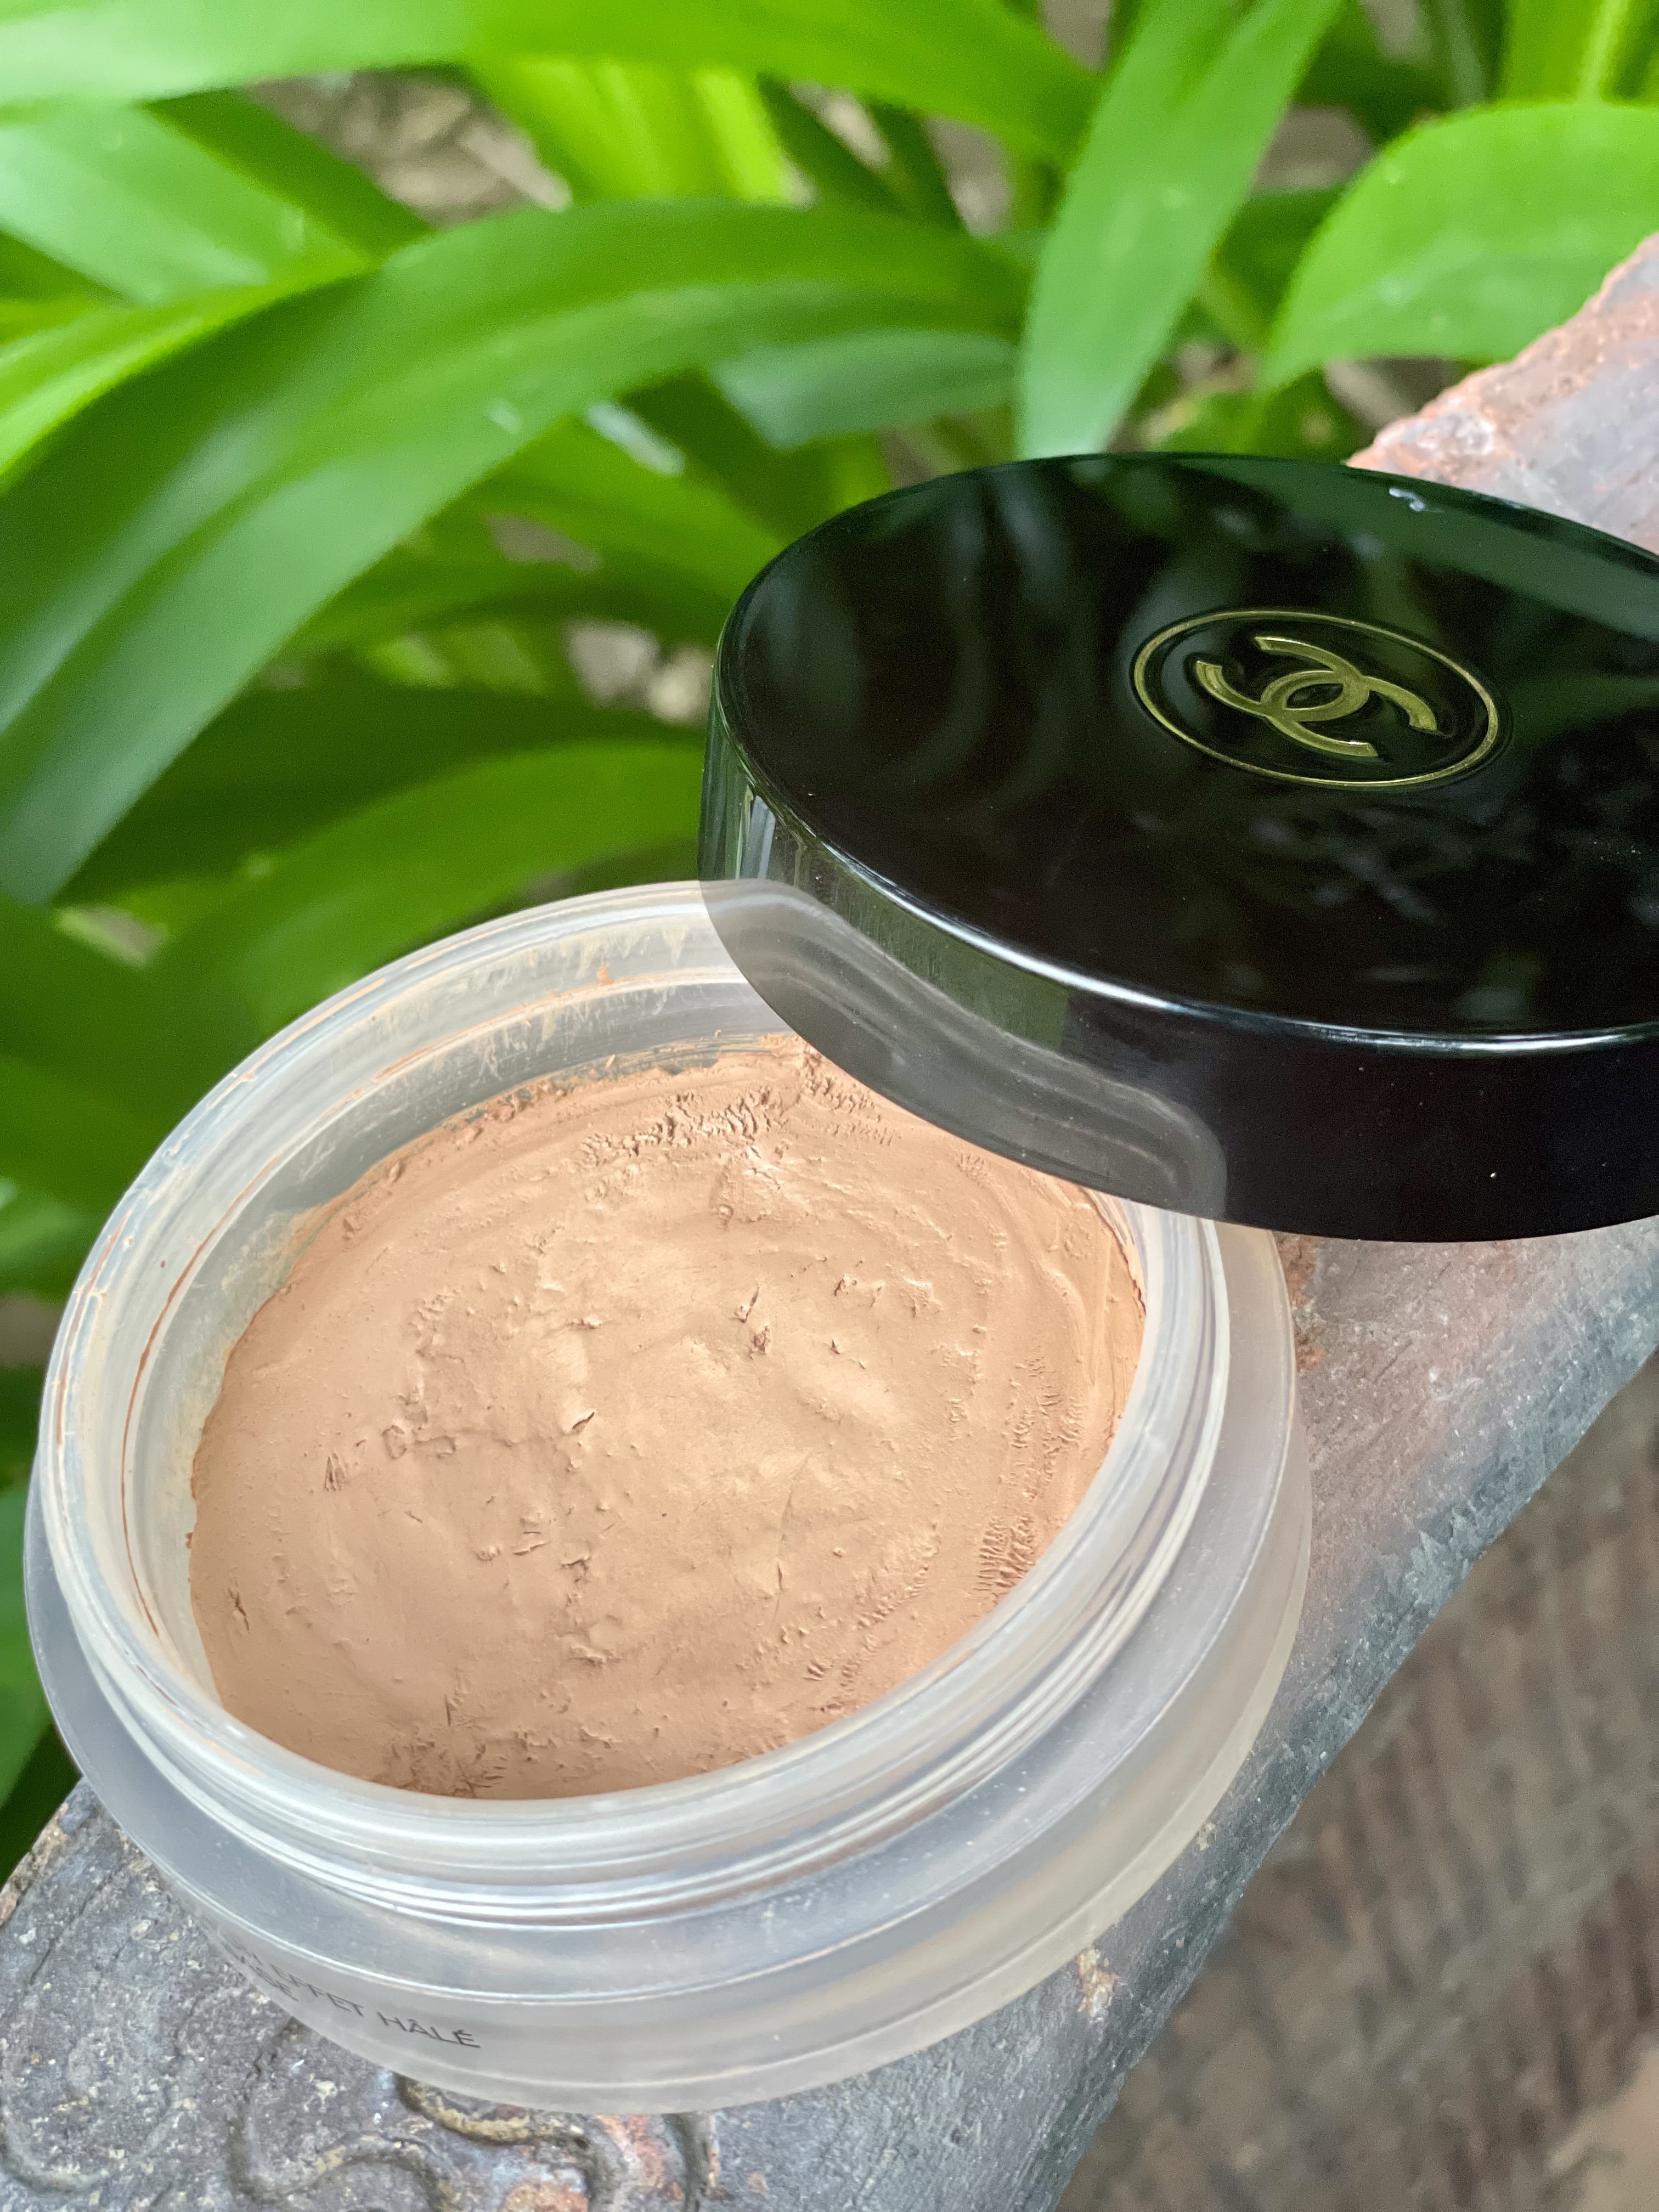
I know you’ve seen me use this product in most of my videos. Chanel Soleil De tan is my HG of bronzers. Not too orange, it gives the right amount of warmth to the face. Use all over the eyelid or as a transition shade on the crease to give the eyes depth.
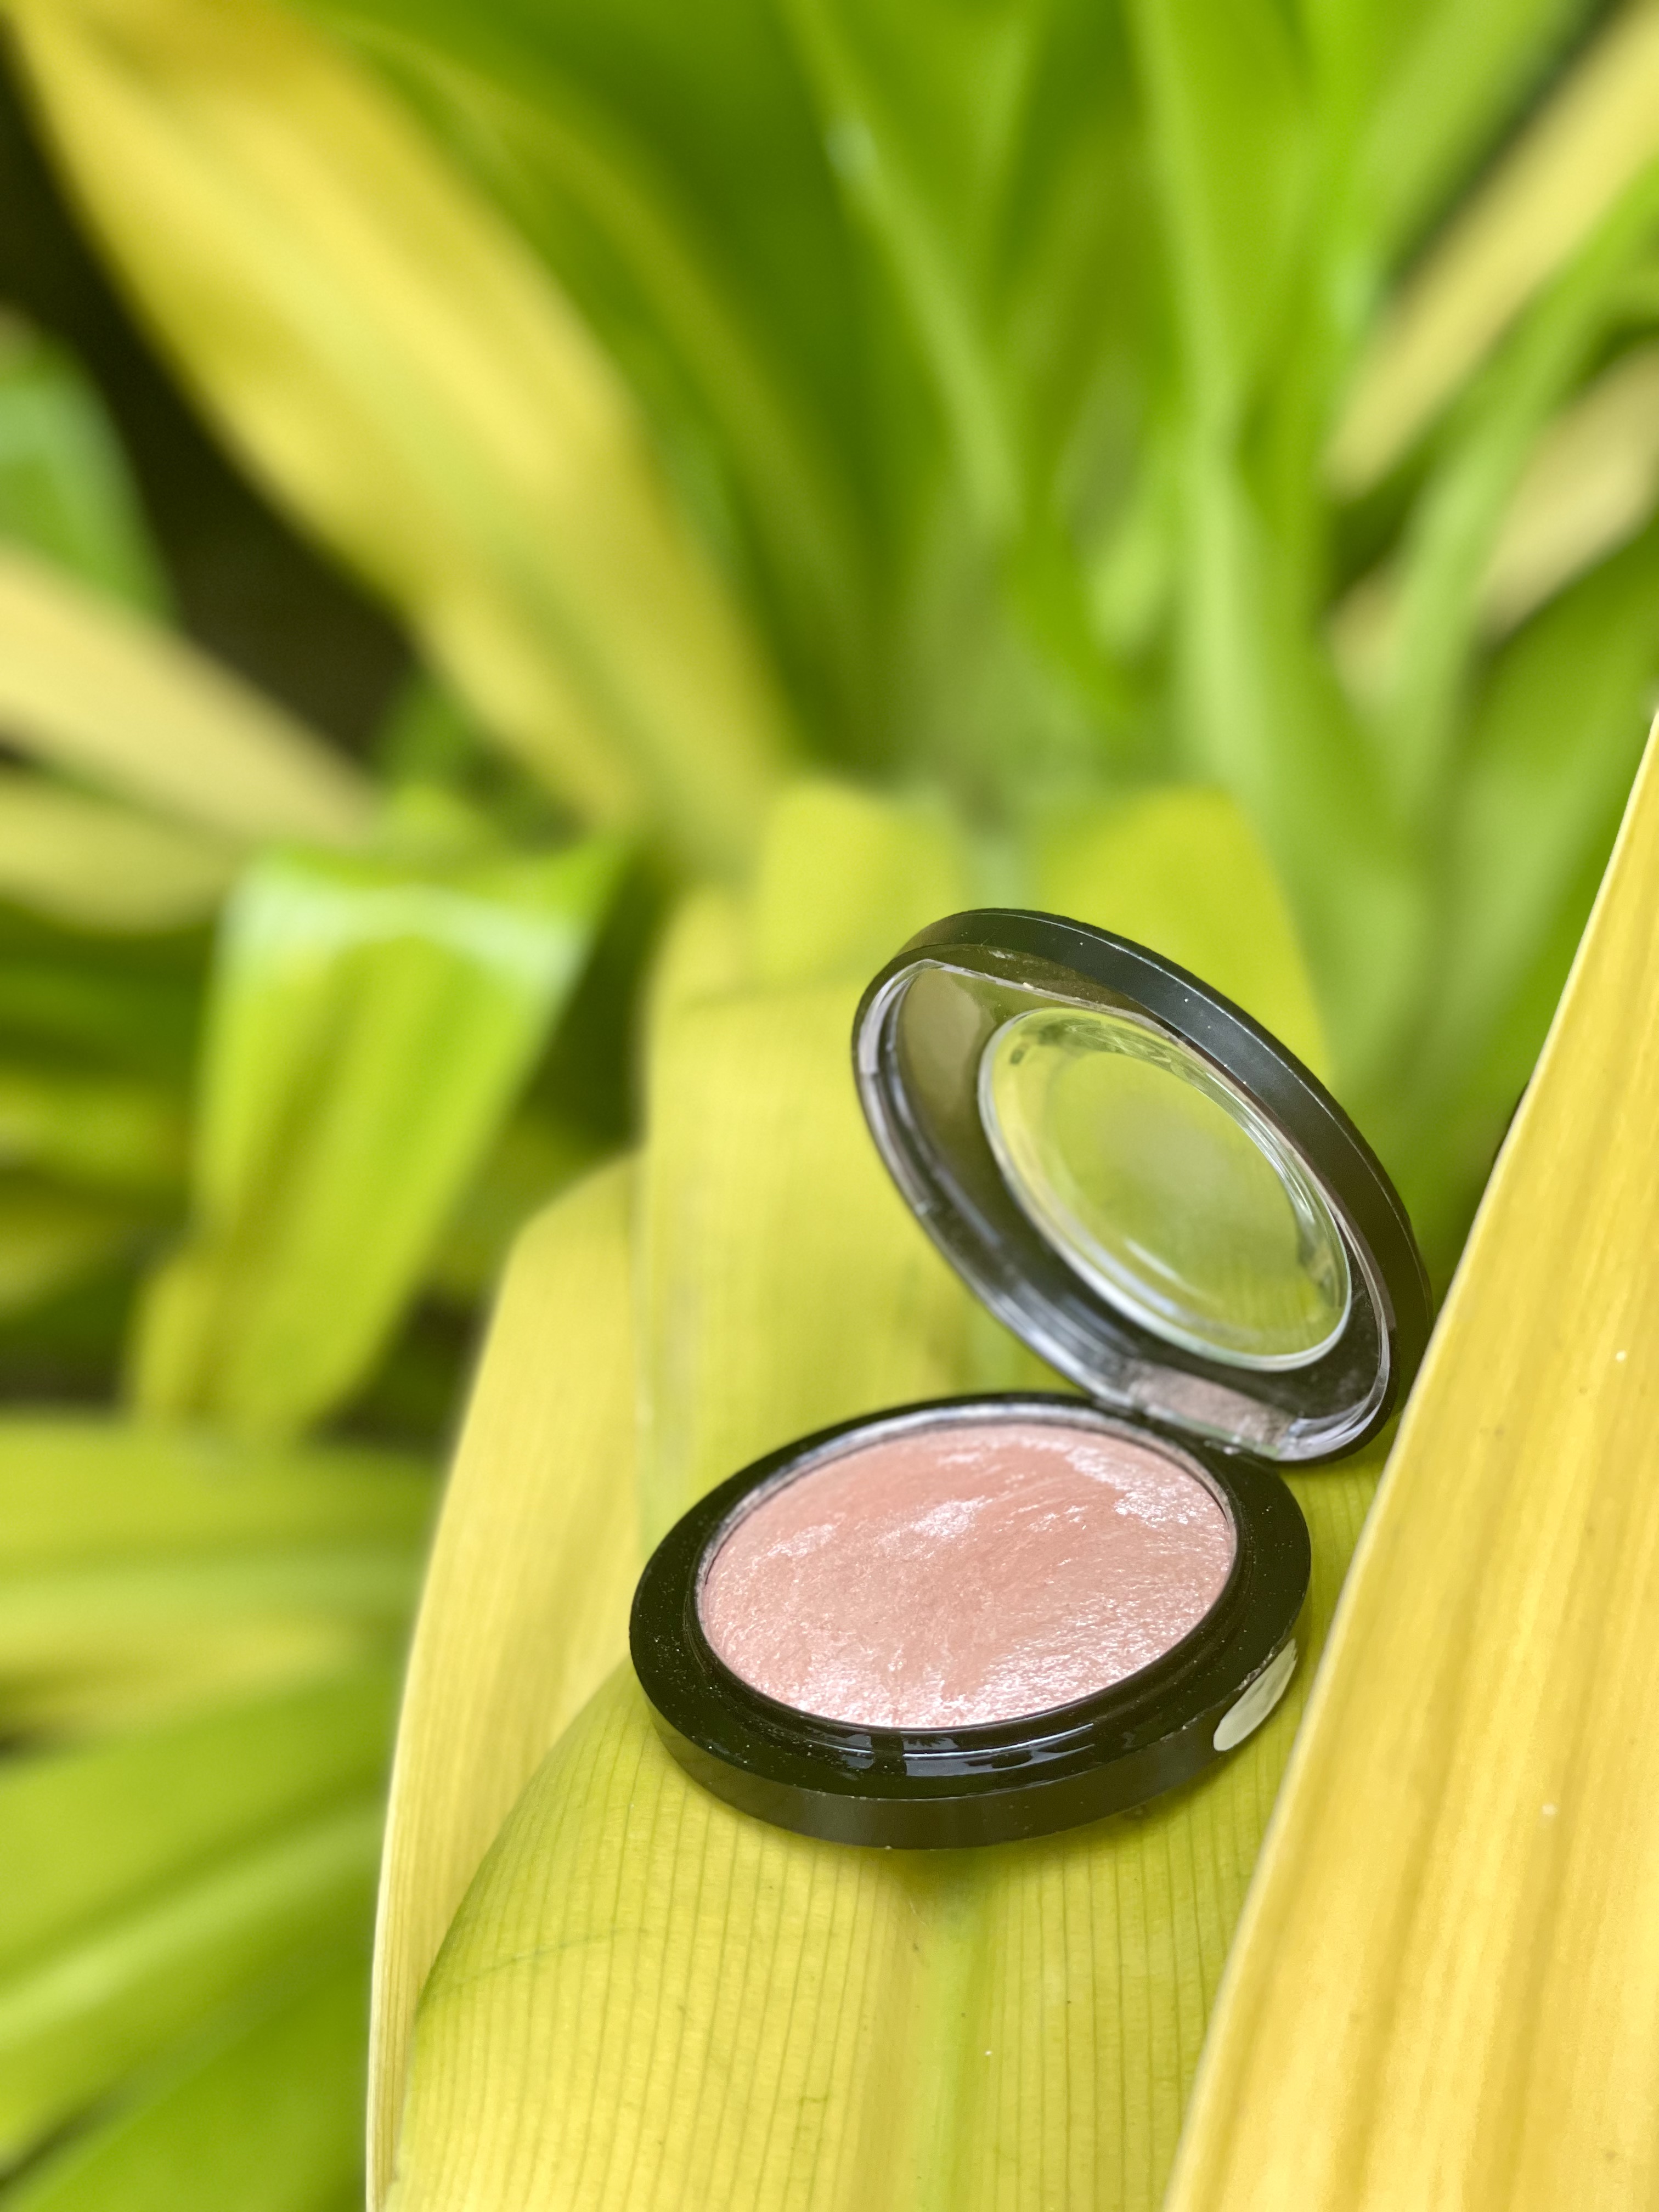
MAC Soft and Gentle is exactly what it says. Its not shimmery or frosty. Its skin like. Apply on the highpoints of the face, cheekbone, brow bone and Cupid’s bow
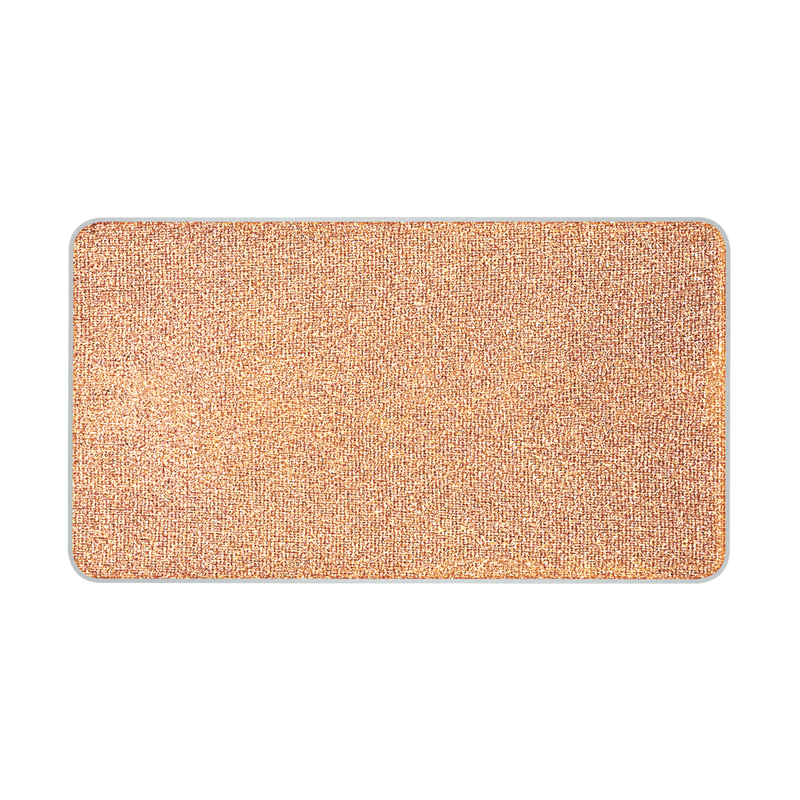
Makeup Forever Highlighter H106, Irridescent Champagne is my choice for eyelid color. Swipe wet to give it a foil like texture.
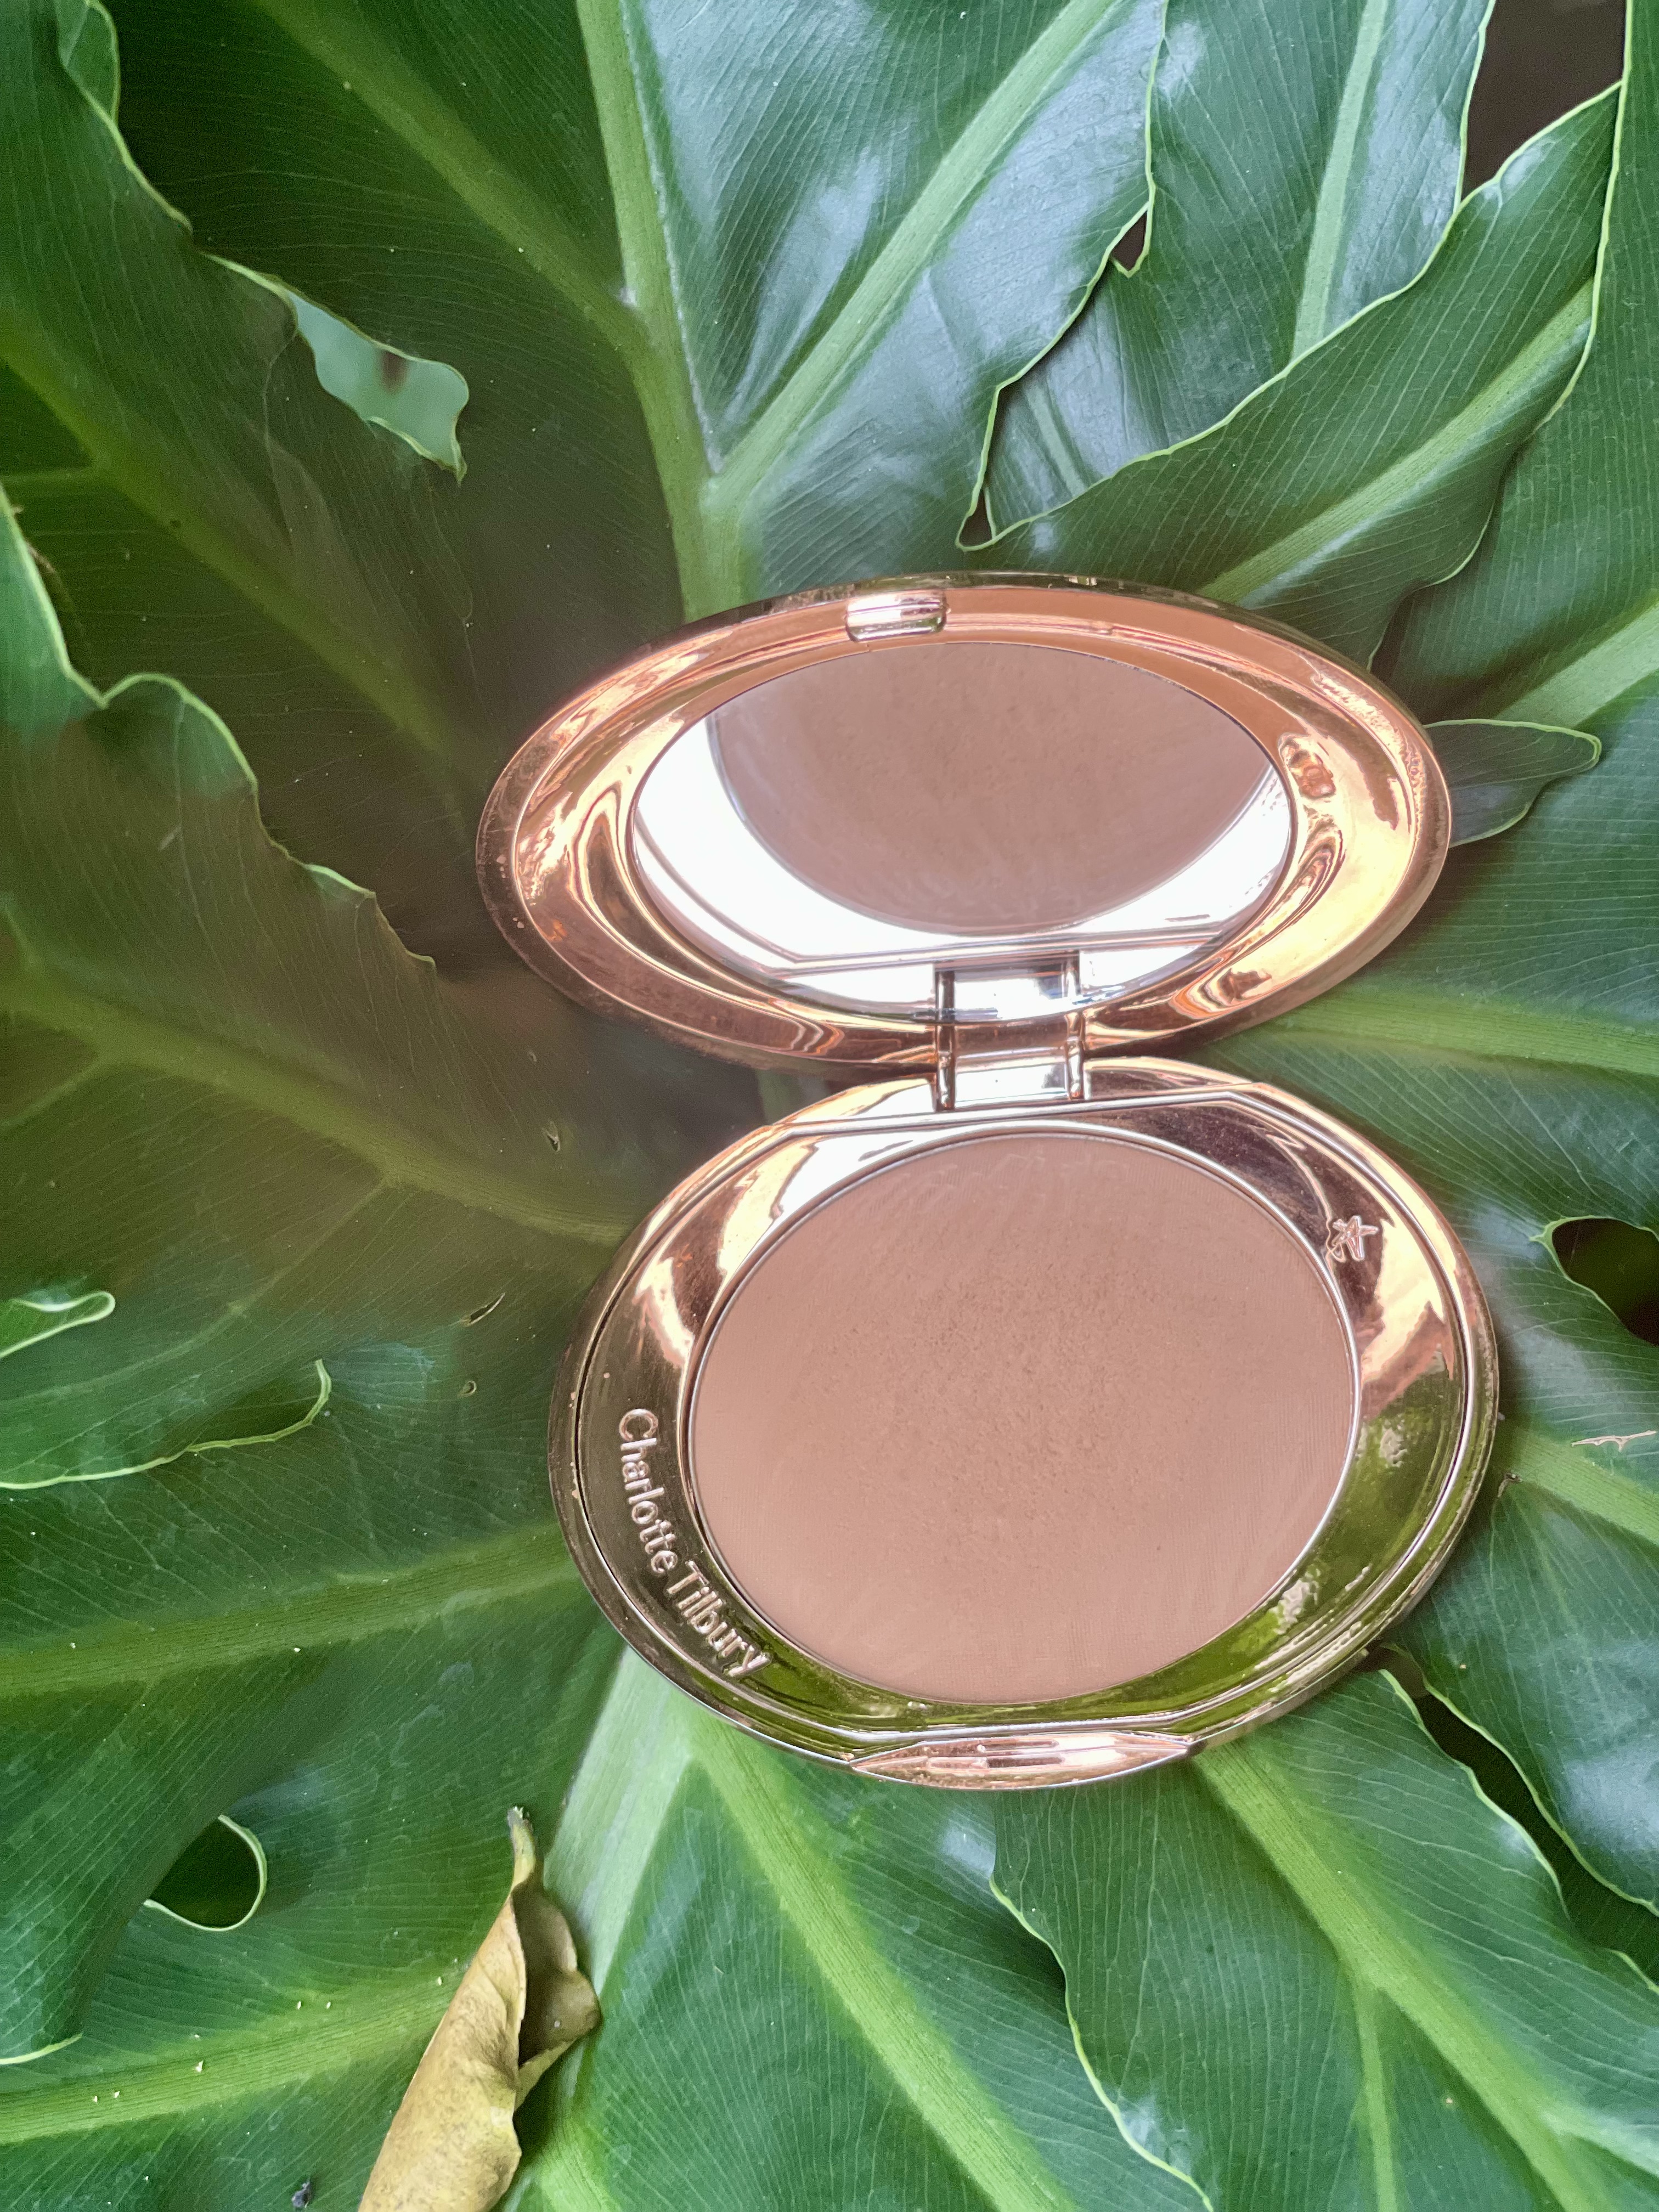
3). Bought the wrong shade of powder? Too dark? Use them as bronzers or to contour your face. I used this underneath my cheeks and to seal the cream products, on the nose line and eyelid crease and temples to give my face some depth.
Charlotte Tillbury Airbrush Powder in shade 4, don’t throw this away! This can be used as contour colors on the temples, nose line, eye crease and under the cheeks. Use a big powder brush and blending brush to avoid harsh lines.
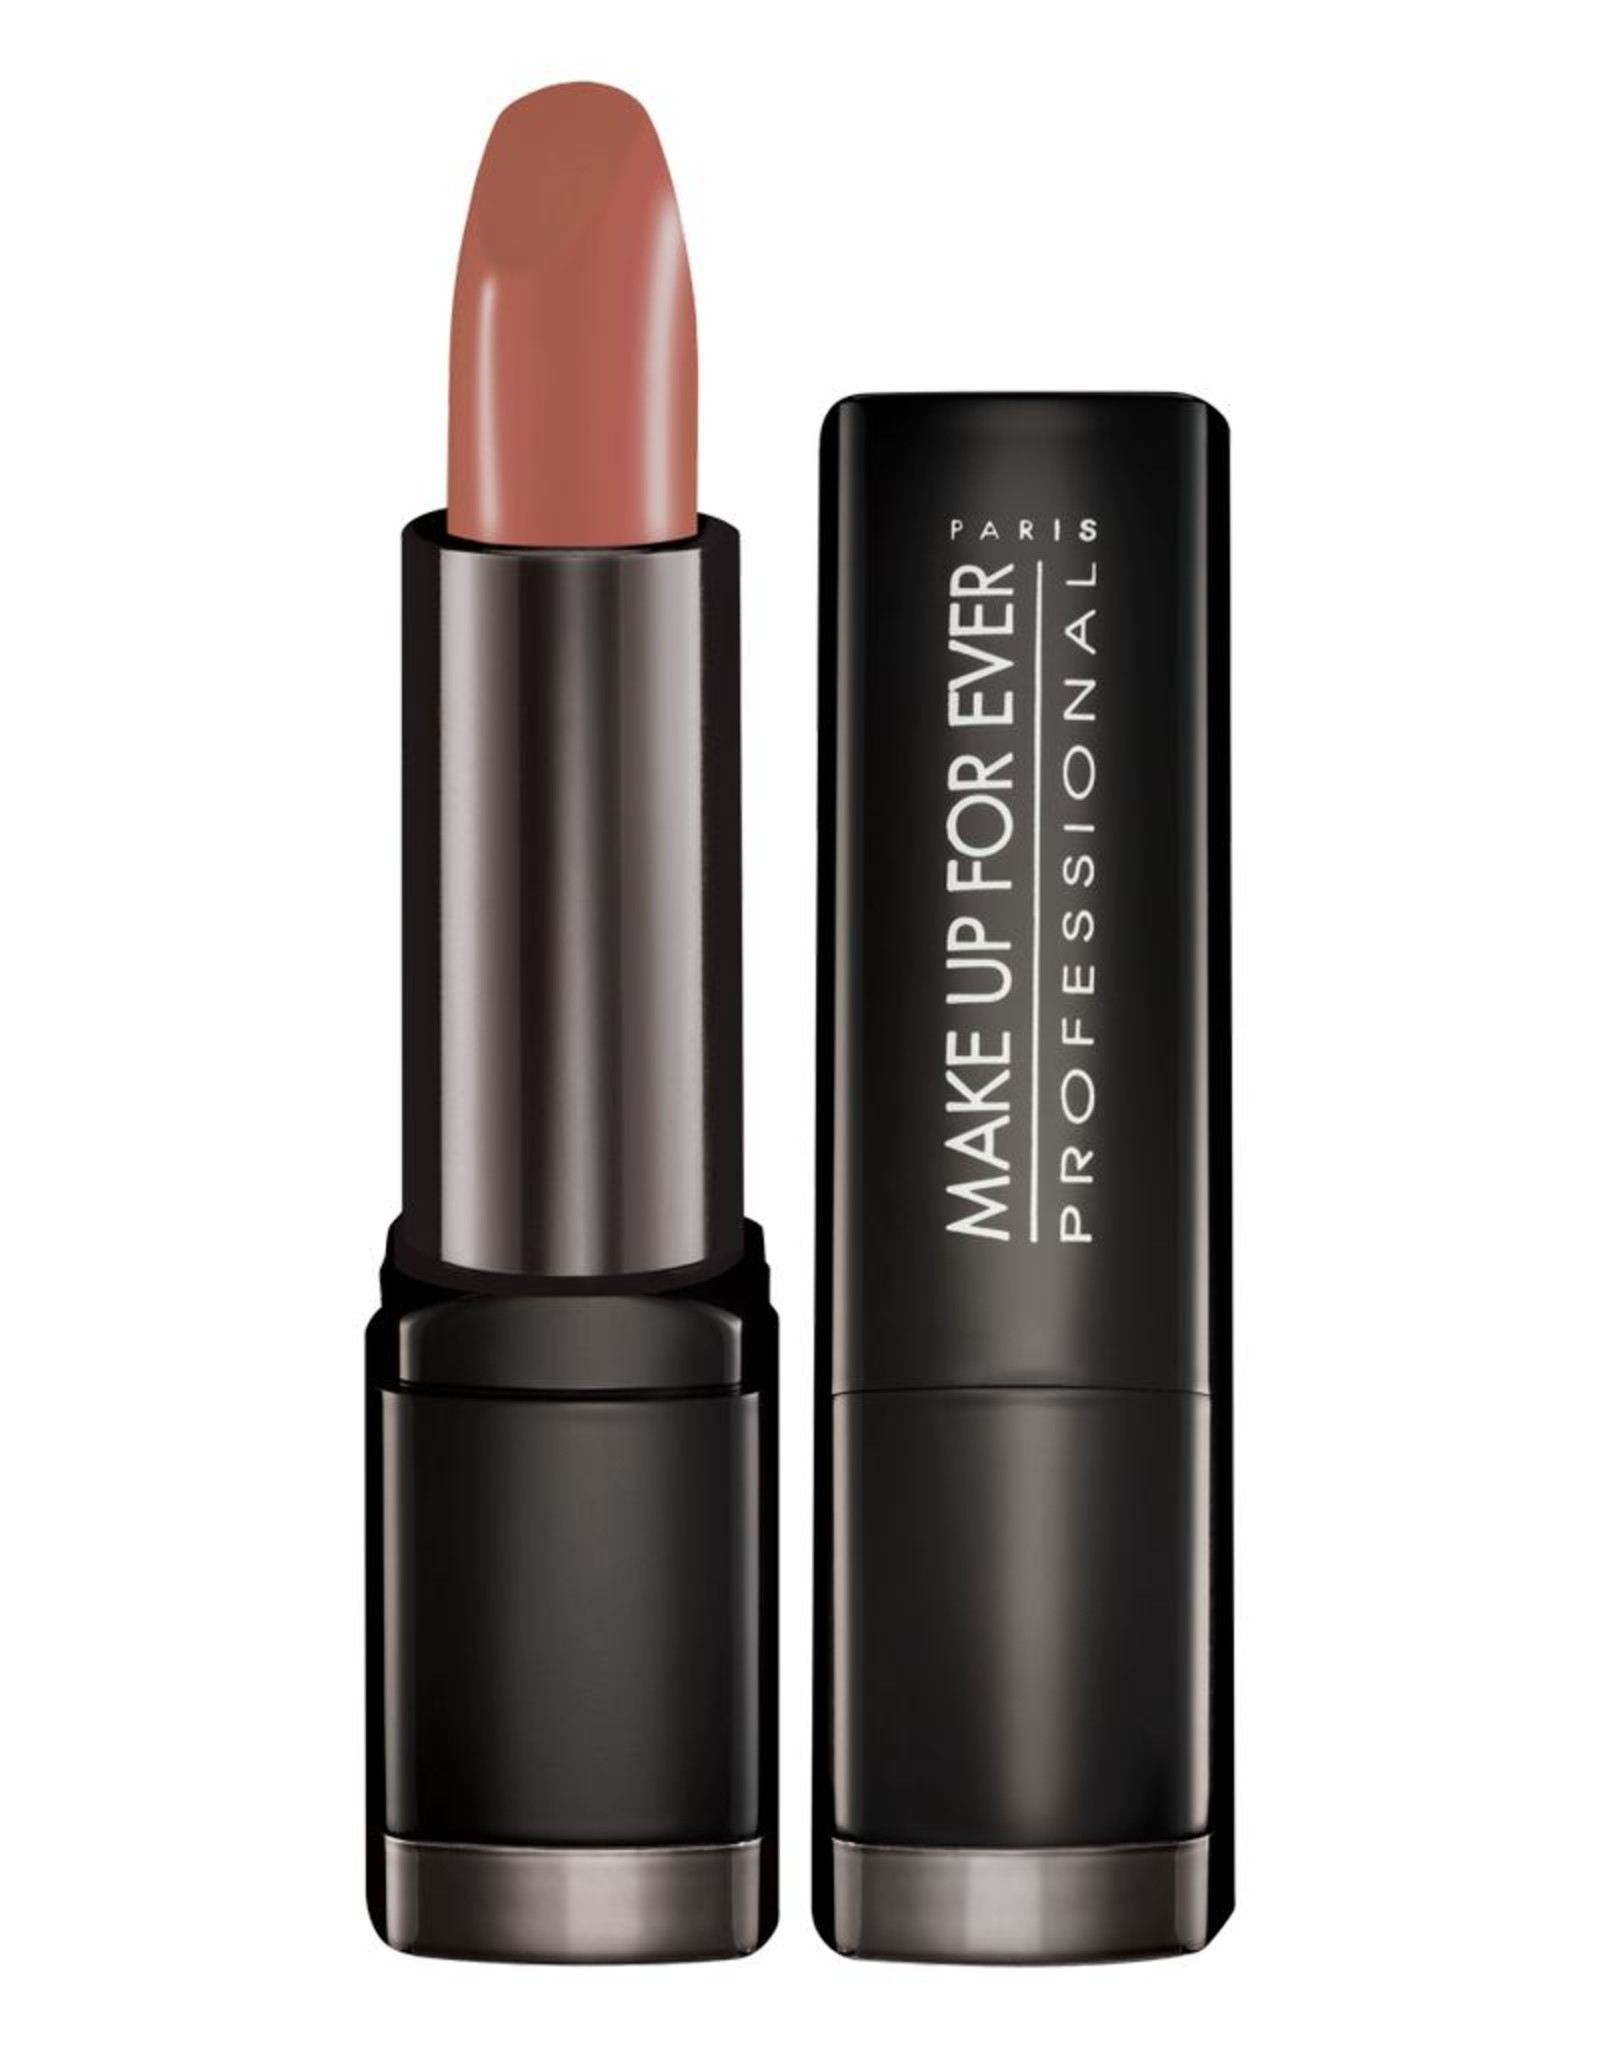
4). Use lipsticks as cream blush! If you think the shade of lipstick is either too light, too dark or just the wrong shade of coral, pink or red, use it as a base for blush and reinforce it with your powder blush. Blend the two shades together for a seamless effect.
Makeup Forever Rouge artist 24, a coral shade that is flattering to light to medium skin tones. You can also use this as a base for eye shadow when you feel like doing a neutral to natural makeup looks. Be sure to check if your product is safe to use for the eyes.
I hope you are all taking care of yourselves, let me know if you have other makeup tips that do double duty for you. I would love to read your ideas!
While eyes are the windows of the soul, eyebrows express emotions best. They frame the eyes, shape the face and they have the ability to bring your best features into focus while downplaying the flaws. A popular trend is Microblading making to foolproof to achieve perfect looking brows. Choosing the right tattoo artist for this procedure is key. Since my brows are not that sparse and light, I can still manage to do them myself.
If you have groomed brows, there is less need to do a full face makeup and it makes you look polished, youthful looking and rested. Don’t worry if you have less than perfect eyebrows, you can achieve an aesthetically pleasing set by having them groomed, trimmed and filled with these easy steps.
1). Grooming
If you have them professionally groomed, look for a reputable salon or artist to do it. If you are on a budget, do this once and ask her/him if they can teach you to groom them yourselves after.
Brush your eyebrow hairs upward with an eyebrow spoolie to smooth out the hairs. Tweeze any unwanted hair from the top and from the bottom to achieve a clean look.
Plucking the brows
2). The 3 point guideline
3). Choosing eyebrow color and filling in
Choose your natural brow color and add a hint of your hair color for a uniform look. If your hair is black, choose a color that’s dark brown, soft brown or taupe to avoid a harsh looking brow. If your hair is blond with brown eyebrows, get a color that’s in between to create a balanced look.
If you’re using a brow powder, apply color with an angled or square tipped stiff brush. Deposit color in the middle of the brow until the tail. This is where you want the darkest color to be. With the leftover color on the brush, move towards the front of the brow where color is the lightest part to give a gradient effect. Fill in the blank spots. Brush brows with a a spoolie. Repeat the process until you get the desired effect.
If you’re using a pencil, create a template by starting from he bottom of the brow and draw a line underneath until the tail. Draw a line on top of the brow until the tail as well. Brush with your spoolie to remove harsh lines. Fill in the brow with light strokes of the pencil to finish off the brow color.
4). Polishing the shape
Use a concealer or light colored pencil to go over mistakes or over coloring outside the brow area. This also creates a clean sharp edge to the brow. You may use a cotton tip dipped in concealer or makeup remover, Blend with your finger, sponge or brush.
5). Setting your brows
To keep them from staying in place, apply a clear brow gel to further keep hairs in placebo brushing upwards. For advanced makeup tips, use soap brow if you prefer doing this step. Spritz your spoolie with water and dip it into a clear soap and make a paste. Brush this on your brows.
These are basic simple steps you can try to get your brows in shape and gain confidence to look your simple best every day.
Did you know that feeling good about yourself makes you more productive? Here’s an on-the-go, feel good makeup look that could make each day feel a bit brighter 🥰
[My apologies for the background noise due to repairs in my home]
Everyone these days are glued to a gadget , sometimes multiple ones, to make us feel connected and entertained. Meetings and work from Home are now conducted electronically through multiple platforms like Zoom, FB Messenger Video, Viber etc… Digital presence has given rise to women and men (yes including men), to look their best in their meetings since you are with other members of your office team or clients and looks matter.
I’ve seen an increase in RingLight or other LED light panel usage online, including would you believe my favorite parish priest as well? You see a round white halo in their irises to indicate that they are using good light to look good.
It may feel a bit trivial to put makeup on in these difficult times but it can help us put some semblance of routine by separating a workday from a weekend. The idea of putting a game on face gives you a boost to start your day and make you feel better. The ritual of putting yourself together and looking polished makes you feel centered and focused amidst these unsettling times.
So I hope I gave you a refresher and a quick makeup routine that you can incorporate in your daily life.
What are your beauty routines that you can share with me?
Makeup Used:
Face/Eye Prep:
Makeup Forever Ultra HD Serum (used as a primer)
Inglot HD Foundation Shade 75
Rephr Brush 19
Maybelline Fit me Matte Poreless Powder in shade 220
Maybelline Fit Me Concealer in shade Medium
Eyes/Brows:
Shu Uemura BrowSword Pencil Walnut Brown
Shu Uemura Soft Lasting Gel Pencil in 02 Med brown
Happy Skin Glam Squad Denise Go Ochoa Eye Palette
Artnet Eyeshdow Brush 116
Smith Cosmetics Blending Brush 222
Hakuhodo Pencil Point brush
Koji Eyelash Curler
NARS Climax Mascara
Cheeks:
MAC Persistence Lipstick used as cream blush
Makeup Forever Artist Face Color S214 Powder Blush
Makeup Forever Artist face Color H106 Highlighter
Smith Cosmetics Brush 222
Fan Brush
Dior Backstage Contour Palette
Lips:
Shu Uemura BG 935
Makeup Forever Artist Rouge Mat M 102
In this series for #skincareforwomenover40, here is another video and blog post on what I do to make my 50+ something skin supple and hopefully delay the aging process. While it is not problematic, caring for it still requires a little boost and TLC to keep it from going south. So here is my step by step guide on how I care for it.
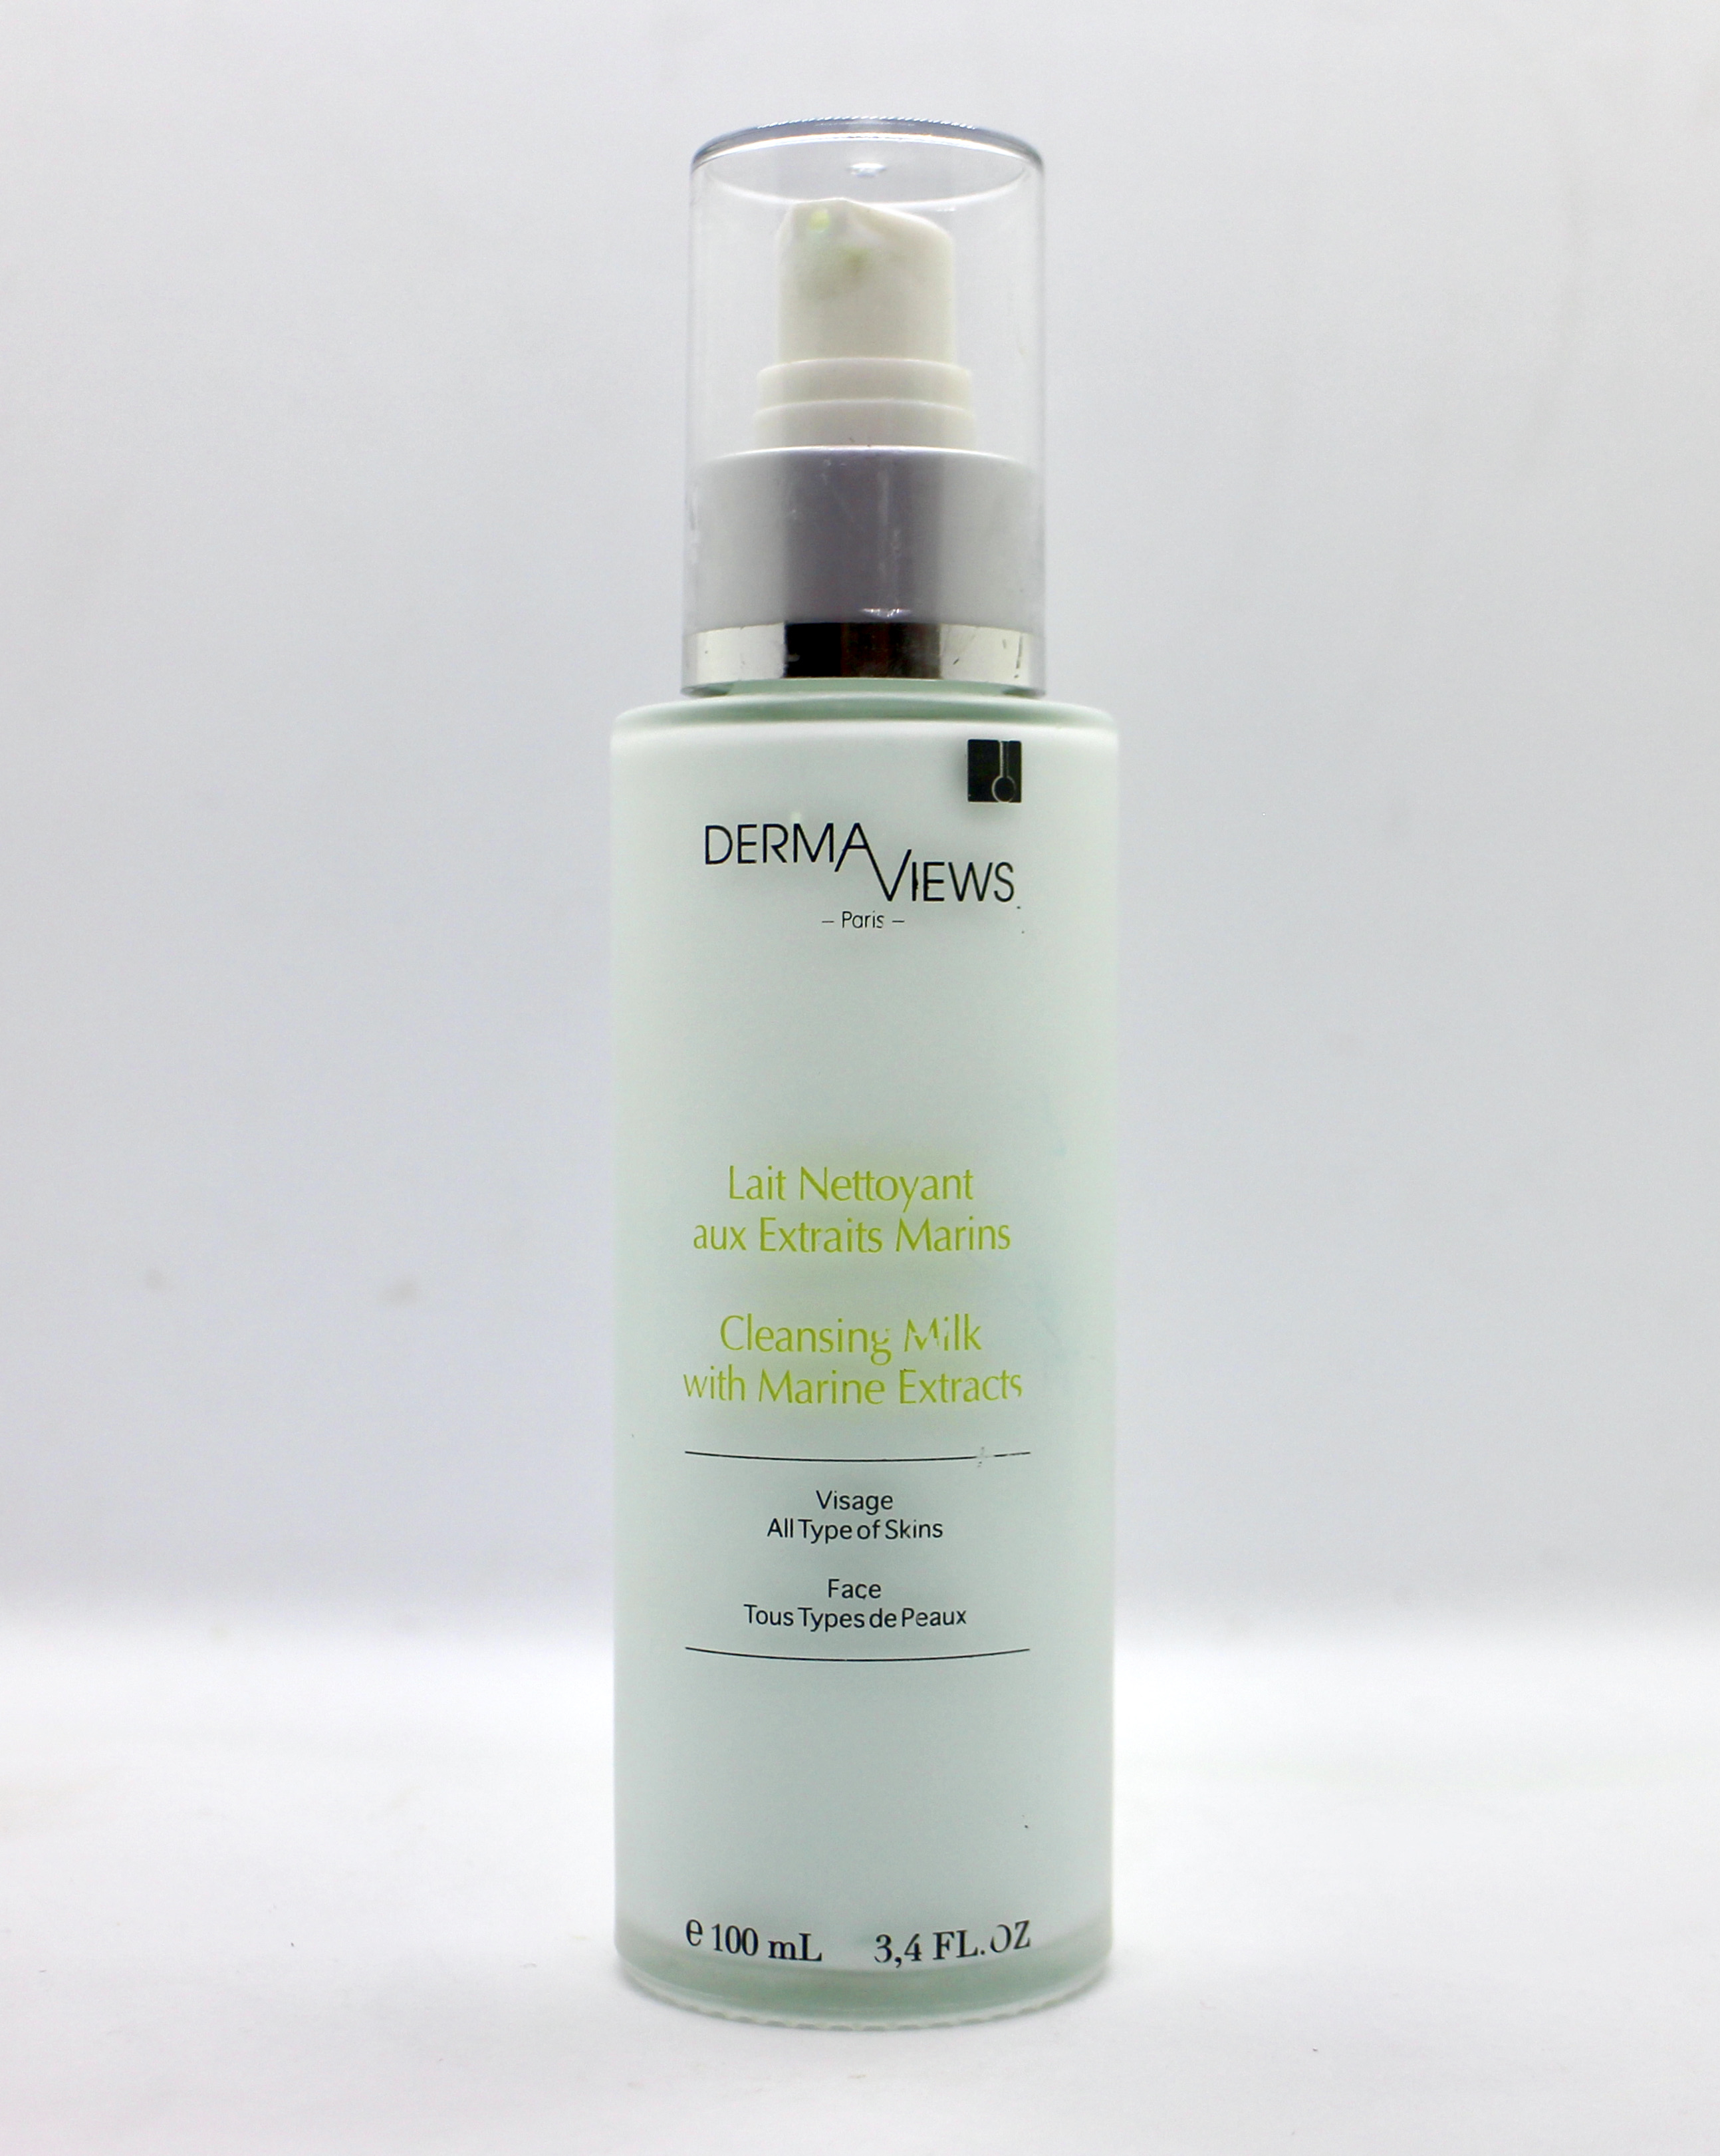
Remove your makeup and traces of dirt from your face with a gentle cleansing milk, Squirt a few drops on the cotton pad and swipe from the center of the face,down the neck and forehead. Use another cotton pad to remove eye makeup and swipe down and remove all traces of liner and mascara with a cotton tip.
Light cleansing milk to remove makeup and dirt in the face. Apply with a cotton pad and swipe from the center of the face, down the neck and the forehead.
2). Wash your face with a mild soap, I like the transparent soap Pears, as this reminds me of my childhood. It leaves skin with no soap residue.
TIP: You can use your eyebrow spoolie spritzed with water and swipe the soap until it forms a transparent paste on the spoolie and apply on your eyebrows to groom hair strands into place.
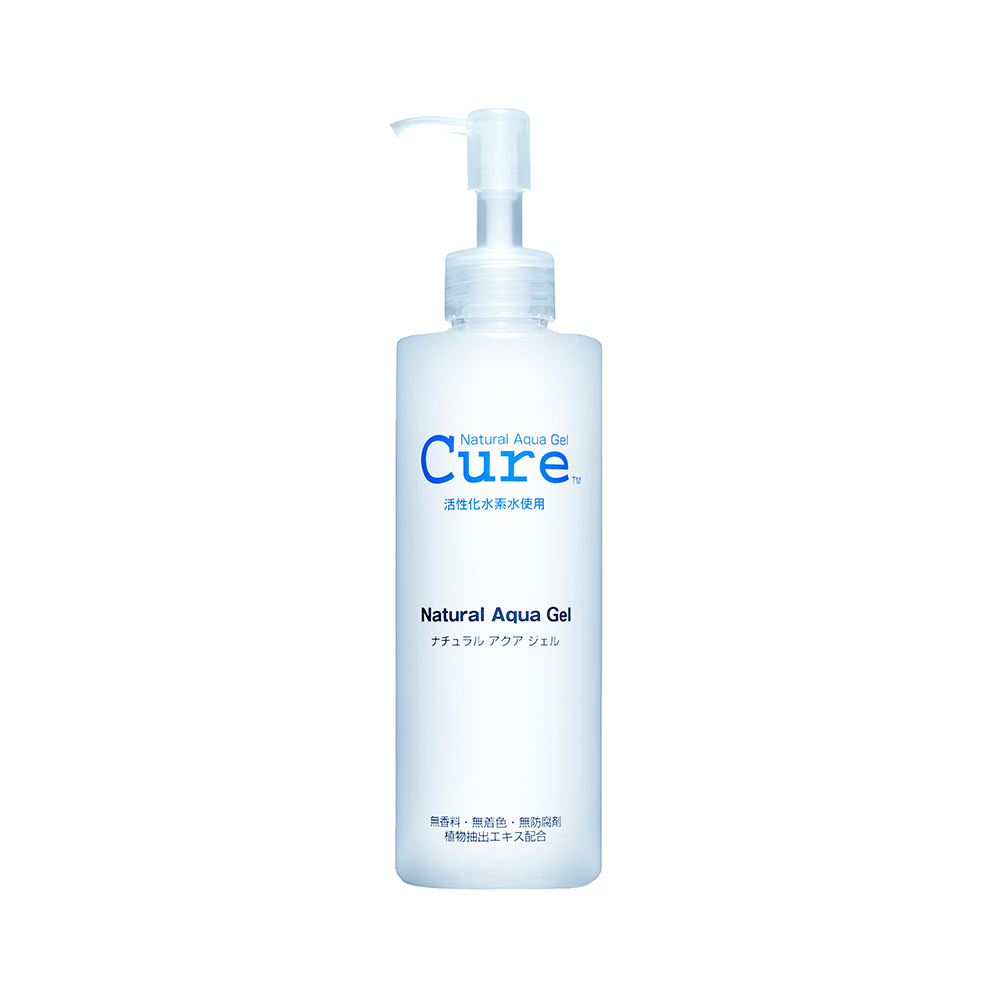
3). Exfoliate with Cure Nature Aqua Gel ( 2-3x/week) to remove dead skin cells on the face. Apply this onto cleansed face and swirl the product on your face until you feel water beads form and lift up dead skin flakes from your face. Rinse with water. This is called gommage exfoliation.
This is perfectly non irritating on the skin since this product is mostly composed of Hydrogen water so no harsh chemicals will leave your face stripped of its natural oils, just dead skin.
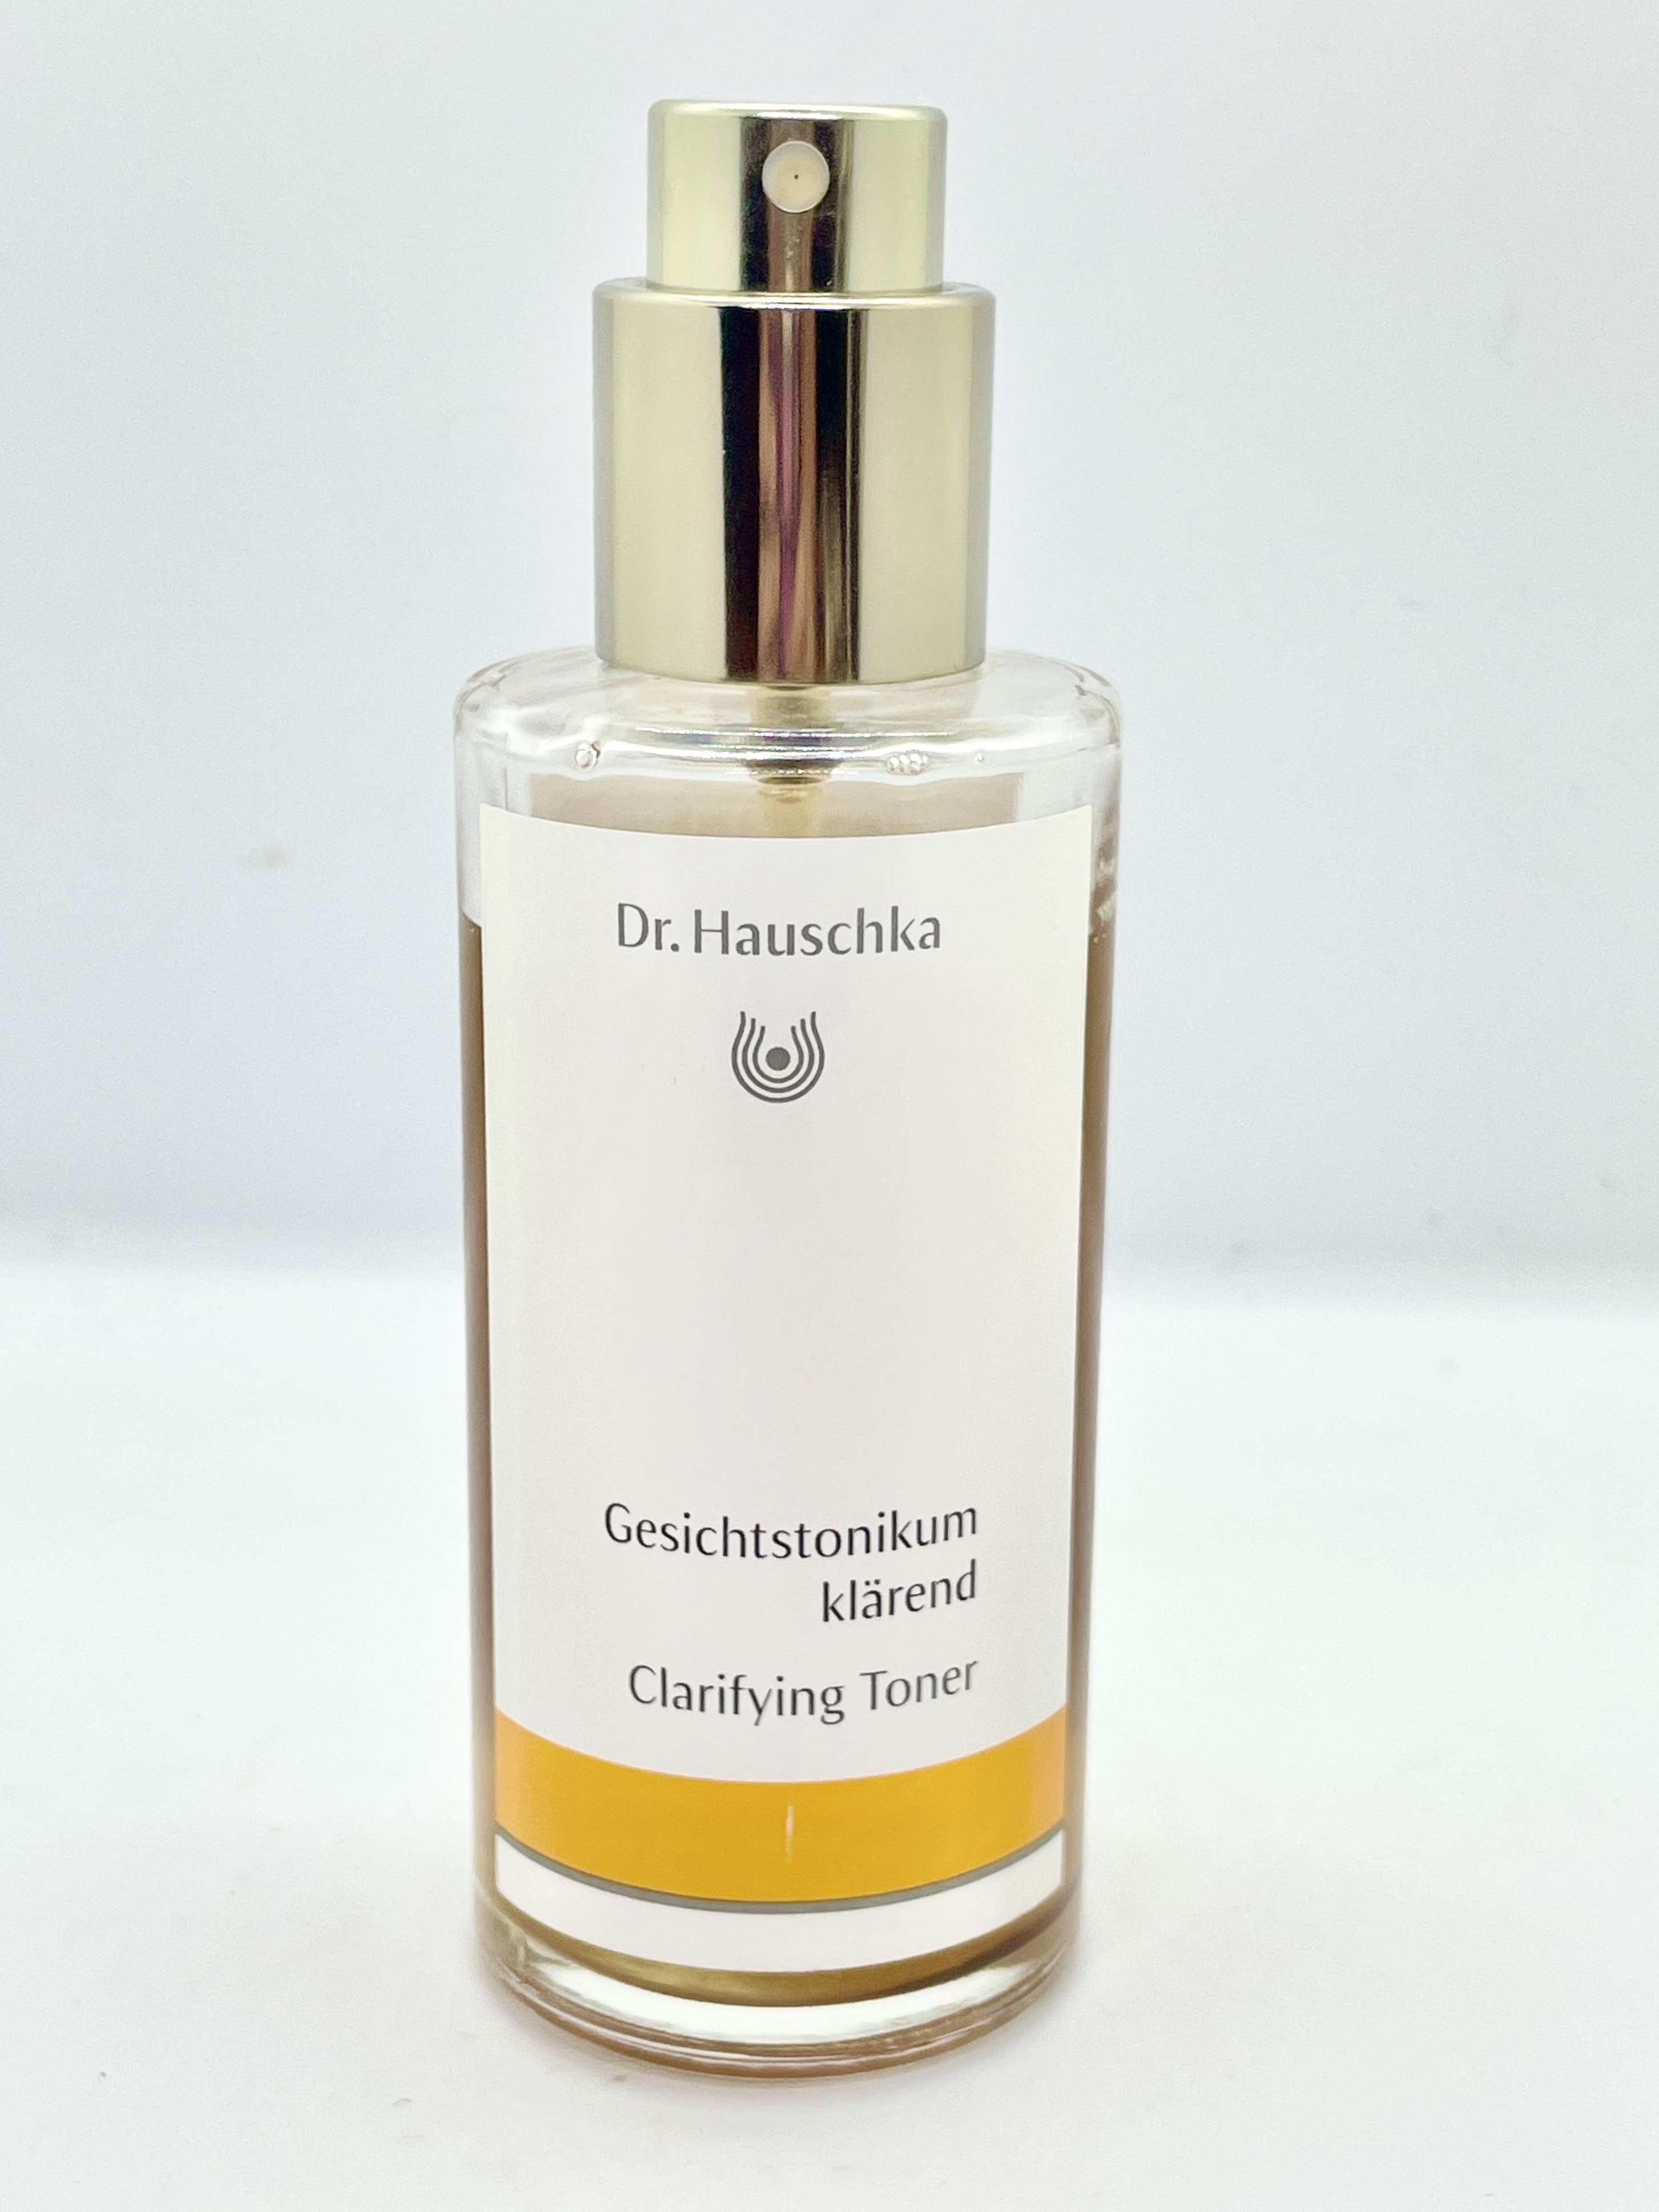
4). Apply your favorite toner to bring back the PH balance of the skin, I use Dr. Hauschka Clarifying toner. I like the Rose smell and its not drying at all. Either Spritz this on the face or apply with a saturated cotton pad.
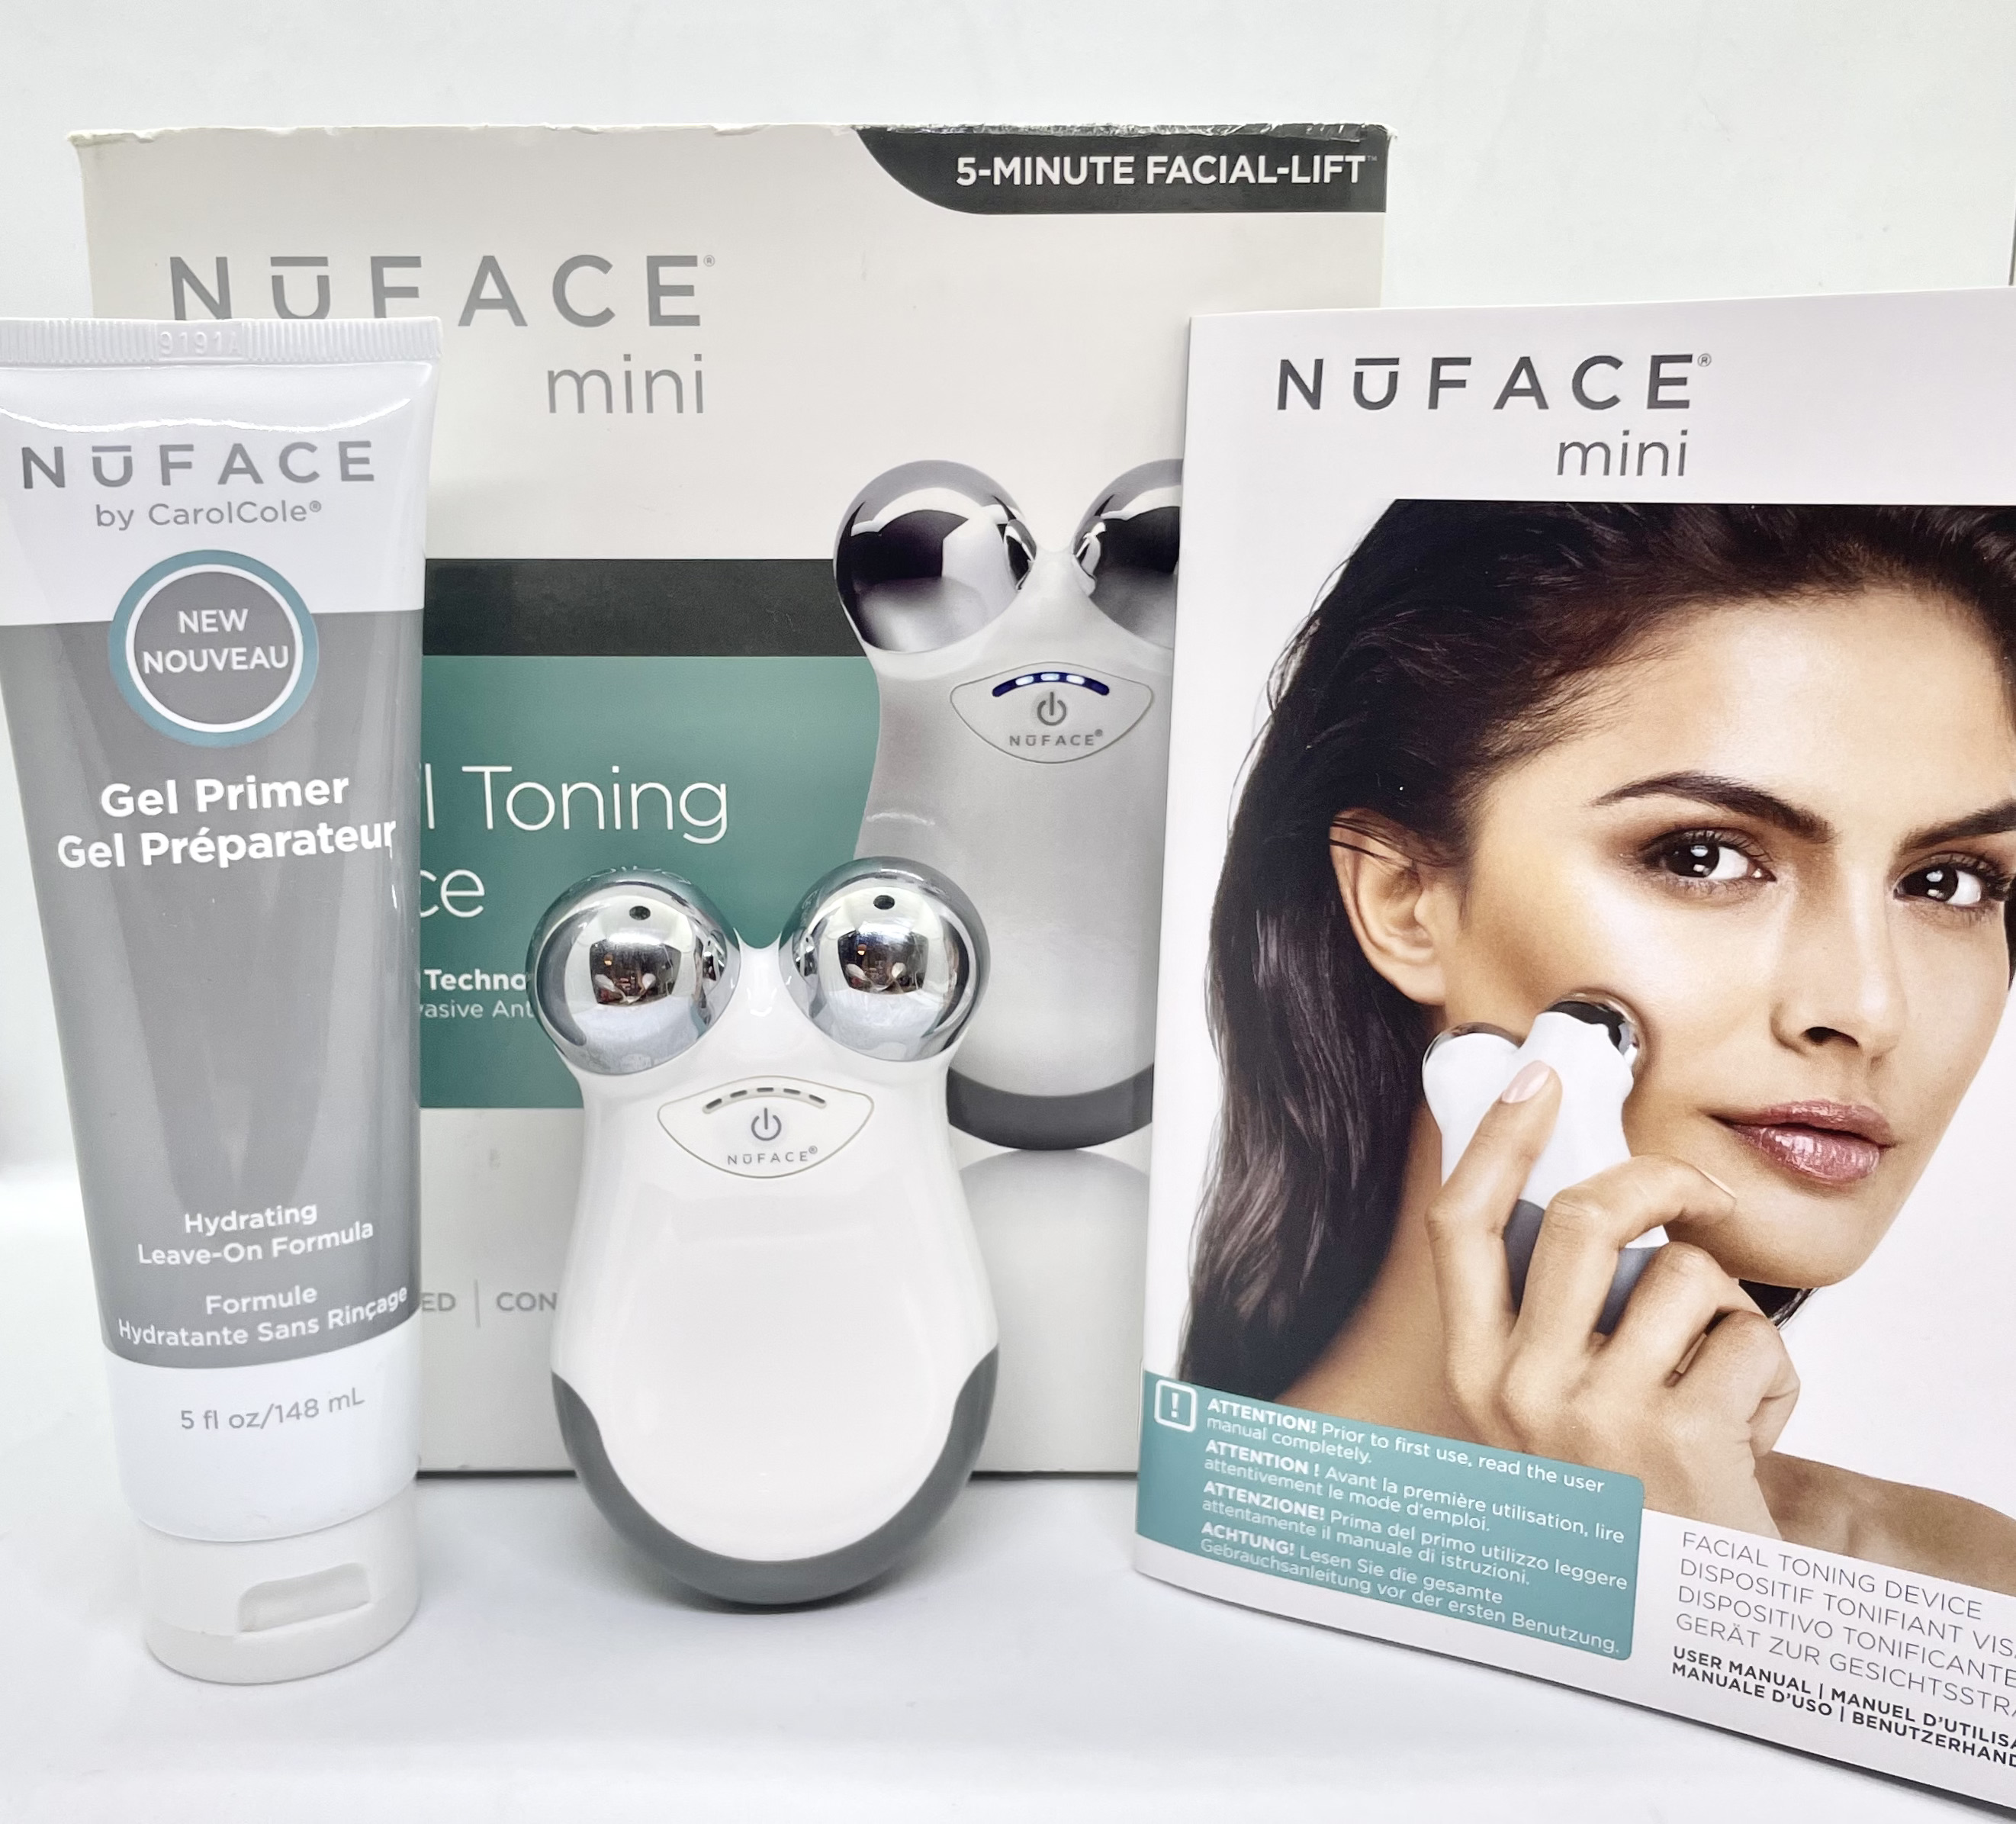
5). You can skip this step if you’re too tired, this is an added treat for your skincare routine. The Mini Nuface Trinity is a FDA approved home device that mimics the laser procedures in the Dermatologist’s clinic. While this will not replace a stronger current and effects in a professional medical clinic, this is a good alternative in experiencing anti aging benefits at home. It is a 5 minute face lift using microcurrent that will tone and smooth out wrinkles. You have to apply a face mask like consistency from the gel provided, it is Hylauronic acid and any excess can be massaged in the face.
For the first 2-3 months, use it 5x/week and thereafter, can be used 2-3x/week. For Maintenance, use as needed.
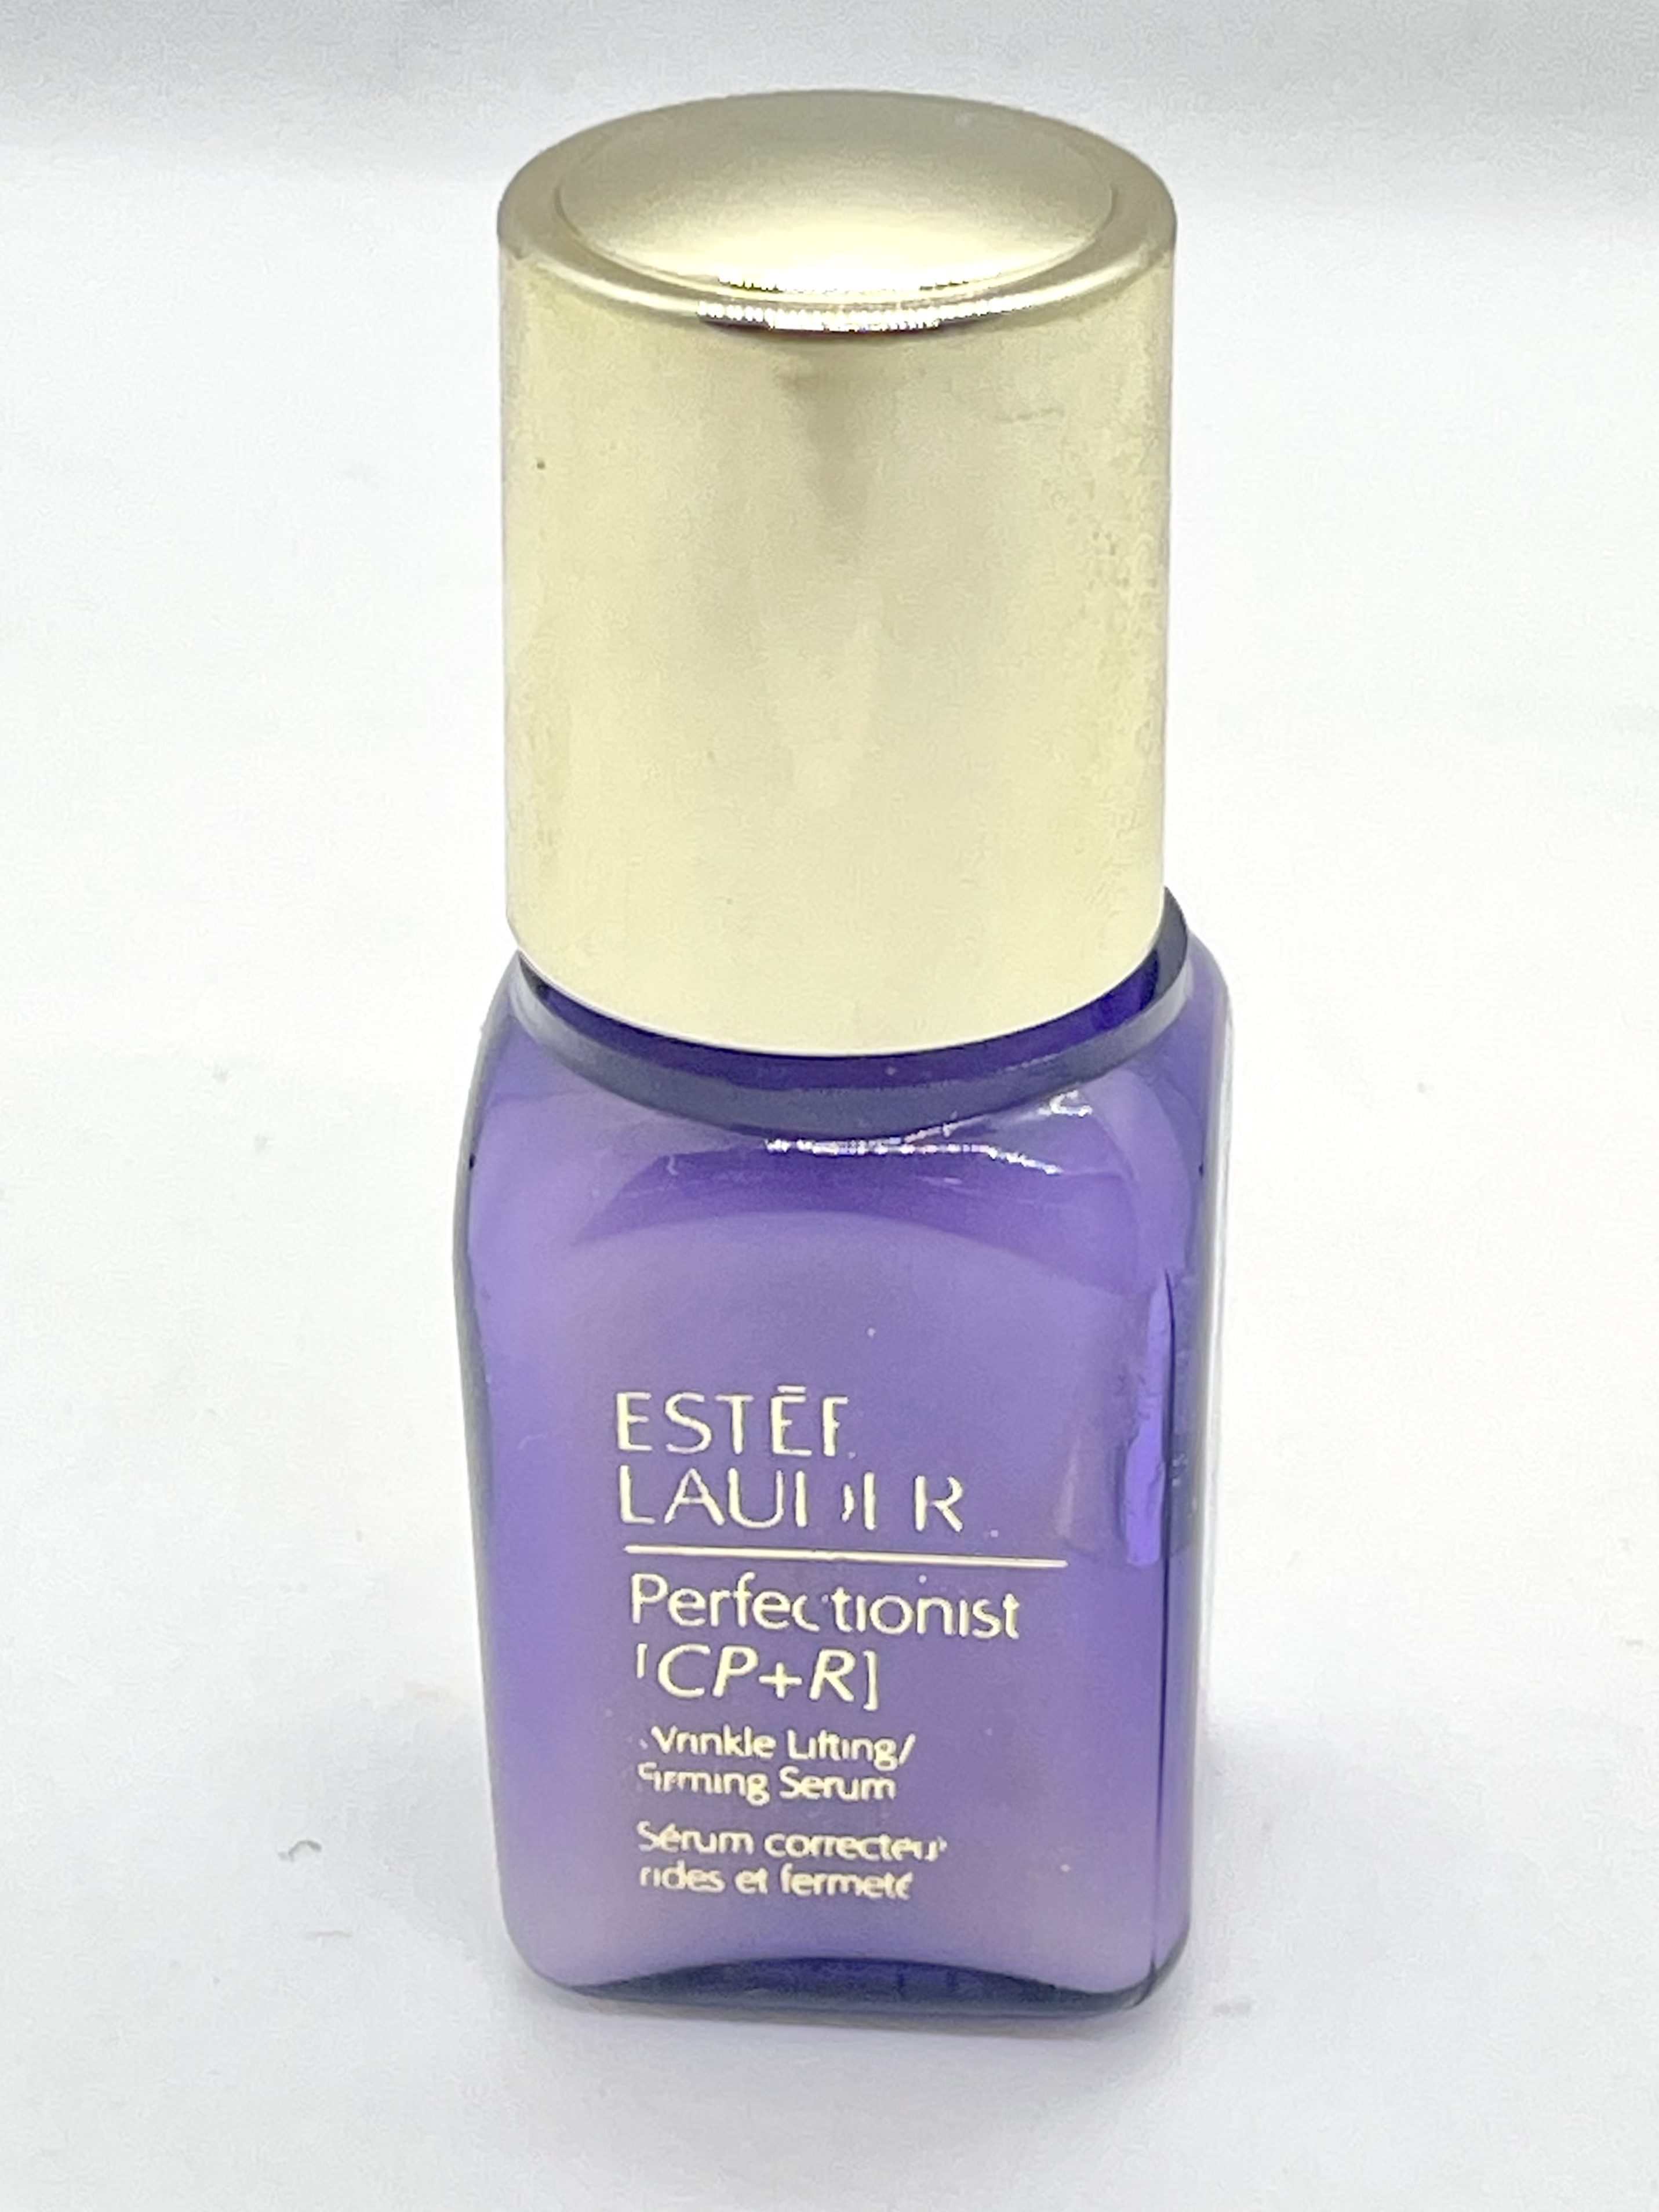
6). Apply your favorite eye cream on the contour of the eye and on the undereye area. I use Estee Lauder Perfectionist Cp+R,but I apply sparingly as this can be thick. I switch eye creams depending on the season. During the summer months, I use a water gel eye one and for cooler months I use this one. As we age, ceramides can plump the skin surrounding the eye and reduce the lines around it.
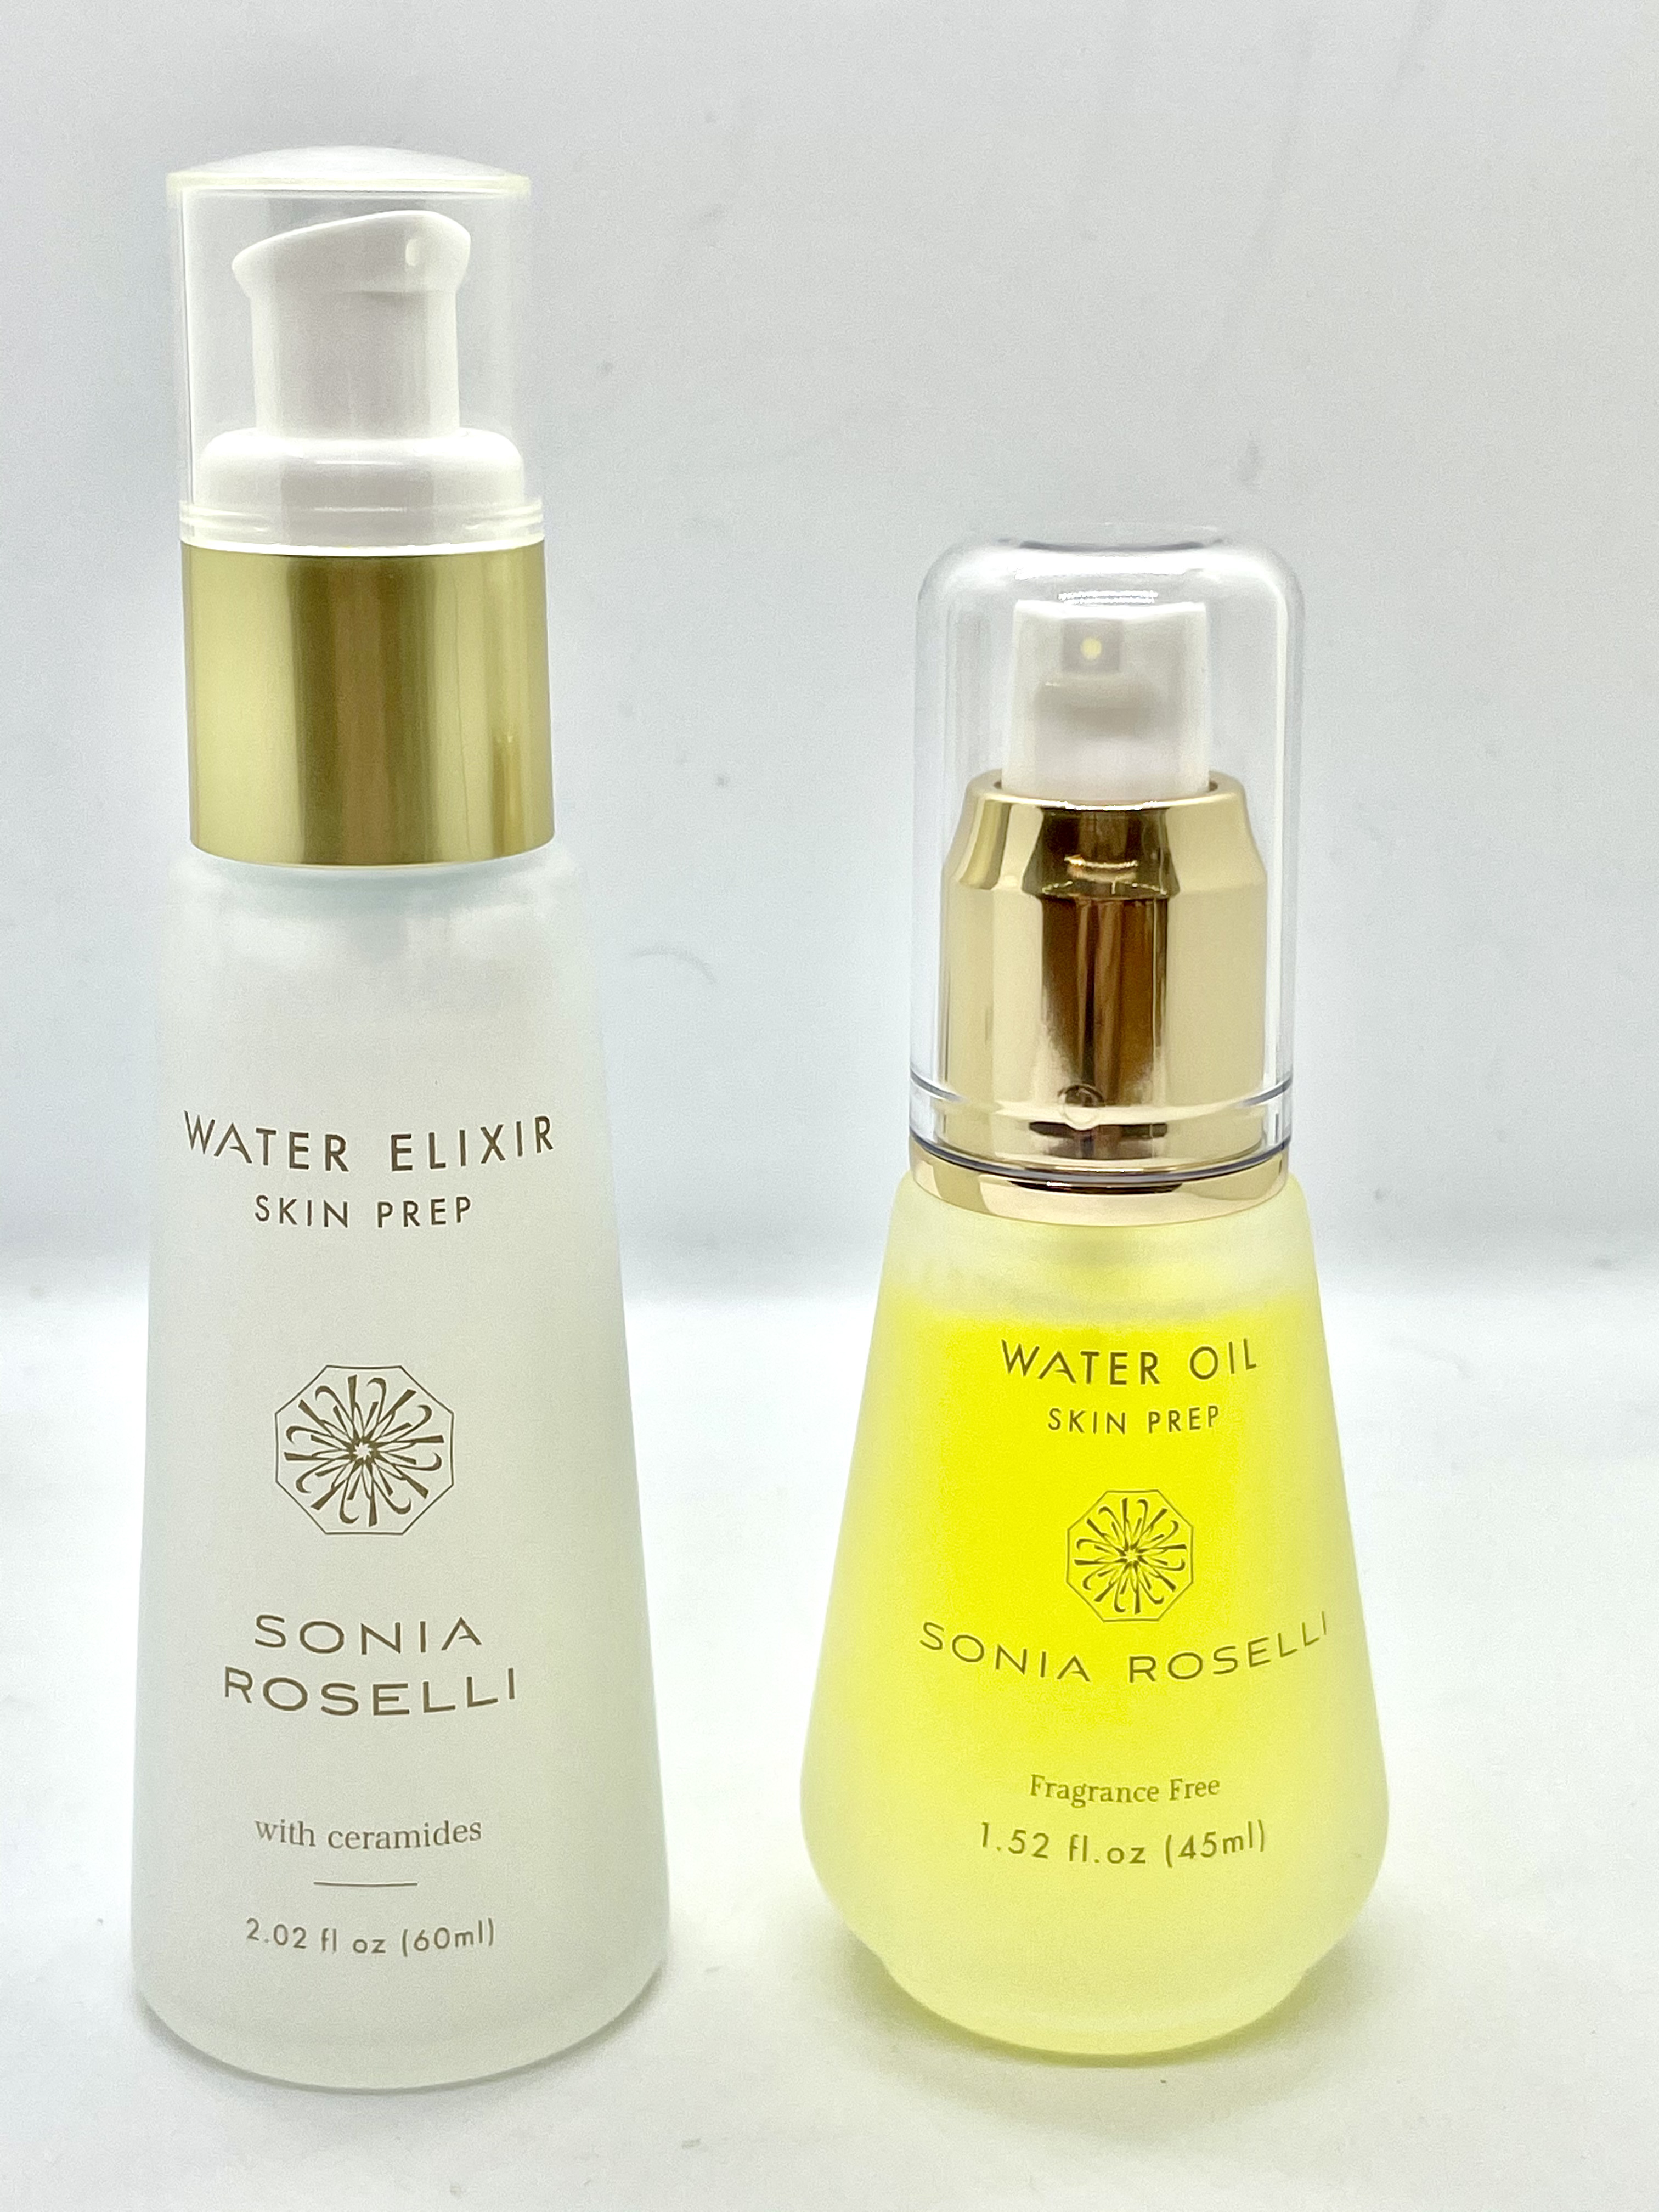
7). Apply your moisturizer, I use Sonia Roselli Water Elixir, again filled with Ceramides. It is light and easily absorbed in the skin. Massage into face and neck area.
The Dynamic Duo of Skin plumpers and hydration, this has multiple uses aside from its moisturizing properties. Scrape a little powder blush for a creamy flush on the cheek, mix a little pump into your foundation and you have a tinted moisturizer with skin benefits.
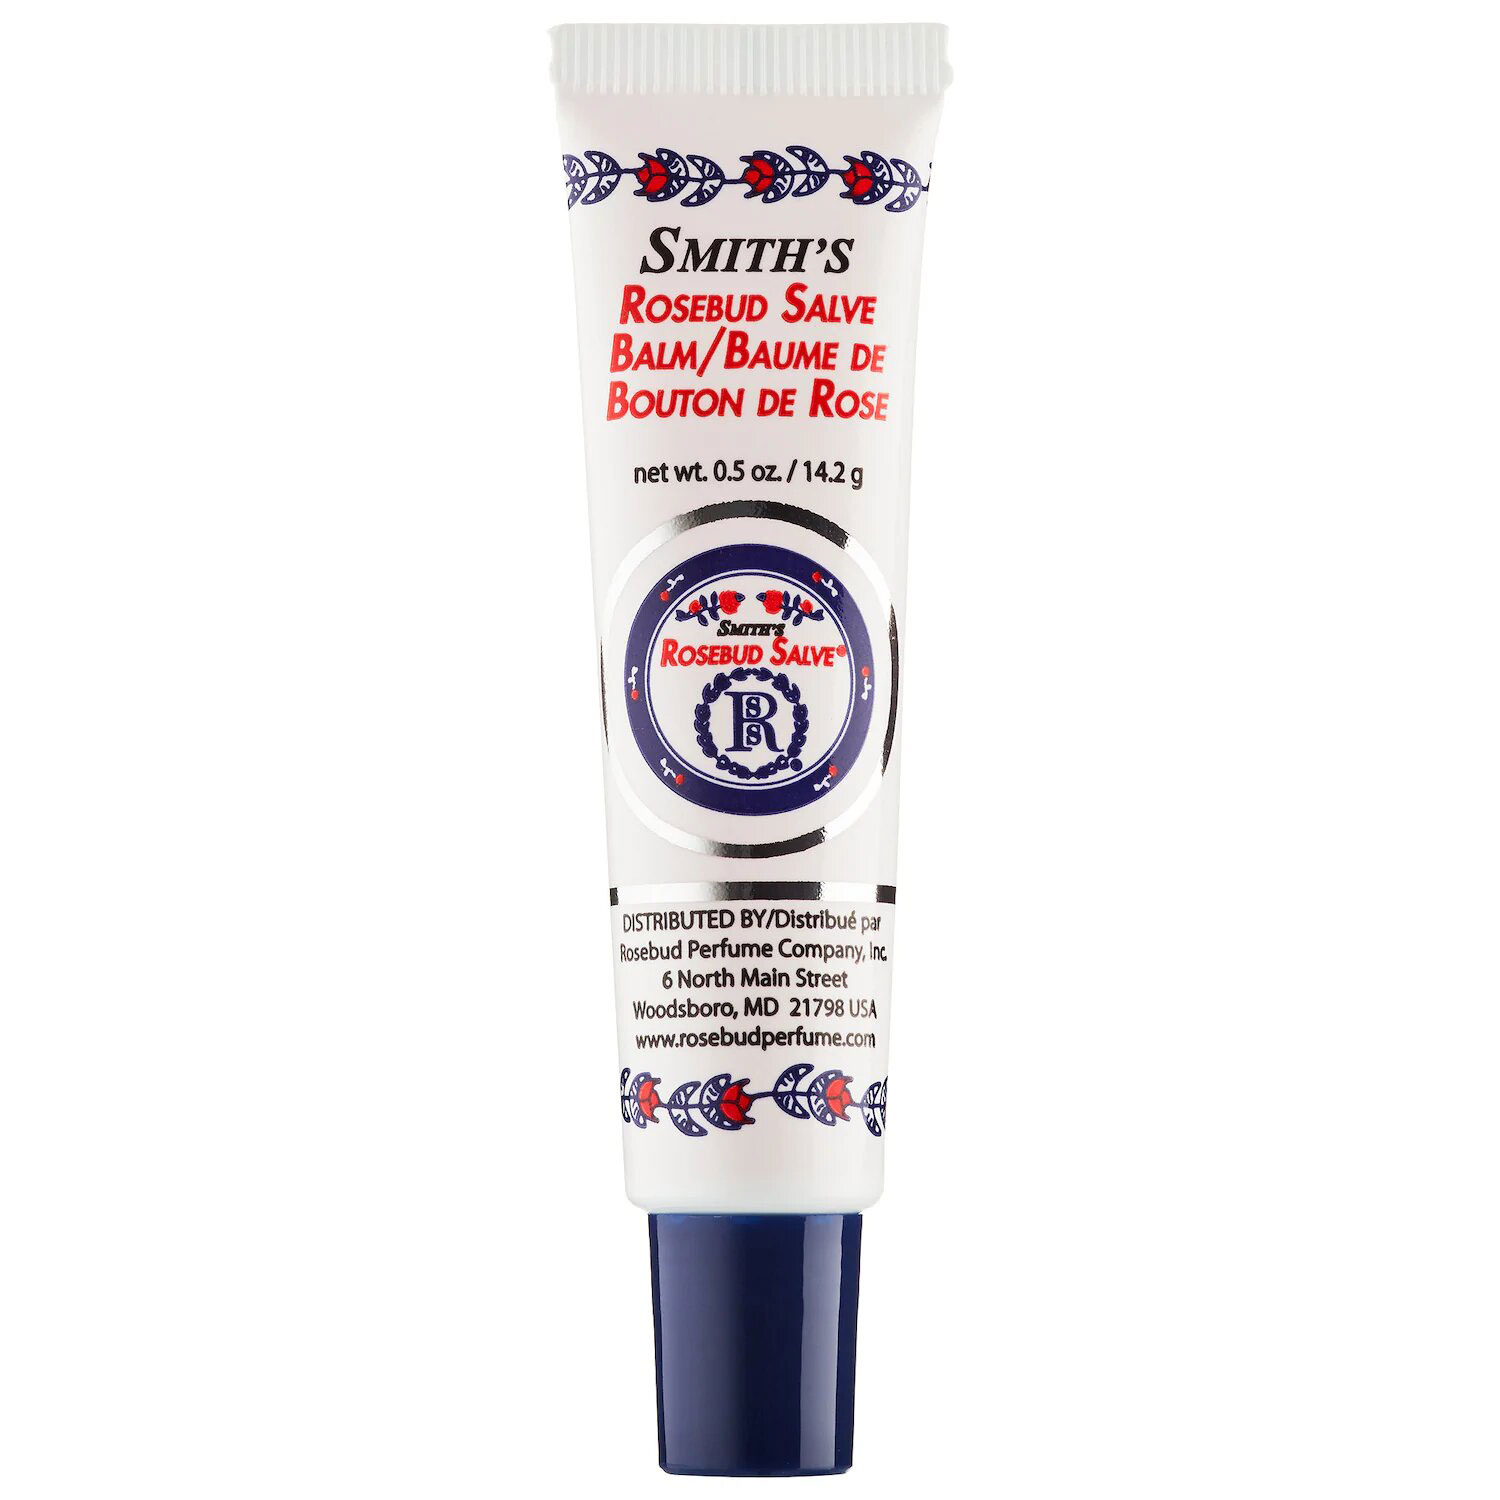
8). Lip Balm
Often neglected but dry parched lips is a telltale sign you are not properly hydrated. Apply every day and night to make lips smooth and kissable anytime of the day.
So that’s it and hope you learned something new or maybe you needed a refreshed skincare routine, share with me what your evening skincare routine essentials are , I would love to hear from you!
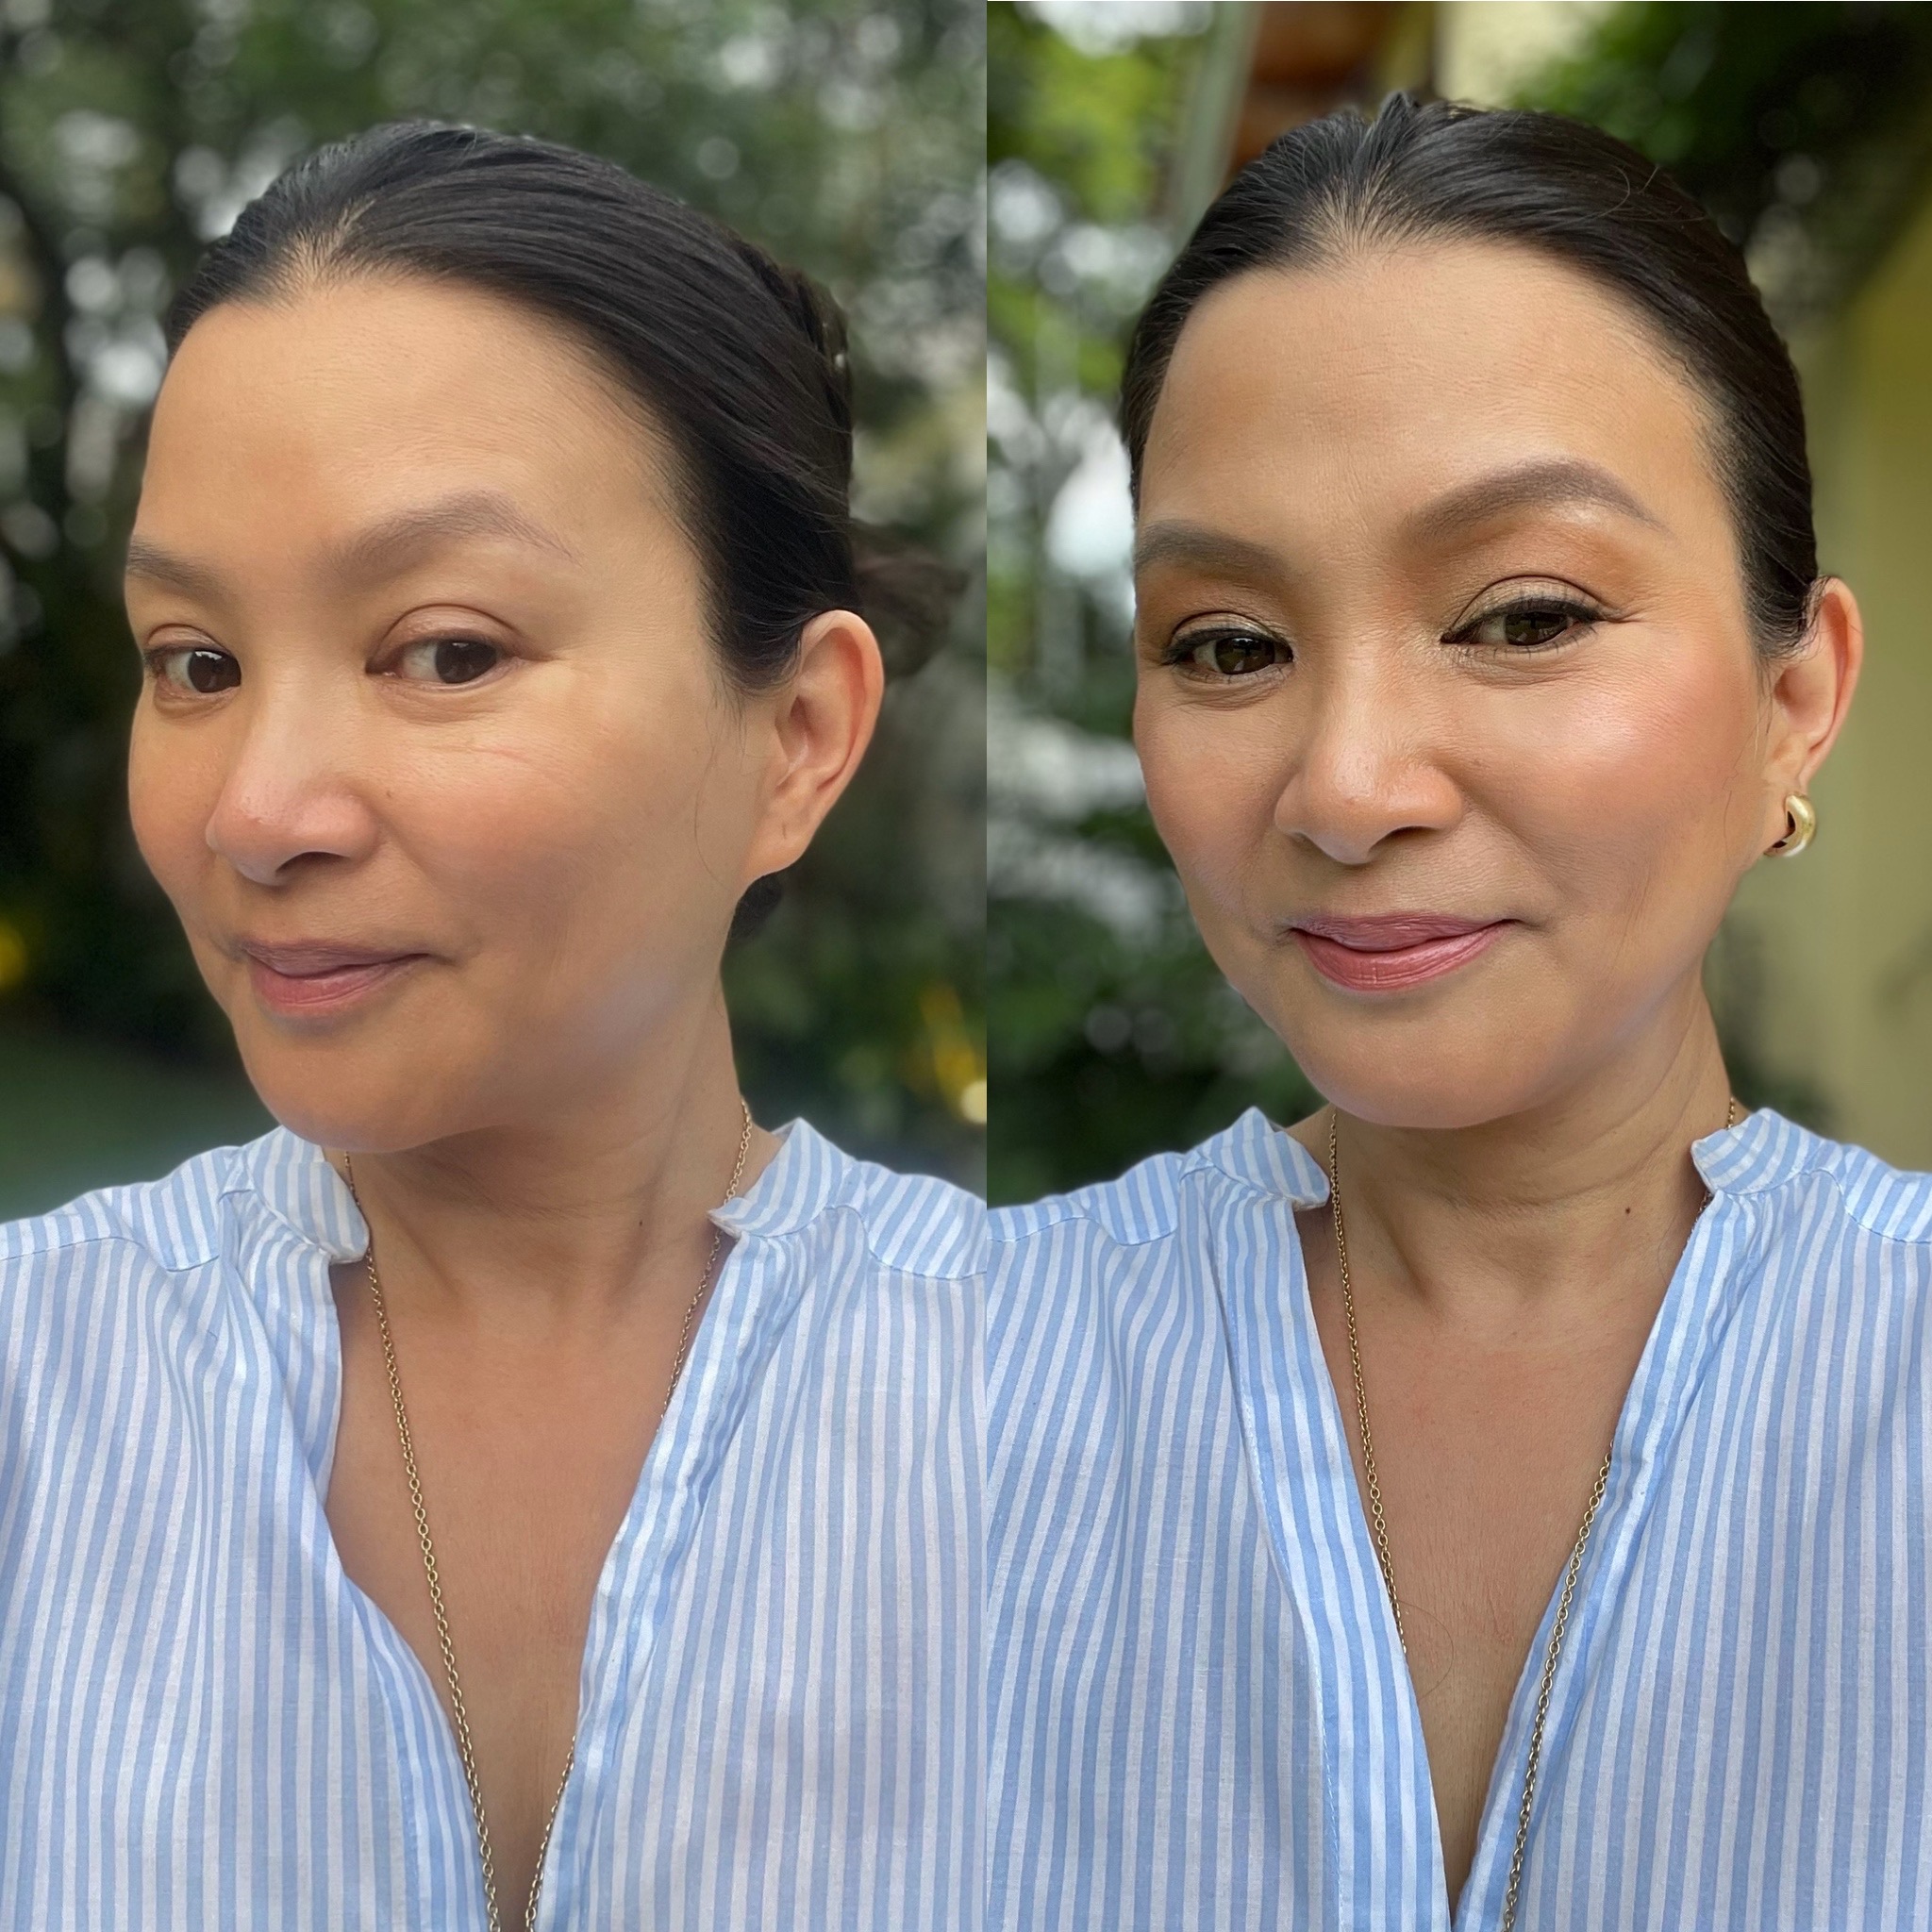
Hey Everyone!
I have a renewed respect for makeup artists that film tutorials! Talking and applying makeup is not easy! I’m not comfortable in front of the camera, I prefer to be behind it. I miss doing makeup on someone and that is my comfort level.
It’s 30 min long, I’ve tried to incorporate a few tips, Its my first makeup video, enjoy the bloopers, I’m learning to edit and film DIY, comment if you enjoyed or liked this. Looking forward to hearing from you.
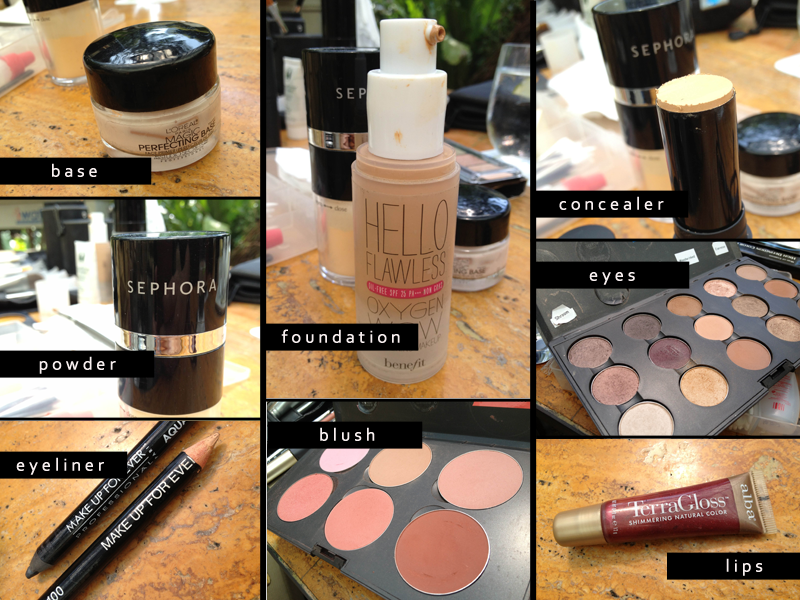
Product Breakdown:
FACE:
Jung Saem Mool Skin Nuder Foundation Medium Deep
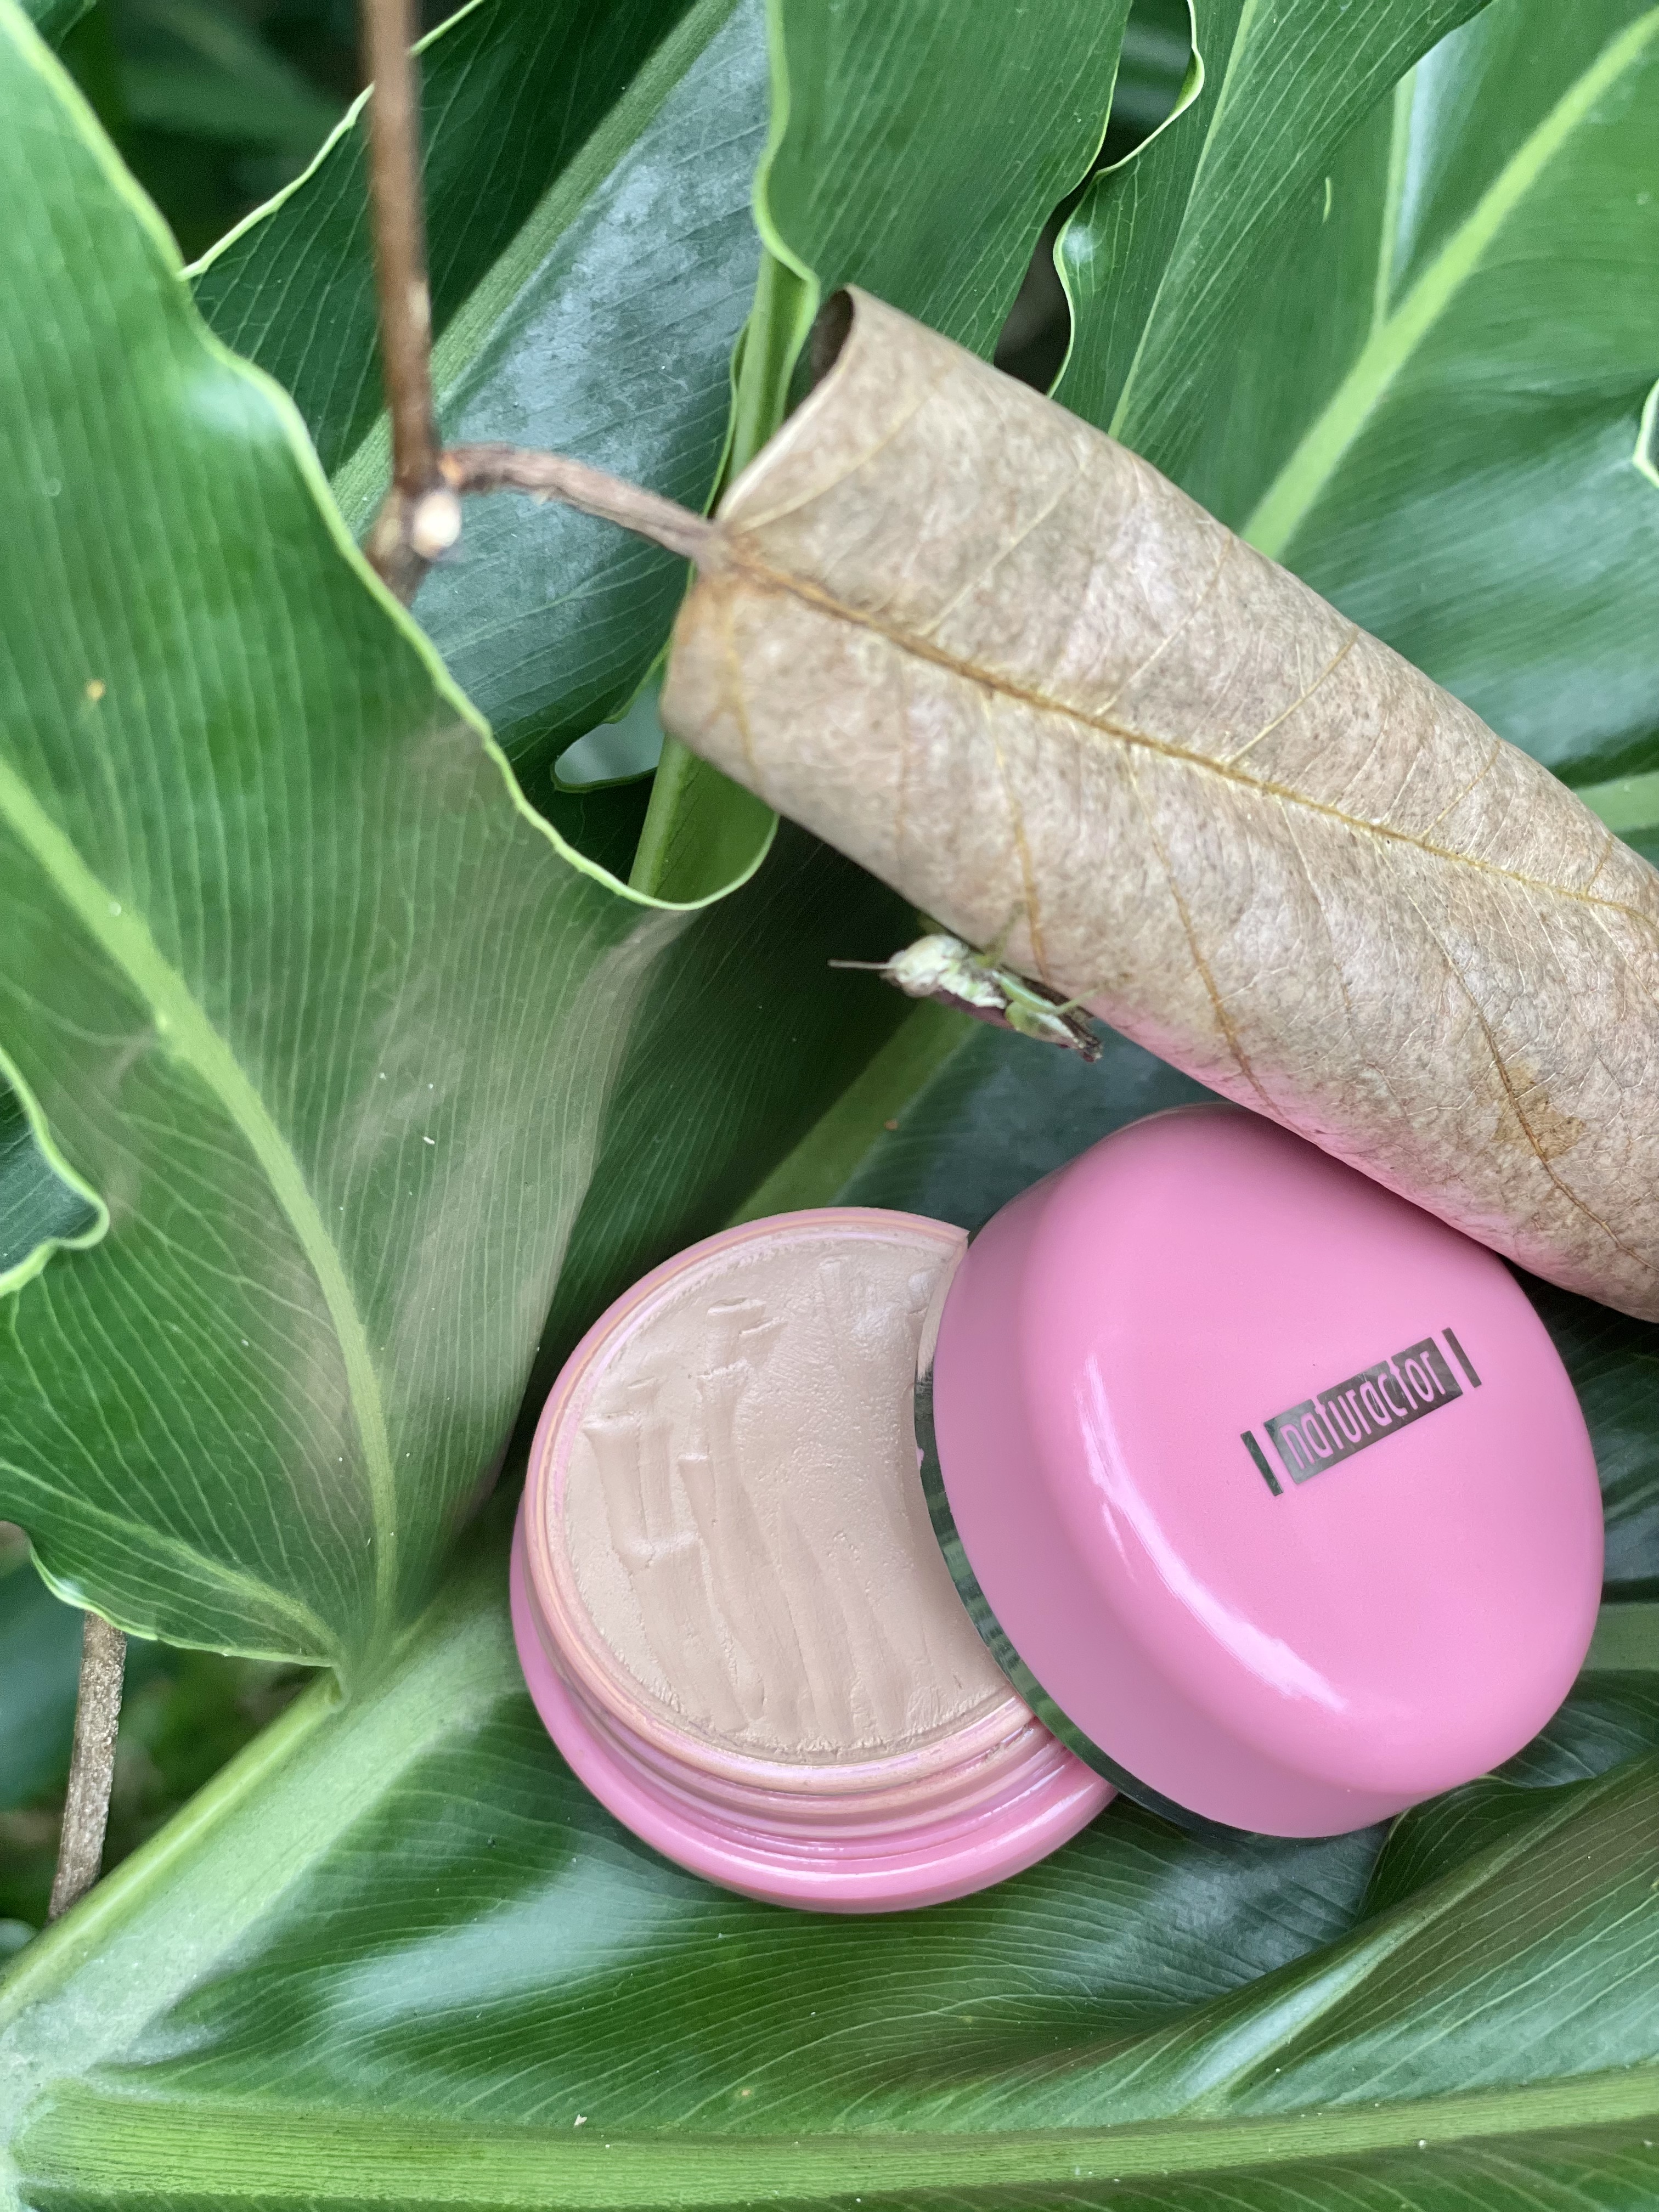
Naturactor Cream Concealer S52
Charlotte Tillbury Airbrush Flawless Finish Powder Medium 2
Rimmel Insta Duo Contour Stick Medium
Glossier Cloud Paint Beam
Hourglass Ambient Lighting Palette
Charlotte Tillbury Filmstar Bronze and Glow Medium
NARS Dolce Vita Blush
Tatcha Dewy Skin Mist
EYES:
Shu Uemura Hard 9 Seal Brown 02
Jung Saem Mool Refining Eyeshadow Double Saddle Brown
MAC Fluidline Our Secret
Maybelline Lash Discovery Very Black
KOJI Eyelash Curler
LIPS:
Lisa Eldridge Velvet Beauty and Velvet Fawn
BRUSHES USED:
FACE:
LQ 11 Buffing Brush
Suesh Duo Fiber Concealing Brush
Hakuhodo Highlighting Powder Brush
Hakuhodo Contour Brush Ita Bake 60
NARS Yachiyo Blush Brush
MAC 159 Synthetic Brush
RanMor Fan Brush
Hey Everyone!I have a renewed respect for makeup artists that film tutorials! Talking and applying makeup is not easy! I'm not comfortable in front of the camera, I prefer to be behind it. I miss doing makeup on someone and that is my comfort level. It's 30 min long, I've tried to incorporate a few tips, Its my first makeup video, enjoy the bloopers, I'm learning to edit and film DIY, comment if you enjoyed or liked this. Looking forward to hearing from you. Product Breakdown:FACE:Jung Saem Mool Skin Nuder Foundation Medium DeepNaturactor Cream Concealer S52Charlotte Tillbury Airbrush Flawless Finish Powder Medium 2Rimmel Insta Duo Contour Stick MediumGlossier Cloud Paint BeamHourglass Ambient Lighting PaletteCharlotte Tillbury Filmstar Bronze and Glow MediumNARS Dolce Vita BlushTatcha Dewy Skin MistEYES:Shu Uemura Hard 9 Seal Brown 02Jung Saem Mool Refining Eyeshadow Double Saddle BrownMAC Fluidline Our SecretMaybelline Lash Discovery Very BlackKOJI Eyelash CurlerLIPS:Lisa Eldridge Velvet Beauty and Velvet FawnBRUSHES USED:FACE:LQ 11 Buffing BrushSuesh Duo Fiber Concealing BrushHakuhodo Highlighting Powder BrushHakuhodo Contour Brush Ita Bake 60NARS YAchiyo Blush BrushMAC 159 Synthetic BrushRanMor Fan BrushEYES:Clinique Spoolie BrushHakuhodo F 8431 Ougi Tsubomi Eyeshadow BrushHakuhodo J5523 Blending brushBdellium Tools 762 Angled Brush
Weddings are the bread and butter of a makeup artist. Depending on the level of expertise and length of years a makeup artist has put for some it’s commercial, TV and film work. Mine is the former.
For my Brides, as a way of thanking them, I offer them a retouch kit to be used on the wedding day. This gift is given regardless whether she has a second look or not, this is what I offer them. To add more value to the package, I also give them a facial GC from reputable derma salons or clinics to be used weeks before their wedding day to ensure glowing skin. I admit I splurge a bit even if it is not included in the package. She may opt to have another one a week or a few days before to give her the much needed de stressing moment.
Makeup artists have to be creative in their marketing and selling skills to attract that discerning Bride. The skillset is there, but the name of the game is how to up the ante in the marketing scheme.
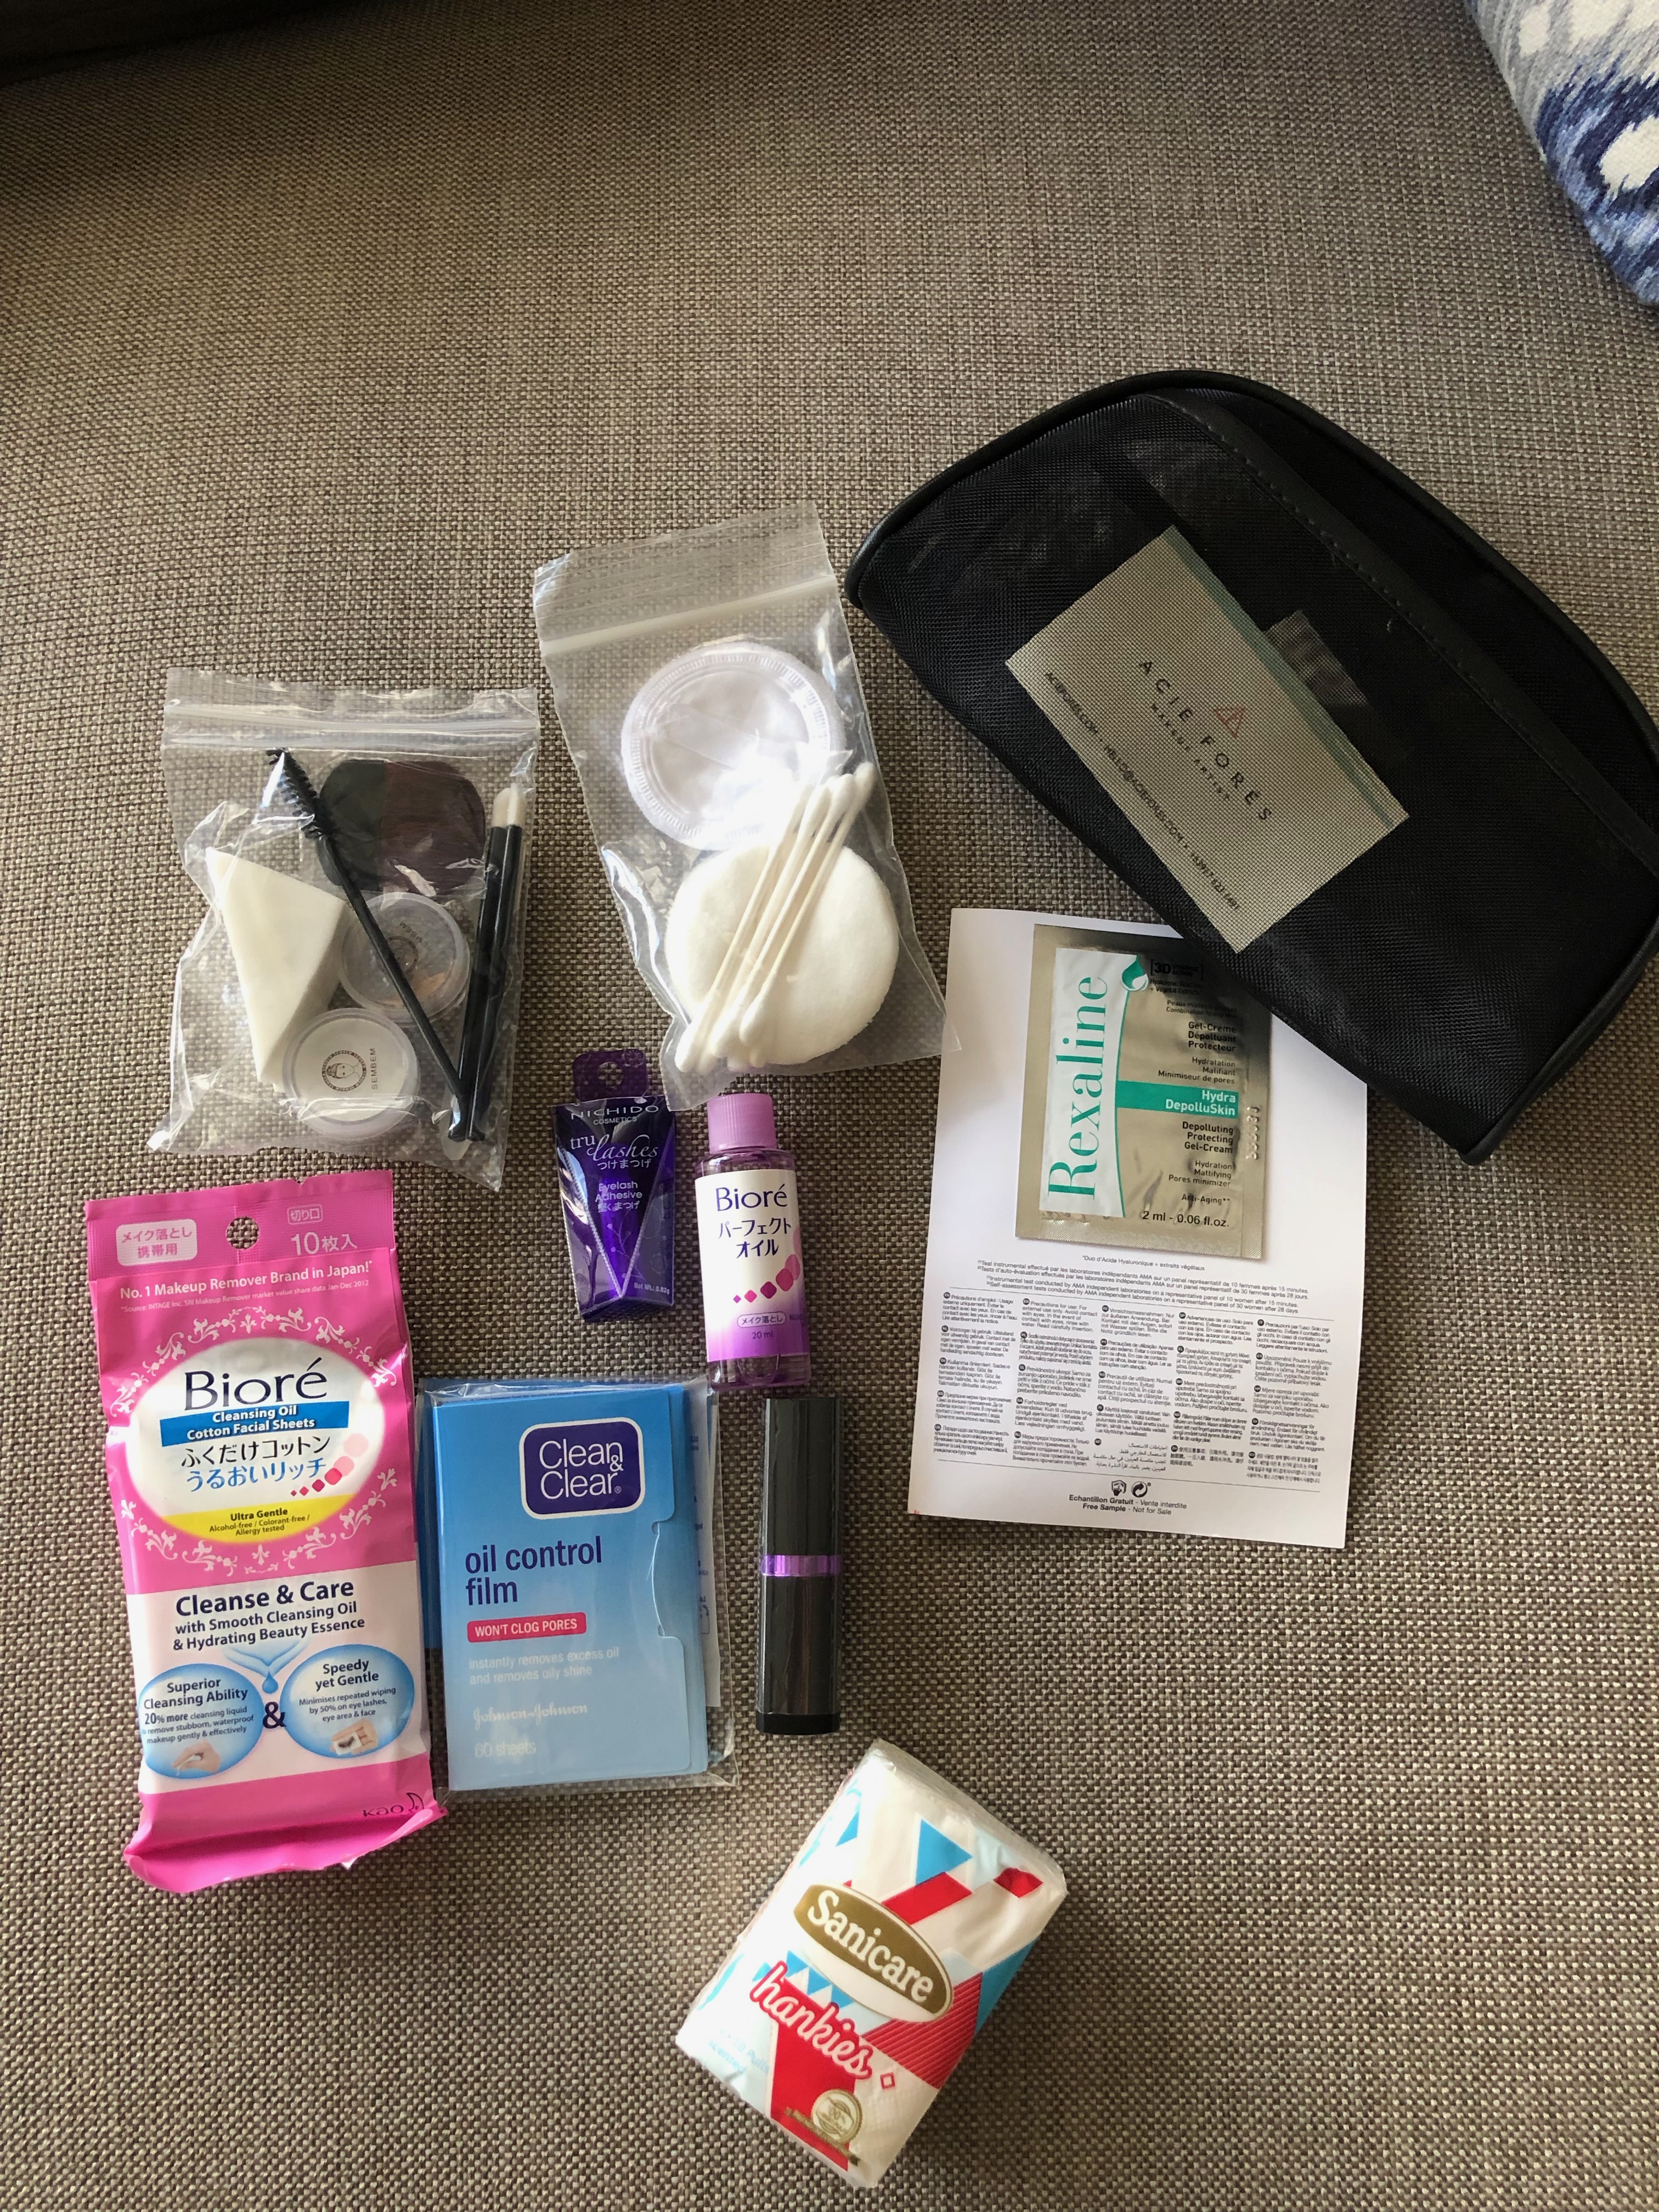
Below is a sample of what my retouch kit contains. Budget will play a big role on what you want to spend for this but its all in the creativity as to where you want to source. I source mine through online sites, department stores, and brand tie ups.
I buy in bulk, and I look out for sales so I can stock up. But be mindful of expiration dates, you don’t want your bride developing a rash or allergy because of this oversight.
Basic Retouch Kit Must Haves
Tissue
Blotting Papers
Cotton pads, disposable Mascara and lip wands, Q-tips and sponges
Powder
Concealer (can double up as face fdtn) depotted in a container
A new tube of Lipstick or you may depot into a container
Wipes and Cleansing Oil
Lash Glue
Calling Card
Add Ons:
Sewing kit
Ecological Straw
Eye and face serum (as shown above)
Hairspray
Face Masks
Nail File, Bobby Pins (this should be provided by the event coordinator )
Double sided tape (this should be provided by the event coordinator)
Misting spray
Essential oil
Elastic Hair band
It’s up to you on how you want to save or splurge, with consideration to your budget and your rapport with the Bride. Personally I like the Brides I’ve worked with, so sometimes I get carried away.
I always explain what s inside the kit and let her know this kit should be entrusted to her Maid of Honour or the Event Coordinator that’ s assigned to her the whole evening or afternoon.
Share with me your kits and if you have any items that are not included in mine, I would love to see what you have. Do you give retouch kits to your Brides?
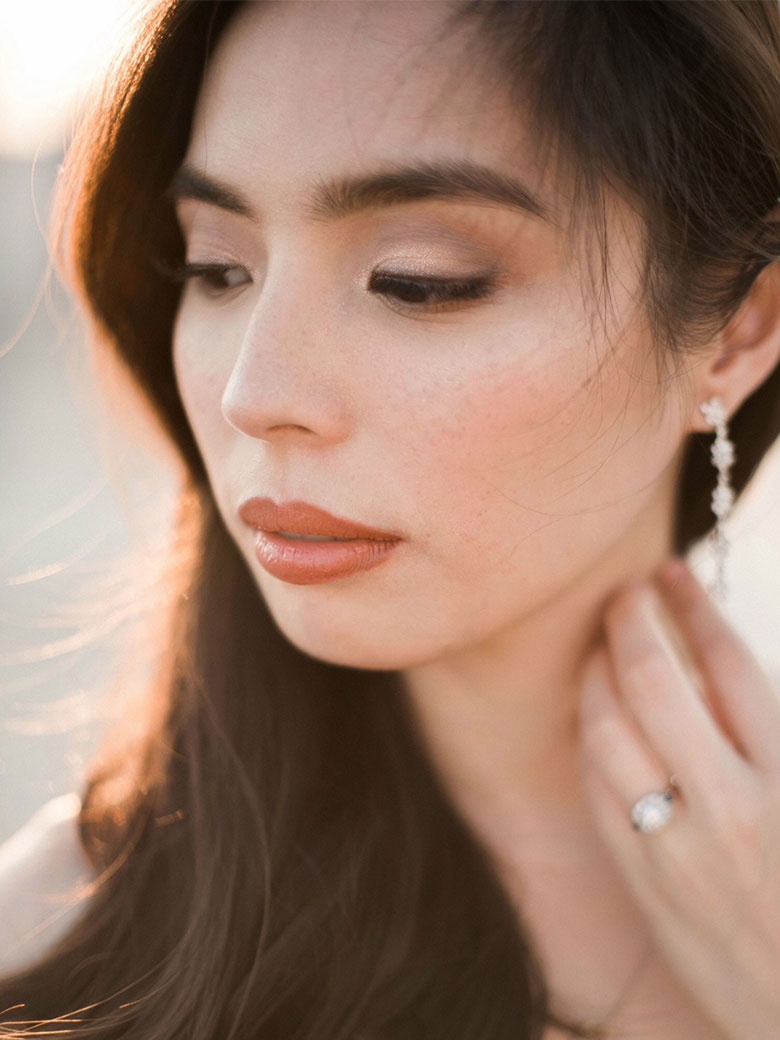
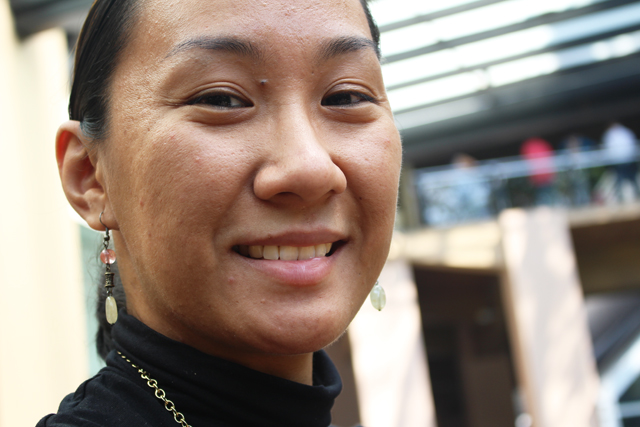
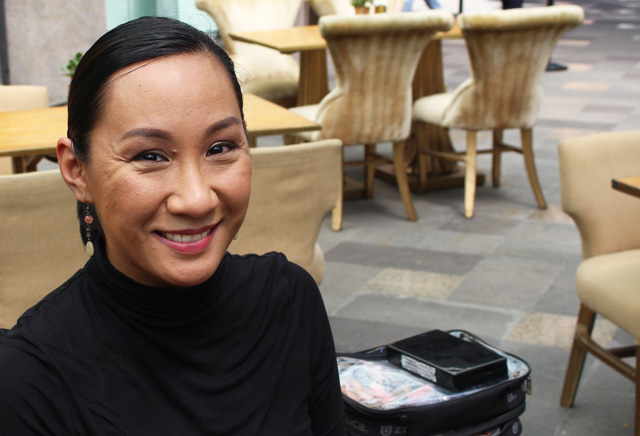
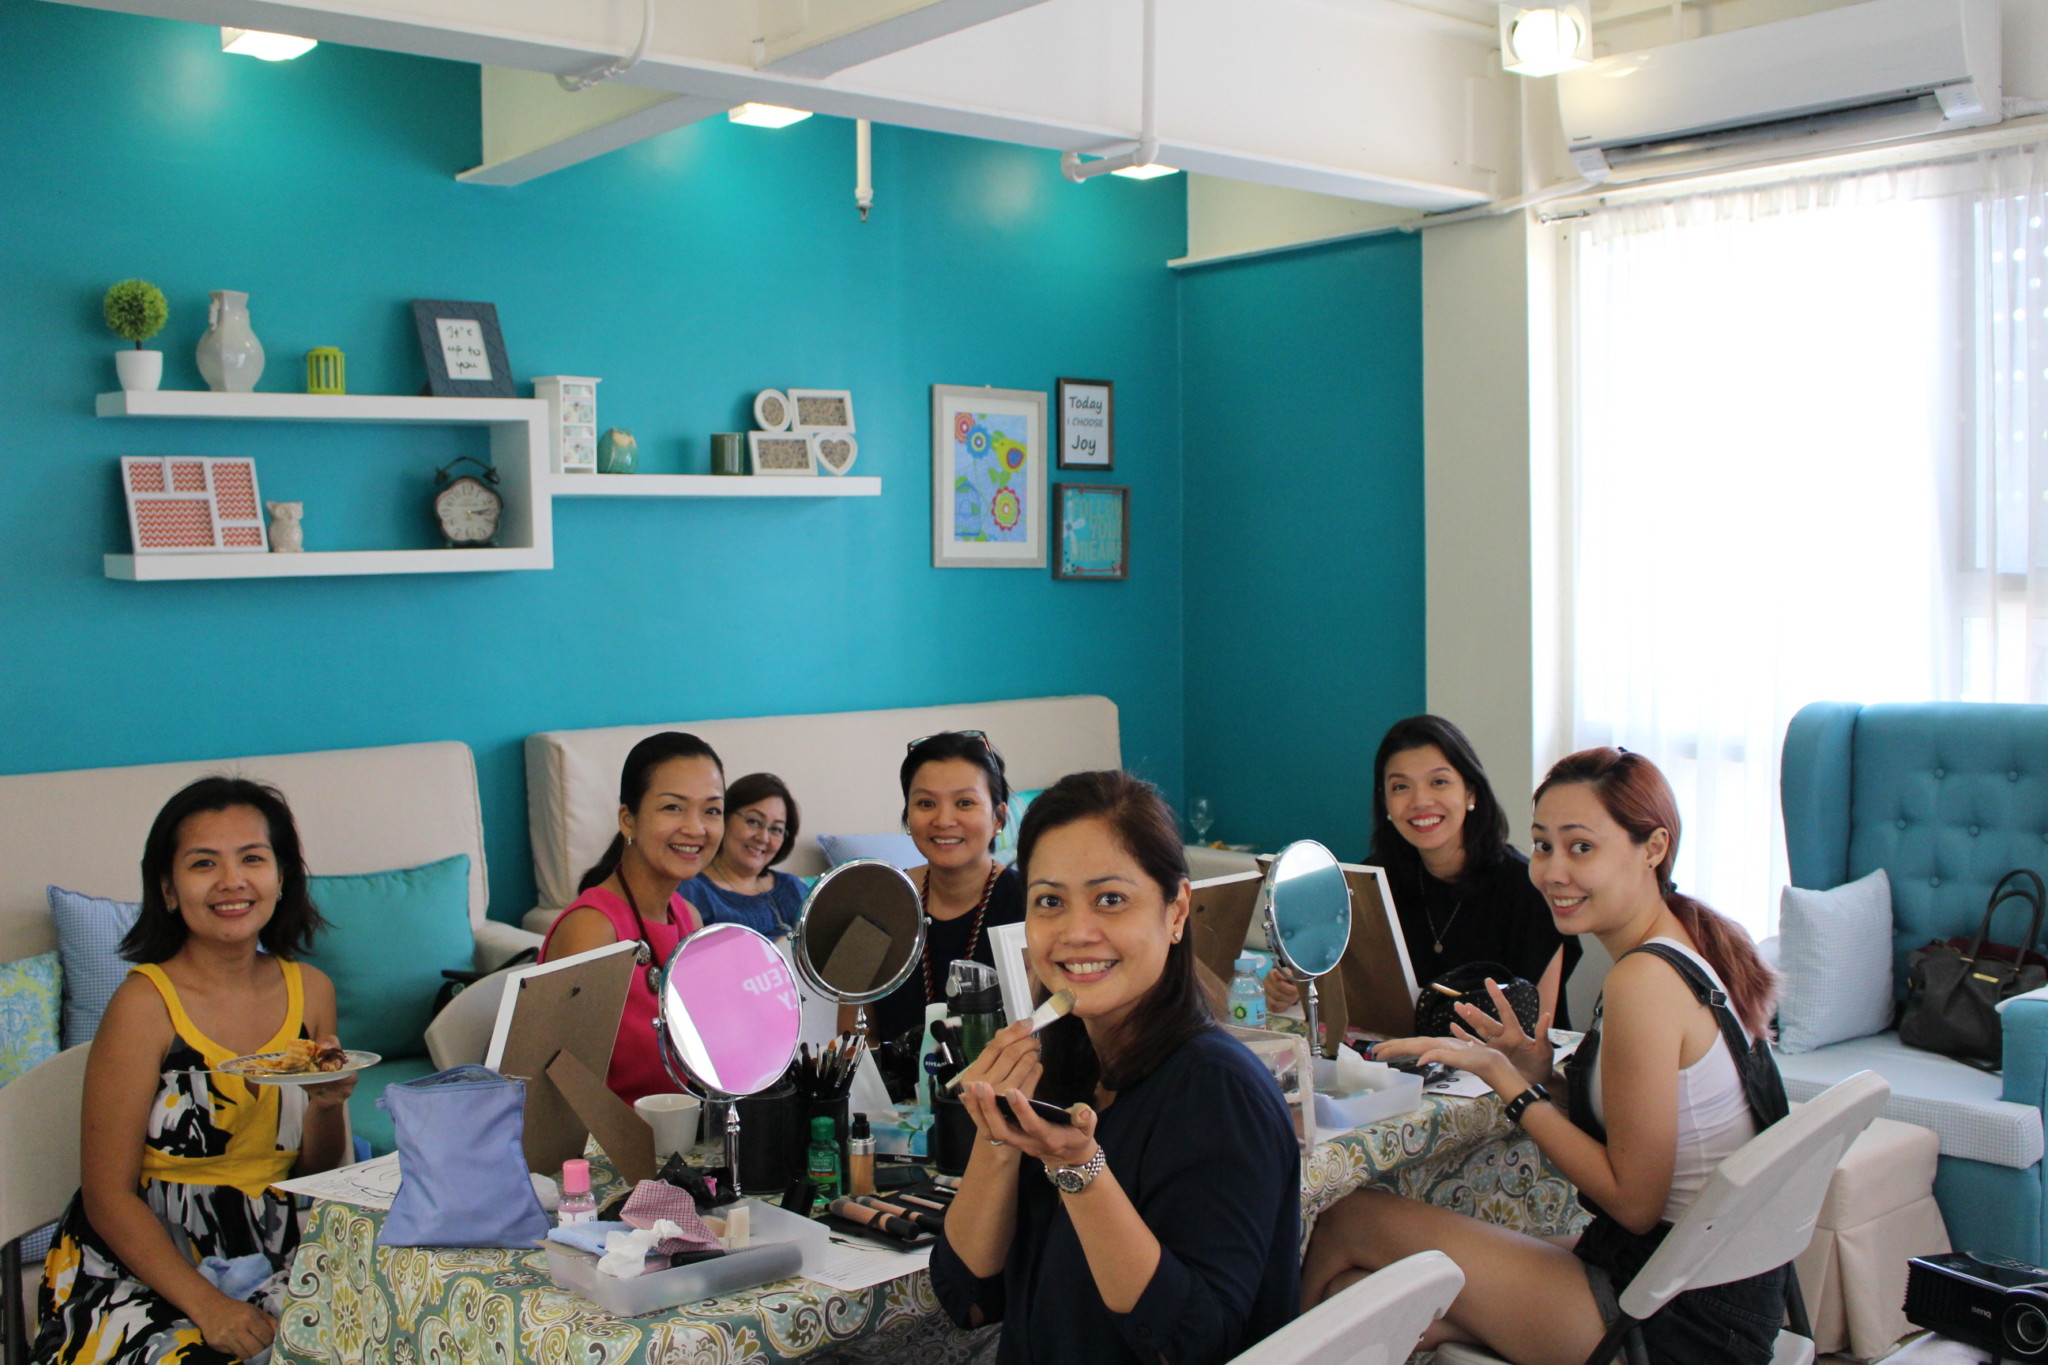
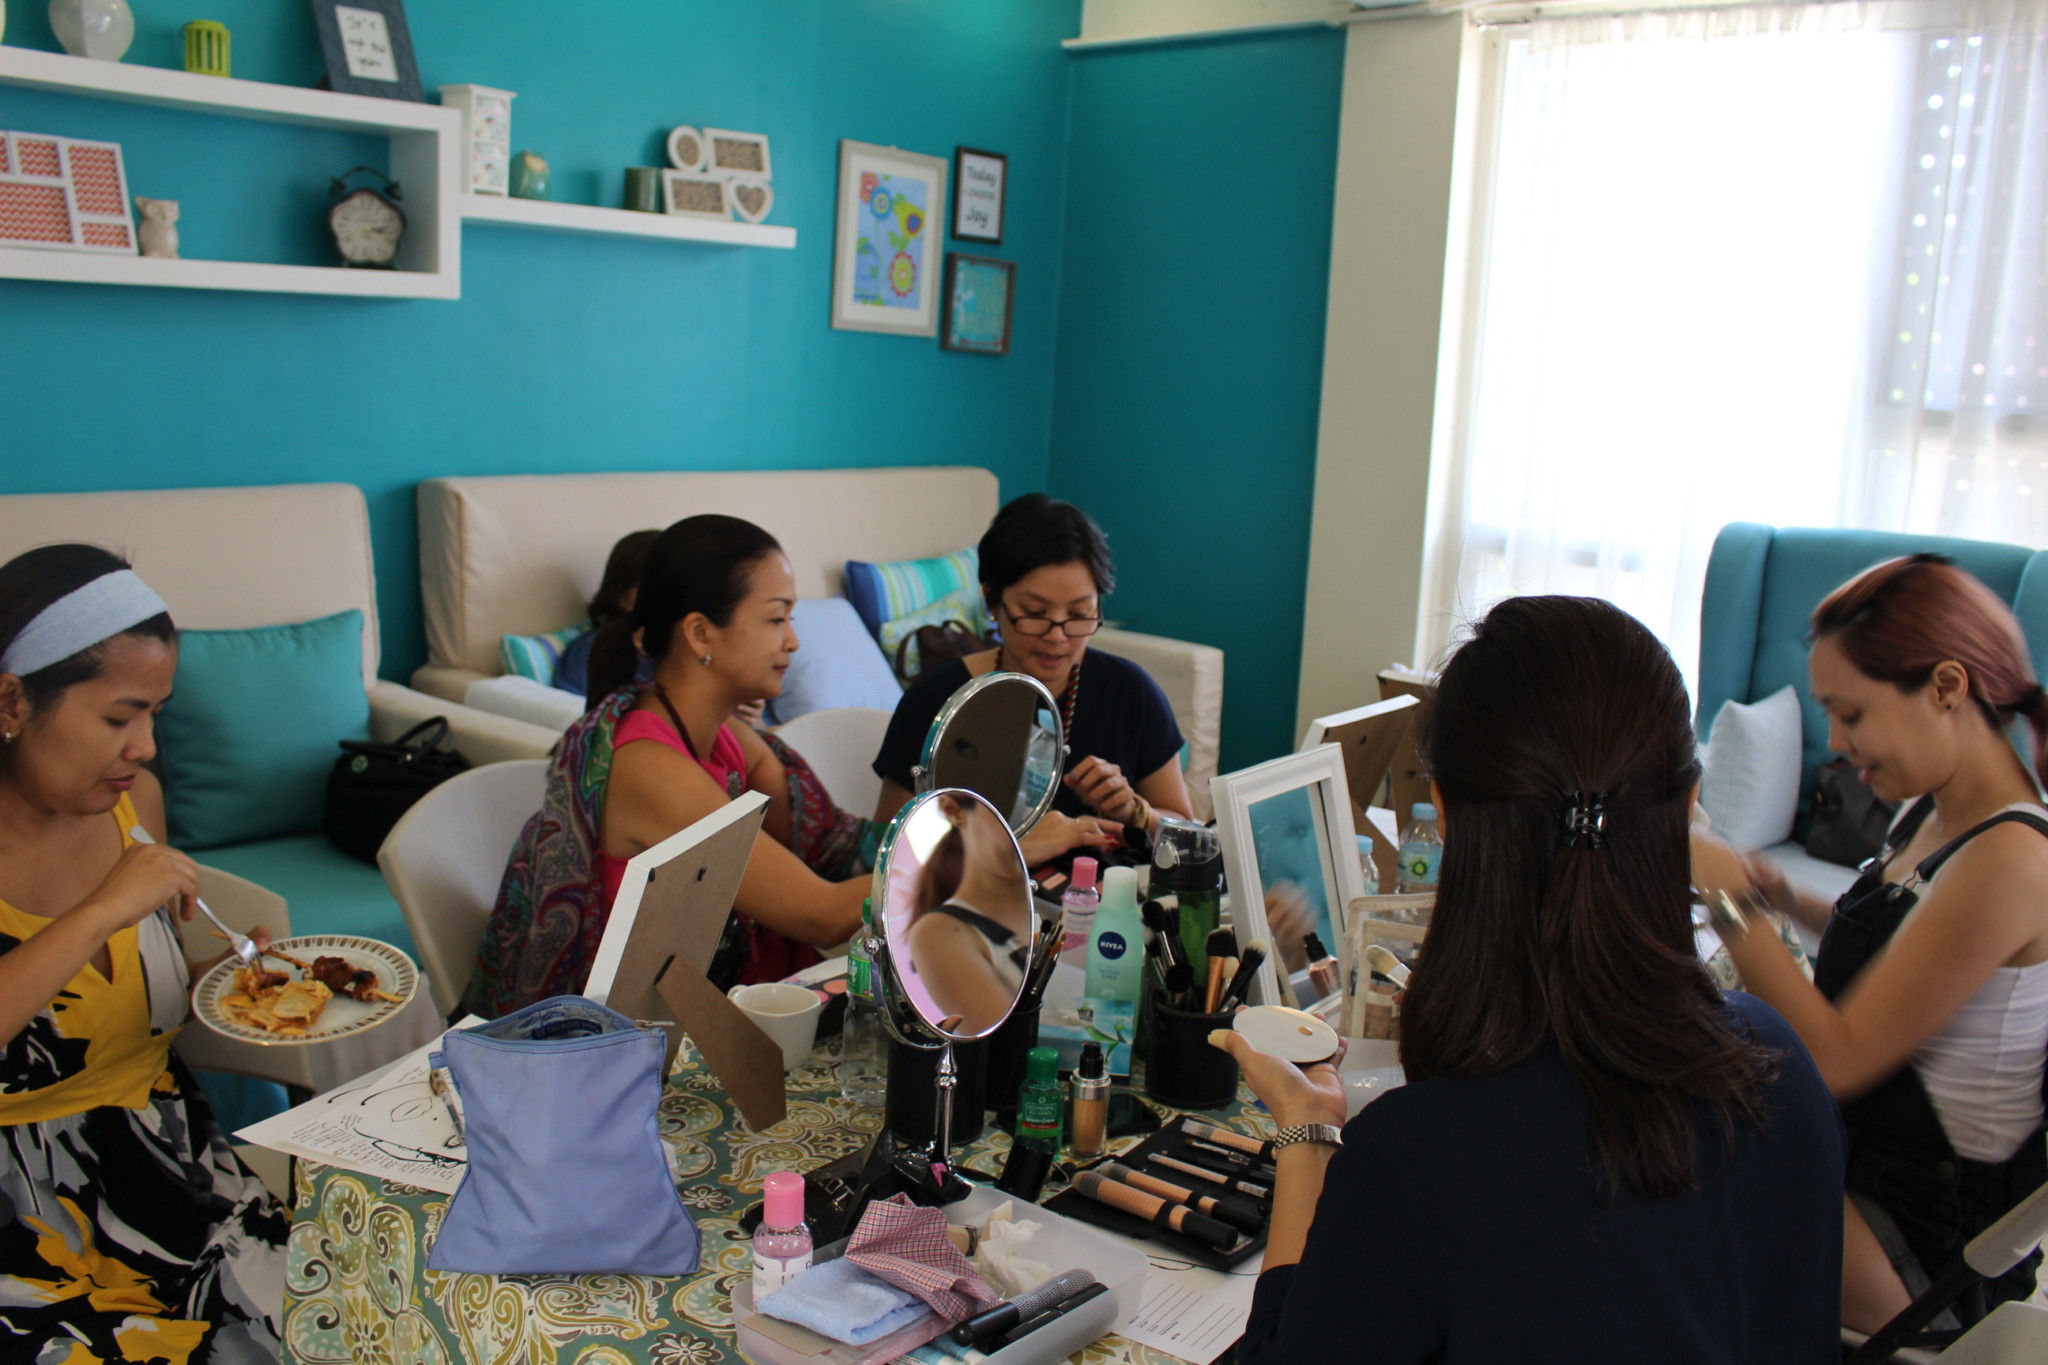
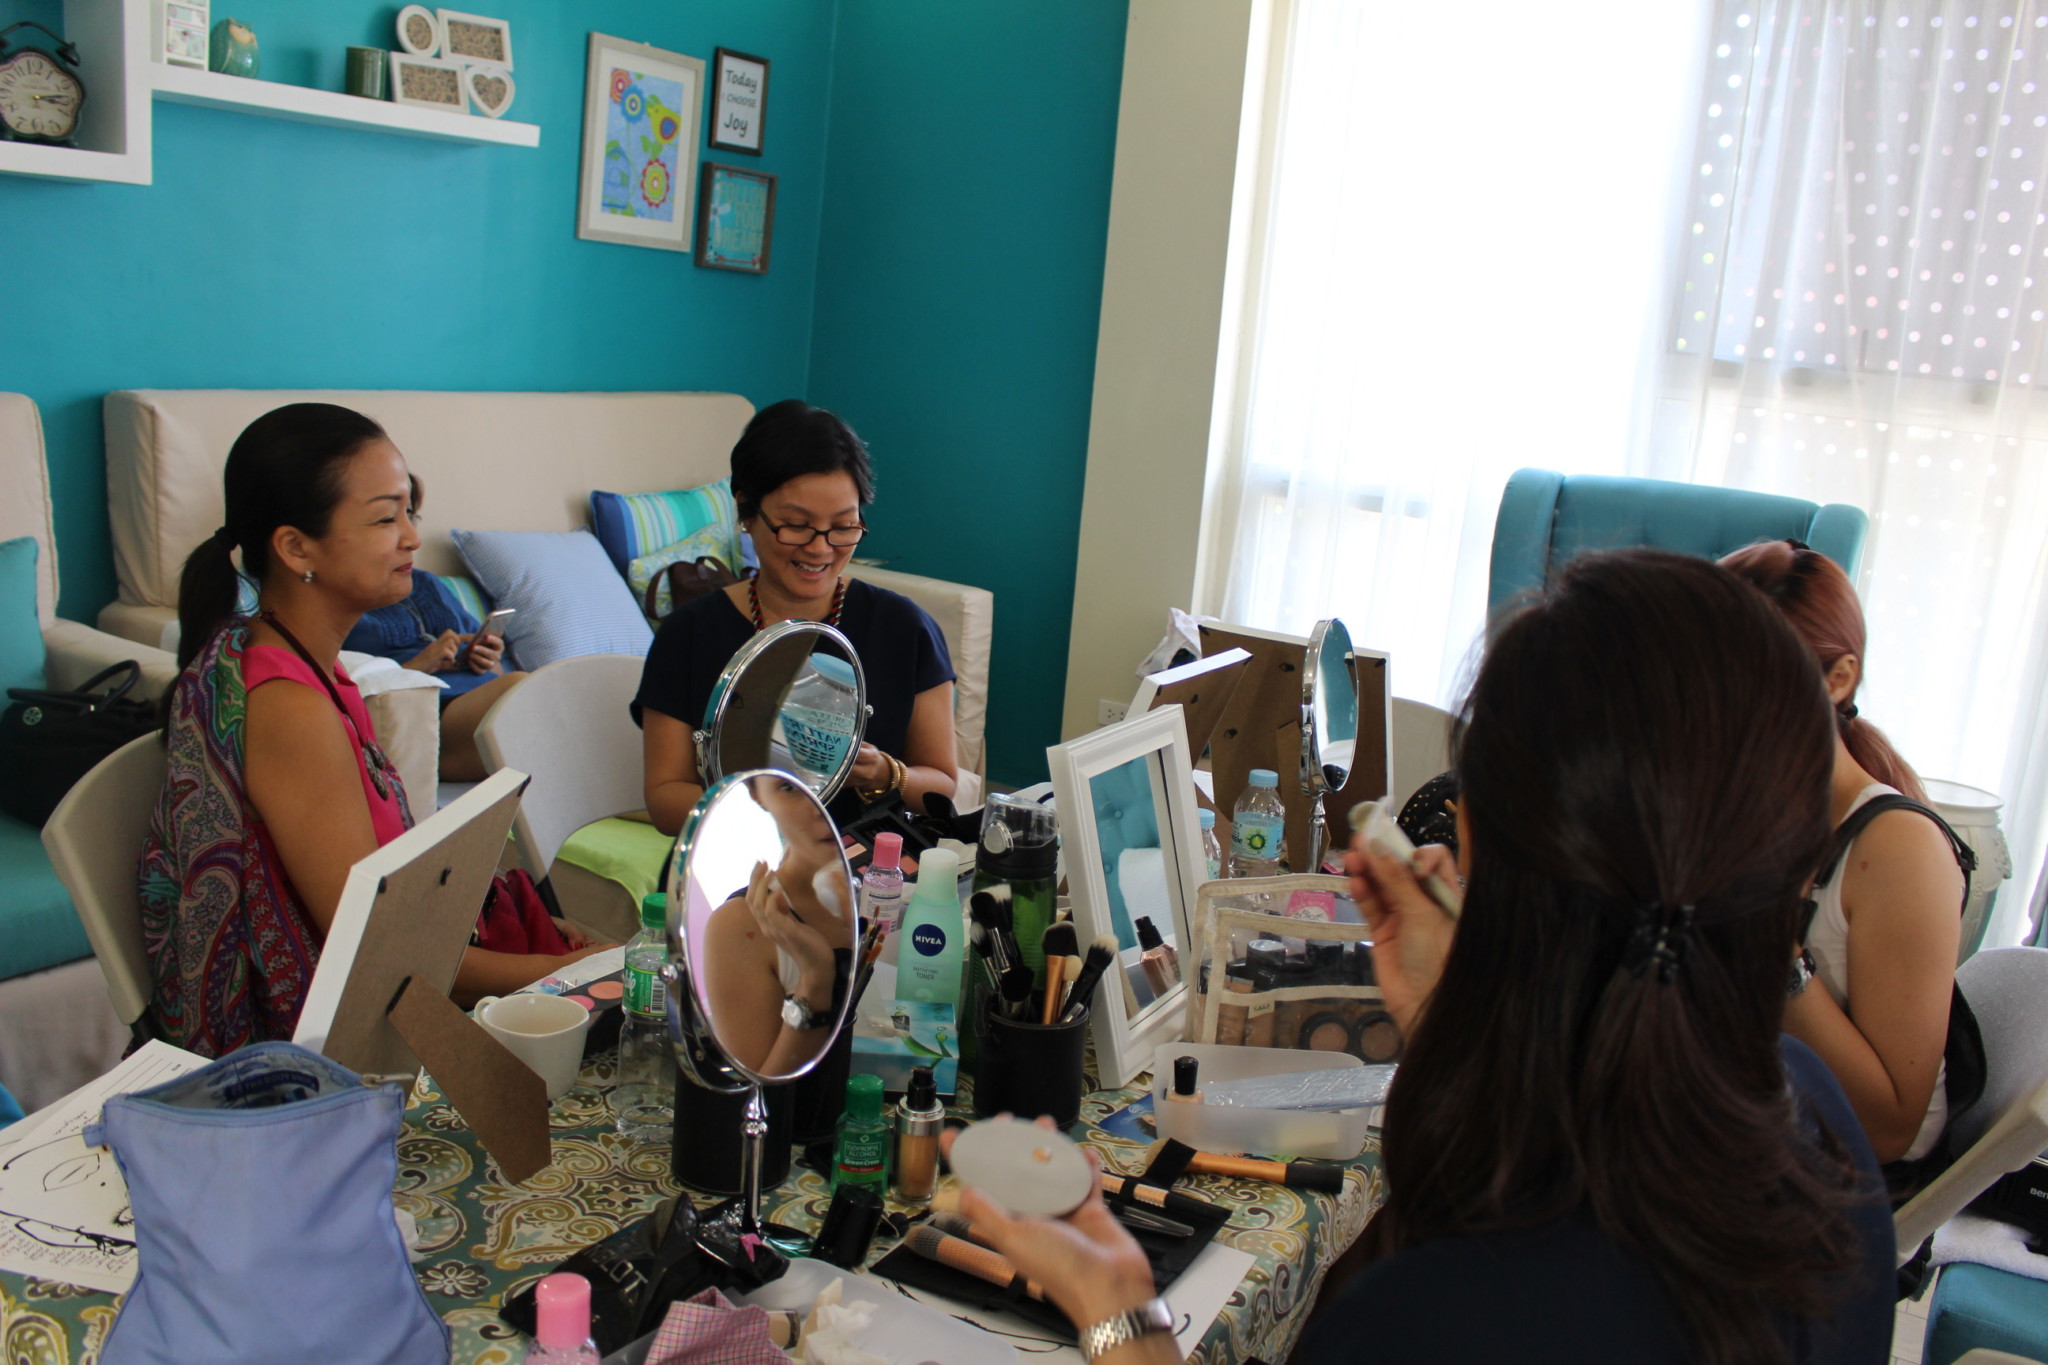
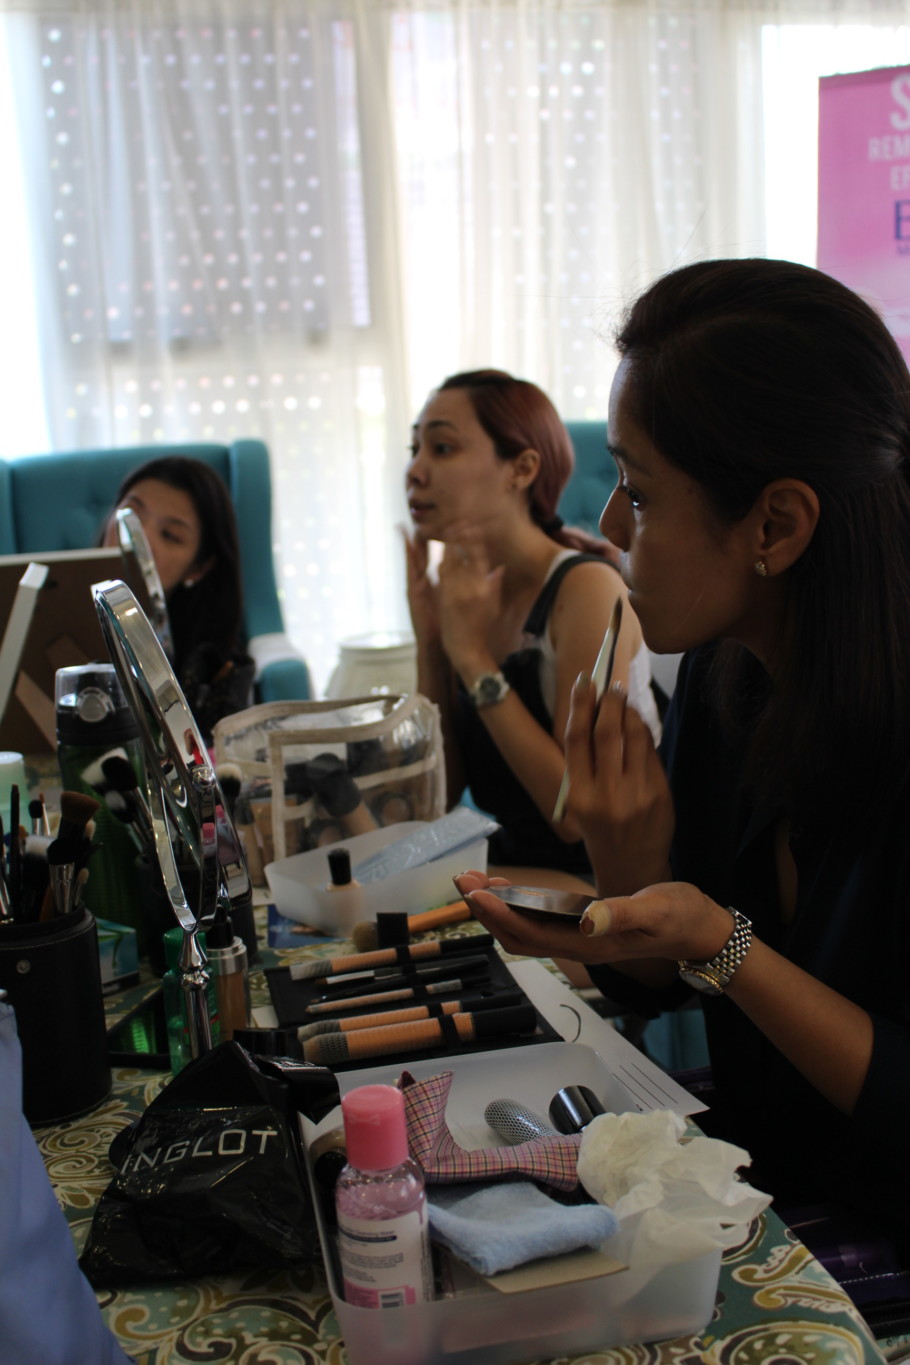
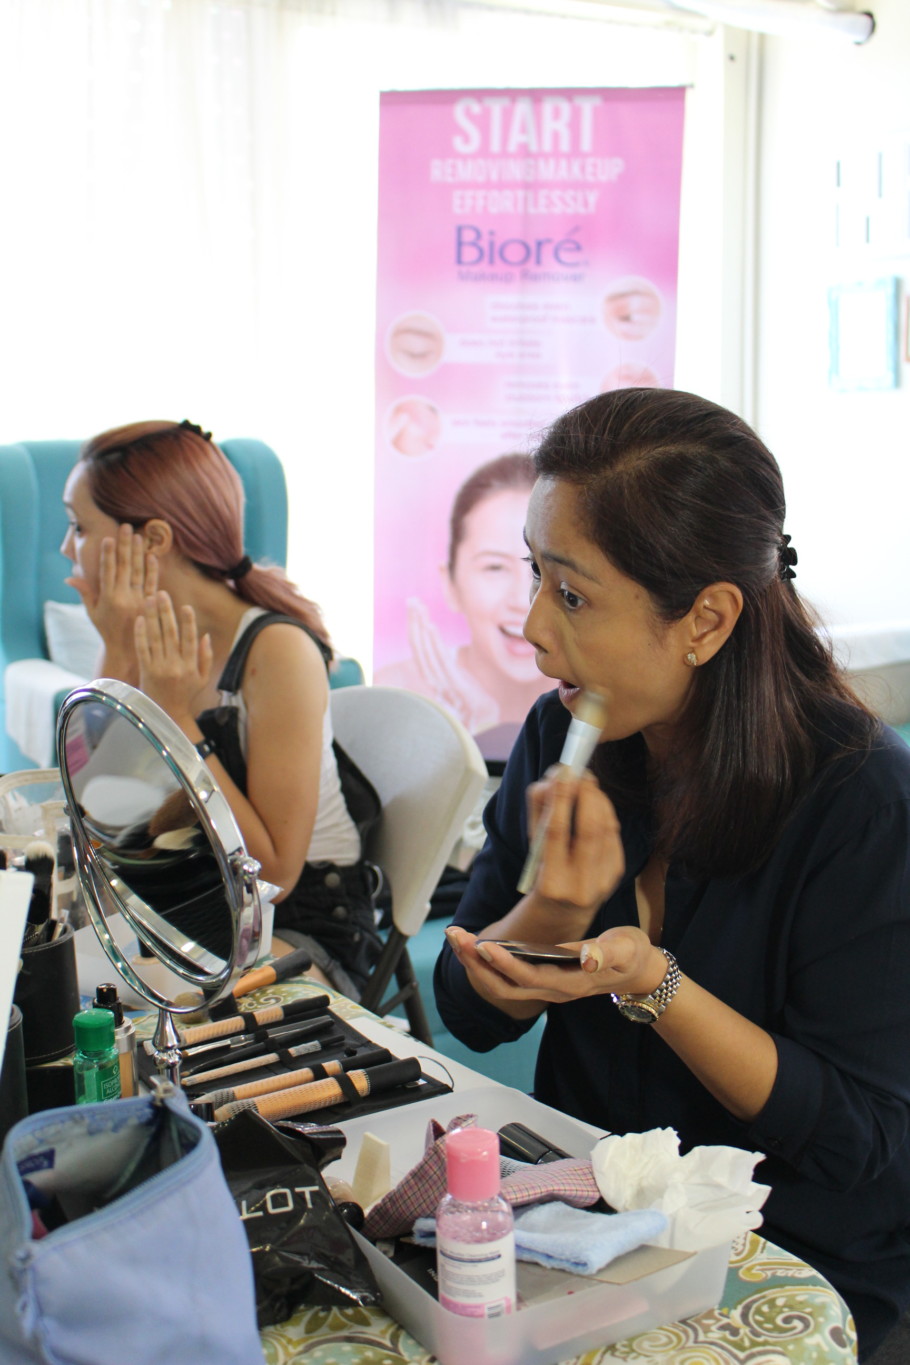
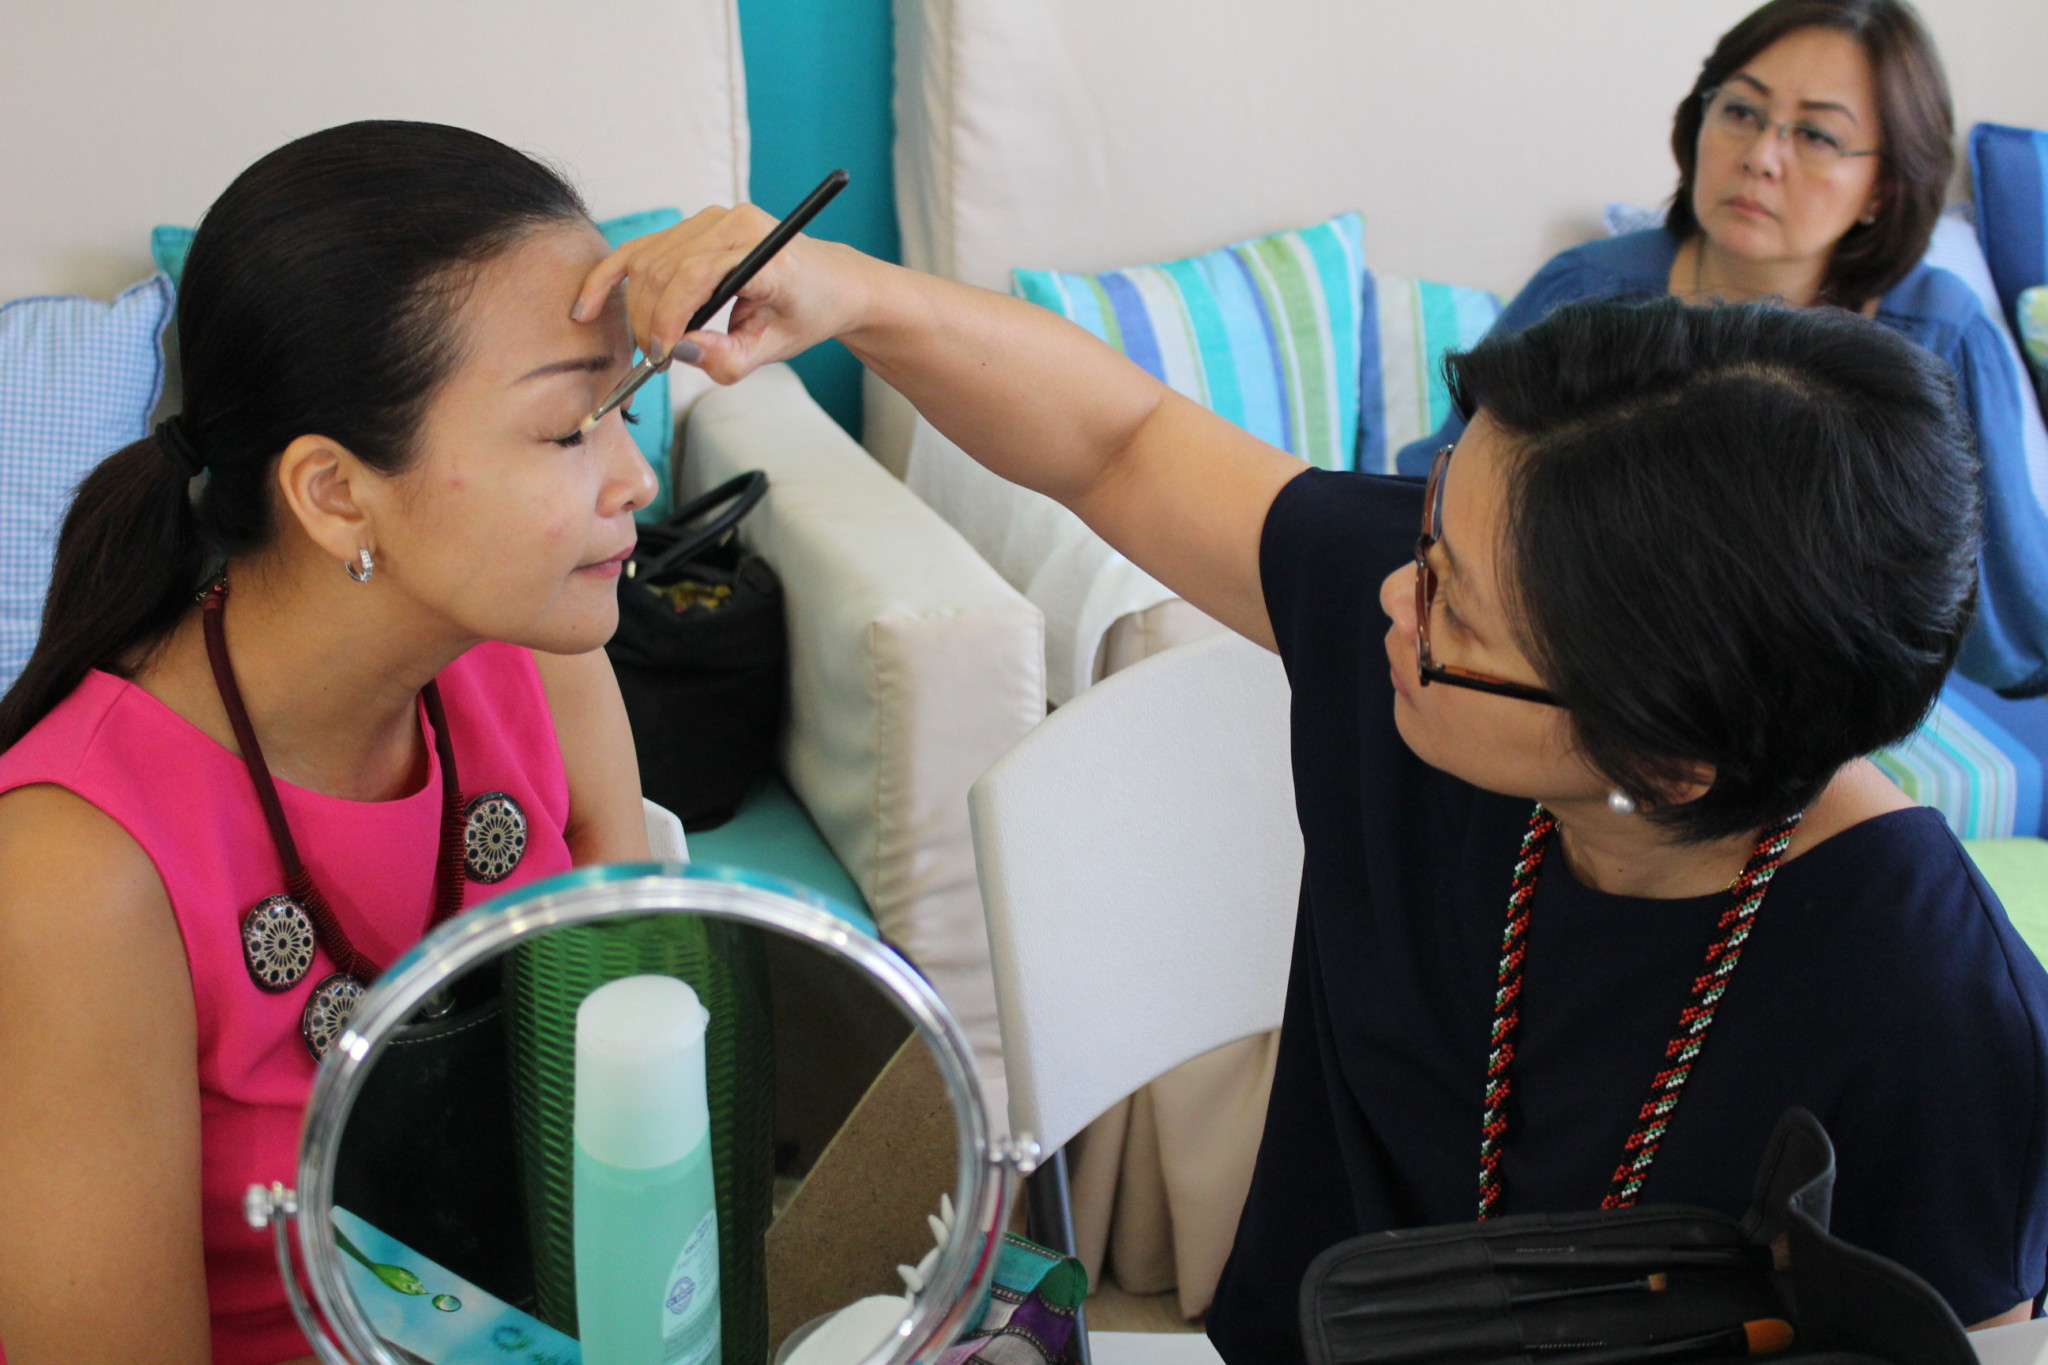
Here in Part 2, these ladies were up to the challenge of applying their own makeup after the demo. Photos below are courtesy of Martine De Luna.
Here are some After Photos. I’ve assisted the ladies below with their makeup and unfortunately, the other ladies were not photographed, they were busy attending to their own faces. All 3 ladies wanted a natural, polished look. Enjoy!
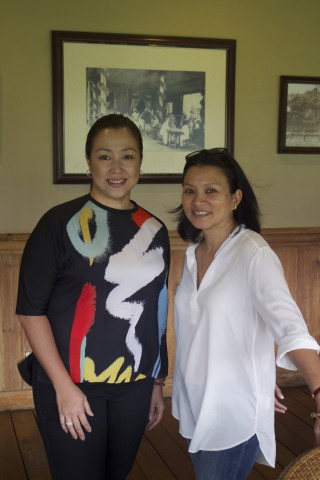
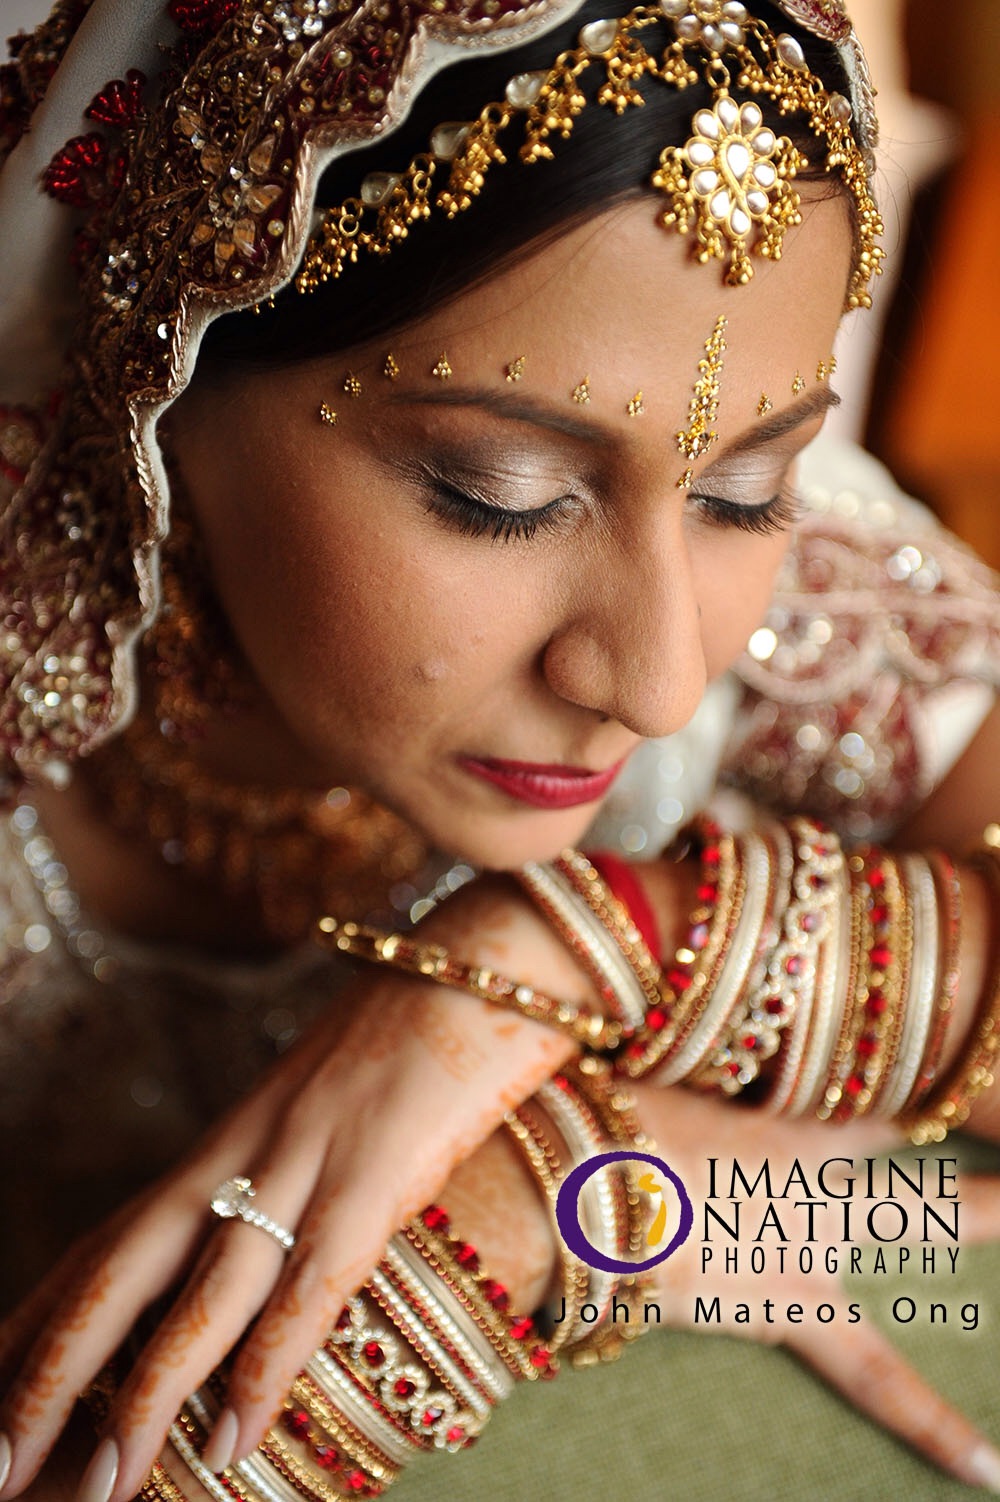
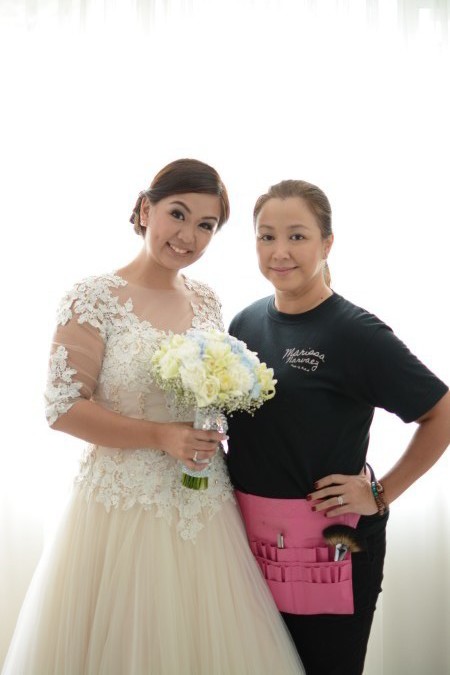
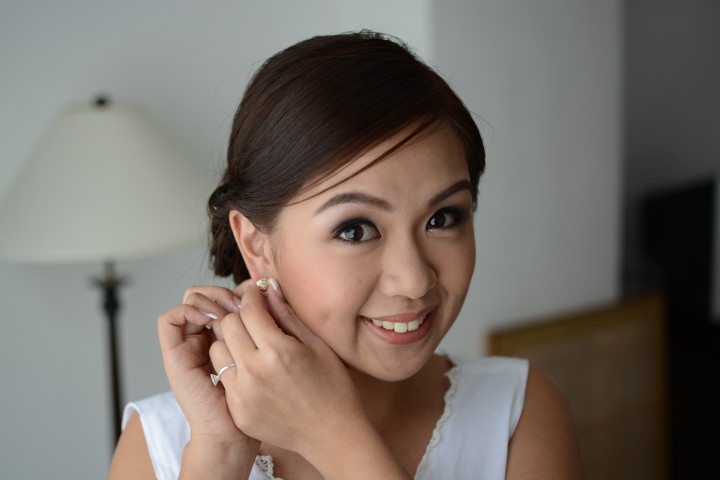
I met my good friend, Marissa Narvaez when I lived in Baguio in 2009 and we both share the same interests and passion which is makeup and more makeup. Admitedly, she began to feed this growing need for a more disciplined approach when she enrolled in the Center for the Aesthetic Studies with Jen Delica on a one on one basis and Airbrush makeup with Georginna Desuasido. From there, she saw a demand for makeup artists in the north and her passion turned into a growing craft where she can impound on the importance of beauty in the self esteem of a woman. We both reciprocate and feed our artistry whenever an opportunity arises for an extra pair of magical hands.
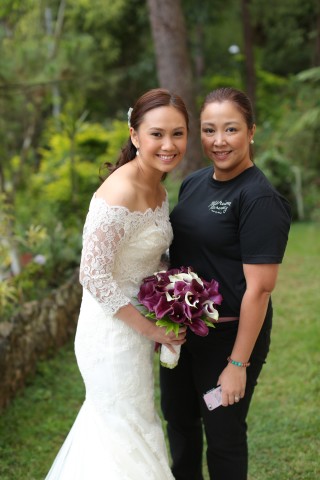
Her gorgeous Indian Bride.
The Bride and her artistUp Close and Sensational
She is currently an entrepreneur in her own right as she and her husband are engaged in the pursuit of wellness and pampering, they own Kuwentong Barbero located in SM, a Manila franchise of Nuat Thai Massage along Marcos Highway and a Spa called Mari Spa on Abanao st. She definitely has cornered her own market. She also conducts Personal Beauty workshops to young women in need of beauty enhancement. Here is a glimpse of a woman who lives and breathes beauty.
Q & A:
What inspired you to get into makeup and did you immediately know that’s what you wanted to do?
My mom and my older sister were my inspiration. Since I was a kid, I’ve seen them glammed up and would always play with my mom’s make-up stash. My sister was a professional model in her early years and I was just in awe seeing her putting on make-up. My penchant for using make up started when I was young.
My first job was working for a 5-star chain hotel and I was required to be made-up at all times! It was not a task for me as I was having fun and in fact, I enjoyed helping out my work colleagues with their make-up application.
When I moved to Baguio, I thought of doing professional make-up but I didn’t get to practice until 2008. Yes, I knew immediately that’s what I wanted to do.
Where did you train or are you self-taught?
Since I was based in Baguio and I was working fulltime, I couldn’t take the long courses offered at CAS back in 2008. I took the one-on-one session with Ms. Jen Delica and took me 3 days to learn everything! That was my first formal make- up training session. I took short courses at Maquiallage Professionel, Make-up Designory and Shu Uemura the following years.
Where do you find inspiration?
Mostly from my make up books, magazines, works of my favorite make up artists and Pinterest!
What’s the best advise a fellow professional has ever given you?
Never stop practicing.
How do you think your work has evolved since you first began working professionally?
The make-up industry is like the medical field. There is always new technology invented. You need to be abreast in learning new techniques. I aim to constantly learn from my mentors by attending their workshops and training sessions. My passion for learning was the key element.
Which one product do you wish you could have or create, to make your life easier?
I wish to have TML The Makeup Light right now. I hope Santa will read this…
One product you never leave home without for yourself or your kit?
Lipbalm!
How do you find time to relax?
I have a massage at Mari Spa (Shameless plug here!)
You conduct personal beauty workshops, how did that come about?
My friends convinced me to teach basic make up application and no one in Baguio has done it yet. What is common here are sponsored workshops or training sessions by network marketing companies.
How would you describe your work?
Brides are my favorite. They always have that radiant glow on their big day no matter how stressed they are. With my techniques, my goal is always to bring out their natural beauty.
Describe yourself in one word
Trailblazer.
My Dream Shoot:
Location: The Mansion House, Baguio City
Photographer: Boy Yñiguez
Model: Acie Romero-Salas (!!!)
Stylist: Candy Reyes
Hair: Alee Benson
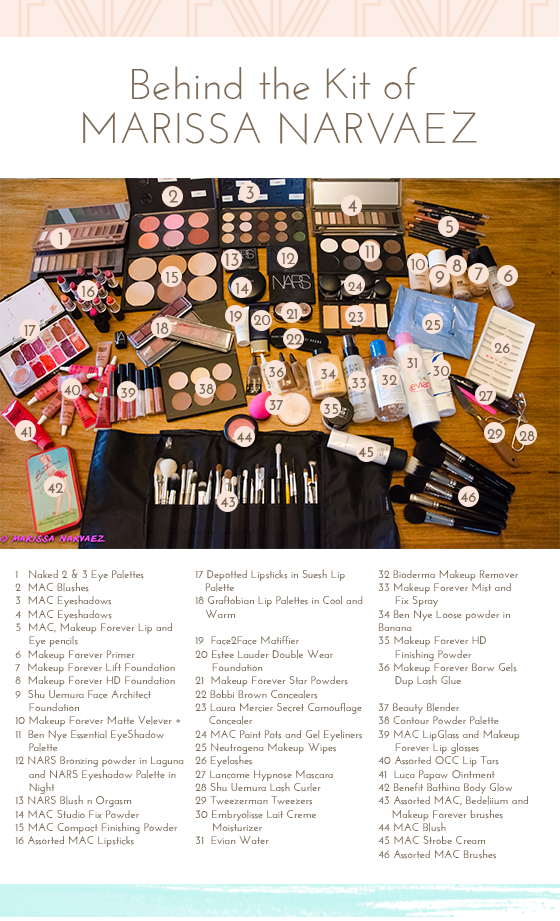
Marissa’s Makeup Kit
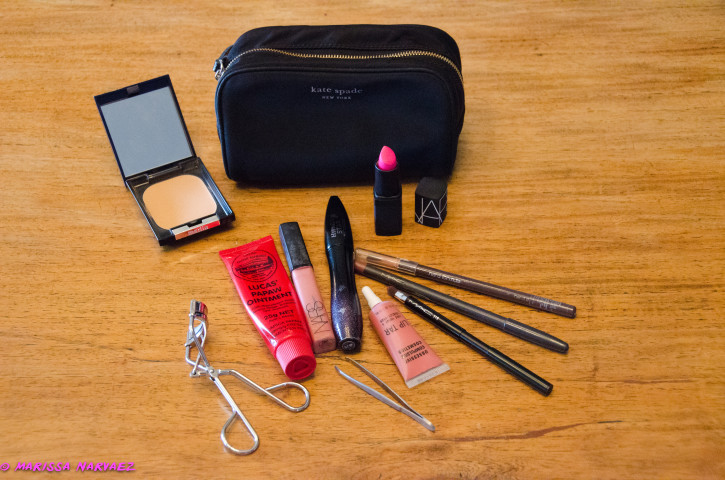
Marissa’s Kikay Kit
1) Kanebo Media Compact Foundation – Medium Coverage but feels so lightweight in the skin. It also give my skin a glow, which is what Japanese products are known for.
2) NARS Schiap Lipstick – This gives my face the color pop I need everyday. Love Love!
3) Lucas pawpaw Ointment – Best all around everything. I use it on my lips and areas on my face that need moisturising.
4) Lancome Hypnose Mascara – My lashes love the curl it gives.
5) NARS Orgasm Lip Gloss – If its good for the Kardashians, its good for me too.
6) OCC Lip Tar – On days I don’t feel like wearing color on my lips, a pin size of this lipstick is all I need to look put together.
7) My Tweezerman tweezers and Shu Uemura Lash Curler – My handy dandy tools for my lashes and eyebrows.
She is a gifted artist, devoted mother and workaholic, she is a woman on the go or should I say woman on the glow? Book her for your beauty needs whenever you are in Baguio and she will make it a pleasurable experience for you. Her expertise is in bridal and glam makeup, she will not disappoint.
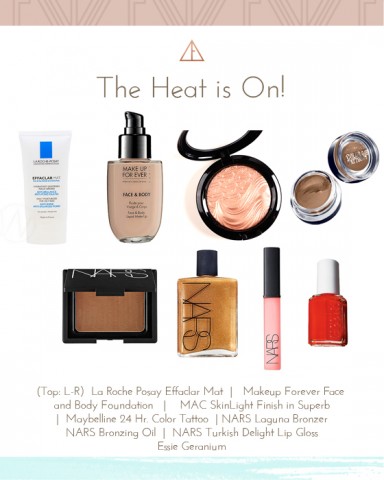
I don’t know about you ladies, but when the temperature goes up and I mean past boiling point, I really don’t want to put anything else on my face except an ice pack. My summer must haves are my go to’s when I need to put something on to look put together or at least presentable. I narrowed it down to 8 items and I swear by each of their claim in beating the heat or just because it’s simply perfect for the hot season.
La Roche Posay Effaclar Mat
Moisturizer to combat oily areas of the face
Available only to the trade, click here where to order them. This is considered a drugstore brand but you may purchase these in HK or Singapore. Like it says it controls the oiliness in the areas that show an oil slick specially o the T zone area and extends the wear of your makeup for another 2-3 hours. Perfect for brides or those that have oily-combination skin. It’s quickly absorbed and your face is perfectly prepped for makeup. Dries to a satin finish.
Makeup Forever Face and Body Foundation
Lightweight Consistency and transfer proof
I’m not kidding when I say this foundation is literally a breath of fresh air in your face. When applied, it feels very cool on the face because of its gel like consistency and the first ingredient in this foundation is water. Unlike other foundations that have hard to pronounce names as the first ingredient in their list, this is a winner for me. Coverage is light to medium and is build able. I wear shade 32 or 34.
NARS Laguna Bronzer
NARS Laguna Bronzer
I really like this bronzer because it doesn’t make you look orangy. It has the perfect brown, gray with tiny flecks of gold in it. You look sculpted without the look of oompa loompa on your face. You can also use this as an eye crease colour to give it depth and warmth.
NARS Bronzing Oil
Look tanned and bronzed without having to look like an Oscar statue
Love the smell and warmth it gives your skin. The only con on this product is its packaging. A bit messy to apply on your body because it doesn’t have a pump to dispense, you have to pour it on your hands. This bottle is on the pricey side but I once saw a fashion stylist rub this in the centre of the legs of the model and her legs looked like a million bucks. Has a faint coconut scent not overpowering but if you like the smell of buko it’ s tolerable.
MAC SkinLight Finish in Superb
Used to cheat perfect glowing skin
This product was introduced to me by another makeup artist friend. She uses this on the high points of the cheek or as a highlighter on the centre of the eyelid and brow bone. When the light hits your face, perfect glowing skin is achieved. This is what gives you the JLo sheen.
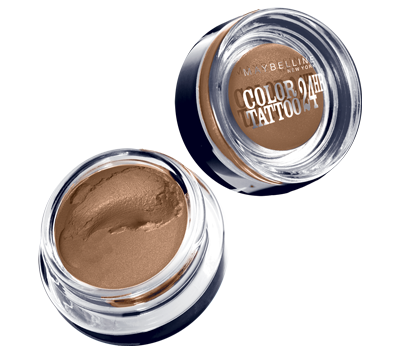
Maybelline 24 Hr. Color Tattoo
Creaseless and long wearing
I have a weakness and fondness for eye cream shadows mainly because of its effortless application. This is a drugstore delight. it really doesn’t budge. Just add an eyeliner and you’re good to go. Instant semi smoky look appropriate for the season. Comes in jewel tones too. Love the Tenacious Teal colour if you’re feeling adventurous.
NARS Turkish Delight Lip Gloss
Turkish delight
Not only is this Kim Kardashian’s favourite lip gloss on top of the MAC Angel lipstick, it is truly a universal lip gloss that can be worn by anyone. It adds a very subtle oomph to your lips even when worn bare. Personally I prefer to wear lip stains or lip glosses during the summer, lipstick feels heavy.
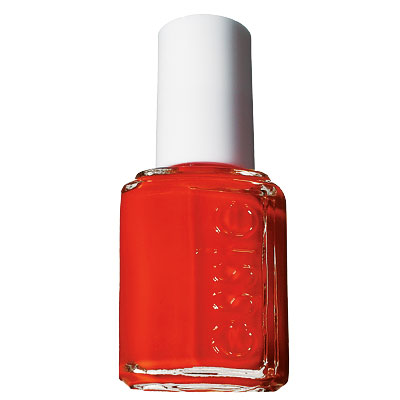
Essie in Geranium
Geranium Pandemonium
Essie nail polish is one of my personal favourites because of its colour variety and longevity. I first saw this colour applied in Nail Spa Makati many months ago on a client and I love the pop of colour. Its such a happy colour, your toes and nails look like they’re having so much fun.
Are these your summer must haves too? I’d like to know what yours are.
Now in my mid 40’s, I’ve taken to apply sunblock on my face due to previous sins committed in the past when I lay baking in the sun for hours with tanning oil as protection. I used to tan with Coke and Baby oil slathered together on my face and body just to get that golden look. Remember those days?
Well, 2 decades later, it’s payback time with the appearance of dark pigmentations on my left temple and cheeks and moles and freckles under my eye area. I haven’t gotten the nerve to use laser treatments yet as I have been trying medical grade creams like hydroquinone to lighten them. Unfortunately, I have decided to take charge of the condition of my skin only lately with the hope of delaying the ageing process.
Remember this Ad? Orange and Brown were the colours to aspire for
Here’s the lowdown.
Sunscreen vs. Sunblock
Sunscreens are products combining several ingredients that help prevent the sun’s ultraviolet (UV) radiation from reaching the skin. Two types of ultraviolet radiation, UVA and UVB, damage the skin, age it prematurely, and increase your risk of skin cancer. UVB is the chief culprit behind sunburn, while UVA rays, which penetrate the skin more deeply, are associated with wrinkling, leathering, sagging, and other light-induced effects of aging (photoaging). They also exacerbate the carcinogenic effects of UVB rays, and increasingly are being seen as a cause of skin cancer on their own. Sunscreens vary in their ability to protect against UVA and UVB (Source)
Thick creamy lotions are known as sunblocks. These contain minerals like zinc oxide and titanium dioxide that physically create a barrier against both the sun’s UVA and UVB rays. Sunblock is usually white, thicker and remains visible after you put it on.Sunblock is best used for anyone planning to spend hours in the sun at a time, like sports activities. Most of us don’t like the idea of being covered head to toe in what looks like white gunk, and choose sunscreen, regardless. It’s not pretty, but those are the facts. (Source)
Personally, I now use Sunblock even on my face despite the heavier consistency and blend away. This is what I use on a daily basis due to the dark pigmentation on some areas on my face.
What type of sun protection should you use?
It really depends on how much sun exposure you’re getting on a daily basis. According to my dermatologist, she said that sunscreen is enough to wear on a daily basis, while if you are going to be outdoors on a longer basis, sunblock will be the wiser choice to use due to the prolonged stay under the sun.
How much should I use?
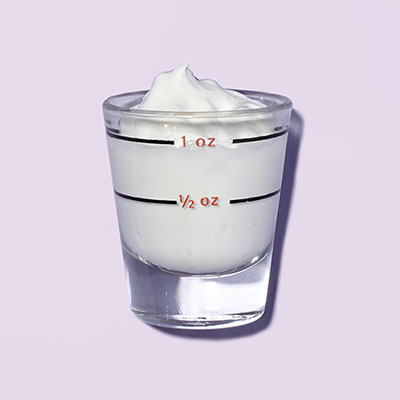
For the face, a teaspoon full will suffice while for the body about a shot glass full or 1 oz. if you are planning to stay for a longer period of time outdoors and reapply after 2 hours. Apply on exposed parts of the face and body 30 minutes prior to sun exposure so ingredients will be fully absorbed on the skin.
Amount you need to apply sunblock to the body.
Amount to use on your face. Believe me this is enough.
What is SPF?
It simply means “Sun Protection Factor”. For example, if your unprotected skin turns red after 20 minutes under the sun, a sunscreen with an SPF of 15 means you can be exposed to the sun 15 x longer or about 2.5 hours without turning red. It is a measure of one’s sun exposure using the product versus one going out with bare skin. I think one is safer to use protection that has an SPF of 30 which according to studies blocks out 97% of the harmful rays while that of an SPF with 45 blocks out 98% of the harmful rays. This also goes without saying that depending on where you live, the strength of the sun’s rays and time of day you are exposed, it is imperative that you choose your sunblock protection appropriate to these conditions. (Source:)
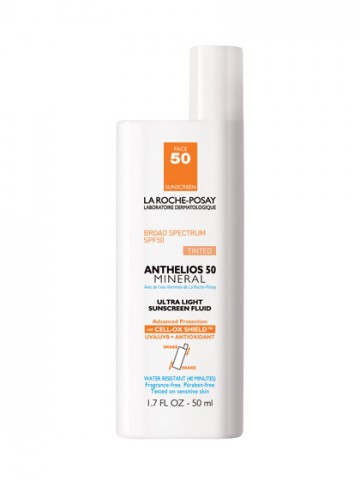
What about a higher SPF like 50 or 75?
It really is a marketing ploy more than anything according to the FDA. A higher SPF does not increase your sun protection. Unfortunately, we buy the highest SPF possible thinking that we we are protected for a long period of time and we end up not re-applying. A lower SPF is still the best option to use which can offer the same protection.
What are the effects of SPF in Moisturizer or Makeup?
A 2001 study at Wake Forest University showed that, within two hours, liquid and cream foundations often slide around and gather in pores and wrinkles. After just a few hours in normal temperature and humidity conditions, the SPF you get from makeup can be considered ineffective by the way foundation wears off. (Source:)
Here’s my take on maximum protection strategy.
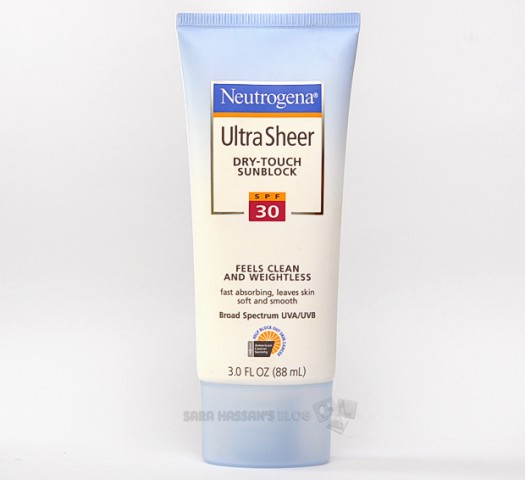
1) Cleanse the face, next apply a moisturiser with an SPF of 15. Good ones to try are Neutrogena and Olay which are easily absorbed by the skin. Choose that are labeled broad spectrum sun protection like Parsol 1789 and Mexoryl. You may use your favourite BB or CC cream and stop here or if you want a medium coverage, proceed to step 2. I use Lorea’l Garnier BB cream on occasions I don’t want full coverage. Judy of itsjudytime does a good review on this which got me sold on Garnier more than Maybelline.
My BB cream of choice. Light-Medium is my shade. Not too white or chalky.
2) Once absorbed, apply your foundation with an SPF of at least 15. Apply powder. While powder does not have an SPF, it contains zinc oxide a mineral that that acts as a barrier to sun damage. Nice product to try is Bare Mineral powder foundation.
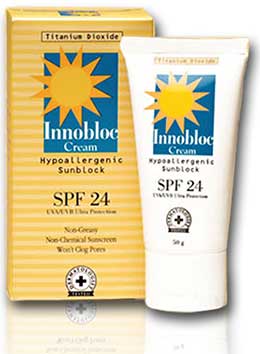
3) If you are allergic to Parsol or Mexoryl, you may use a stronger sunblock one with titanium dioxide as they are not absorbed by the skin, they sit on the surface of the face and reflect sun damage away due to their thick consistency. One caveat is that a whitish cast on your face is seen when you are photographed with flash. I choose sunscreen instead if I need sun protection.
Even Jessica Alba is not spared with the white glow
If these steps are too much for you, opt for a powder foundation with SPF instead. Remember that in order to maximize sun protection, make sure you use a sunscreen option, whether it’s a moisturizer, makeup, powder, or all three.
Prepped skin with moisturiser, eye cream and sunblockUsed Lorea’l Garnier BB cream in Light-Medium and added eye shadow, little bronzer and some light lipstick.
Stay safe and love the skin you’re born with by protecting it. Happy Summer!
This is a guest post by Martine de Luna of Makeitblissful.com
I’m what you call a “makeup virgin.” I never learned how to put on makeup, even though I really, really wanted to, later on in my, er, early twenties. I missed the whole phase between middle and high school, when everyone learned to apply makeup. That said, I went to a school that didn’t care much for makeup, anyway, so it probably wasn’t on my mind back then.
Ironically, I end up working with Acie Fores, makeup artist, and suddenly, I am thrust into a world of makeup. Each week, we talk about her love for the craft, the best products on the market, and the kinds of looks she loves to create. I find it fascinating how she is able to transform plain Janes like me into all-out glam babes!
Well, I was honest with her about my little dilemma, and asked her to give me a once-over makeup virgin makeover. My request? That the makeup be easy to put on, even for a “makeup virgin” like me!
The Virgin Face
I don’t wear makeup at all, not even on dates. Yes, seriously. However, I know I would look better with a little enhancement, simply because I do have some features that people often compliment me for. The best, they say? My eyes! Ironically, they are my biggest area of doubt when it comes to makeup, because I never know what to do with them. Good thing Acie had some tips for me, as well as some product recommendations for how to make them stand out.
Here’s what I learned from Acie about my face, and how to ensure that my makeup feels natural to me, both how to do it and what kind of products to use.
1. When applying a makeup, always do so in natural light. Because I tend to look like a geisha when I apply makeup on my own, this is a great tip.
2. Foundation tip: When using foundation, I should use a brush, not a sponge. I need to make sure to smoothen the foundation past my jawline, down to my neck, so that the tone gives me even coverage (and I don’t look pale).
3. Blush tip: Since I don’t want to look like a clown, Acie recommended using a blush that was closer to my natural skin tone/hue, which was more on the brown side, not the pink/red side. I should focus more on the contours of my face, not on the actual cheekbones.
4. Eyeshadow tip: My biggest misconception about eyeshadow is that it is difficult to put on, and so I just never bothered with it. But hey, I look damn good with it, so I should make the effort to use it more! The solution? Practice. That’s it! I just have to commit to study the contours of my eyes and their natural shape, so that I’ll know how to make the products work for me.
5. Makeup know-how is all about knowing what works for you. Learning how to do my own makeup meant (1) being willing to learn one more new thing, and (2) not being afraid to take some risks. I’m usually good with both learning things and taking risks, but I suppose this was such an emotional thing for me, it took me some time to face up to it. Since Acie gave me this tutorial, I’ve even been trying to do my makeup on my own, but I still need more practice! Still, I’m glad I took on the challenge, because now, I feel like I can accomplish anything.
Martine de Luna is an award-winning blogger, a work at home advocate, and a creative blogging mentor. Through her creative inspiration website, www.makeitblissful.com, Martine encourages women to live meaningfully, whether at home, work or in the pursuit of life goals. Her Make it Blissful Blog Workshops are held monthly, and she provides blog coaching & website design services at Martinedeluna.com. Martine is also the director of the WAHMderful Workshops (www.wahmderfullife.com), a series of workshops and masterminds that equip mothers and married women to work or run a business from home. She lives in Manila, the Philippines, with her husband Ton and their son, Vito, whom she homeschools.
“If it aint broke, don’t fix it.” a common sentiment that is expressed when a system or method works well, there is no reason to change it. In this beauty case, I am referring to a tried and tested beauty product called Ponds Cold Cream. Yes the one that our grandmothers and mothers used and continually use to keep their skin supple, smooth and glowing. A recent testimonial by the pint size singer from Australia, Kylie Minogue declared that her beauty secret for keeping her dewy glowing skin is this time tested product. She also mentioned that she preferred to age gracefully as she was not too happy with Botox injections she previously had. The Ponds company welcomed this unabashed declaration and testimonial, as sales of this wonder cream soared 120% in the UK after this statement.
Kylie Minogue, says her enviable wrinkle-free skin is down to using Pond’s Cold Cream (Source)
With the advances in technology, and better research and development, beauty products nowadays have come a long way in terms of advertising and promotion, ease of use, its ability to improve our skin and delay the ageing process and many other reasons to keep the consumer seeking instant gratification for the fountain of youth. Admitedly, I have used many other cleansers and moisturisers aside from Pond’s cold cream and my personal makeup remover is Lancome Bi-facil. But from time to time, I revert back to the tried and tested products and my only complaint is that the tub being sold here in Manila is too small and can be consumed in such a short period of time, you end up using it less than a month. Whereas the ones sold in bottles or with dispenser sprays tend to last you longer.
I am asked from time to time as to what is the best cleanser or makeup remover there is. The answer to that is always what works for your skin type will always be the best anything on your face. Personally, Ponds cold cream was my go to makeup remover since I was old enough to wear makeup. I remember that distinct smell which reminds you of hugging your grandmother or mom to kiss her goodnight. I have an aunt in her early 60’s who religiously uses this product as a moisturiser and cleanser and does not use soap and water to take care of her skin. She looks amazing. Is Ponds’ cold cream really all that great? Is there something you should know about Ponds before giving up on high priced cleansers? Let’s find out why this is still a cult favourite.
Why is Cream Cold?
The selling point of this cream is that it is a cleanser, makeup remover and moisturiser in one. The cooling sensation one feels when this cream is applied to the face is the evaporation of the water content off the skin. The first cold cream manufactured contained almond or olive oil, beeswax and water which did not have a long shelf life and spoiled easily. Through the years, Mineral oil was introduced to replace the olive or almond oil to make the cream more stable and long lasting. The other ingredients are to make the cream emollient. (source: Futurederm.com)
Ingredients
Mineral oil and beeswax. What’s there to be scared of? Mineral oil acts like a humectant by trapping water and moisture into the skin to make it supple while beeswax is a natural ingredient found in lip balms and other cosmetic products. Mineral oil is a derivative of petroleum jelly which is the main ingredient in Vaseline which is also a product that we use liberally on anything from mosquito bites to makeup remover to keeping our skin soft.
Who should use it?
People with dry skin should benefit from this cream as this will address the flakiness and rough patches on the skin. I would recommend using this for traveling specially to countries with cold to extreme temperatures because of the thick emollient consistency. In humid climates like ours, it can still be used, some women apply this on the face and wash their faces with warm water to remove any residue. You may also use this as a shaving cream. It won’t dry your skin like soap does.
Verdict
Ponds cold cream can stand on its own merits despite the proliferation of these expensive makeup removers slash moisturizers. It withstood the test of time and will continue to evolve to suit the changing demands of the coming generation. I asked my dermatologist once what items should I spend on and those that I can save on? Her simplified reply was, whatever that will be washed away with water should be those that we can save on, like soap and cleansers and whatever the skin needs to absorb like moisturizers, serums and creams can be splurged on. However its all a matter of preference. What I hope will not change is its simplicity and understated appeal.
Is Ponds still your makeup remover of choice? Why or why not?


 1) Kanebo Media Compact Foundation – Medium Coverage but feels so lightweight in the skin. It also give my skin a glow, which is what Japanese products are known for.